
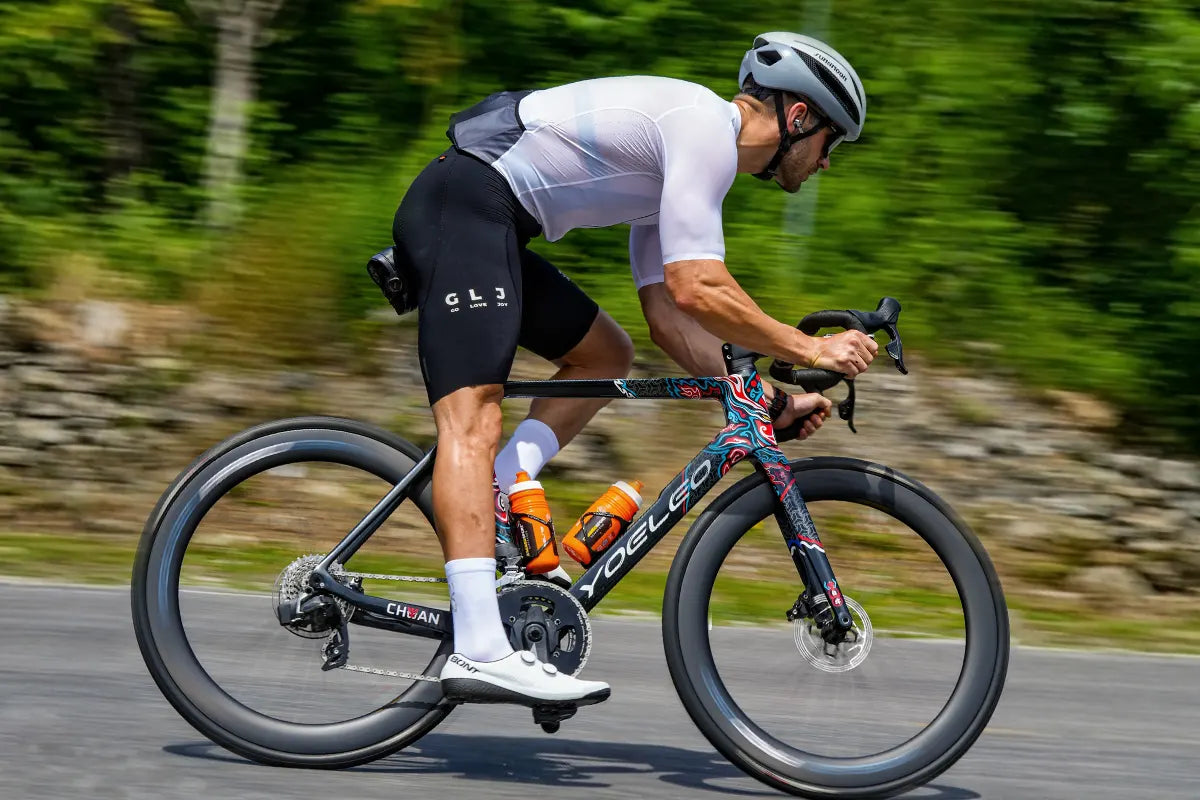
Descending Technique: Body Position, Braking Points, Cornering Lines
Most riders learn descending by accident, picking up habits from whoever they happened to follow down their first few mountain passes. Some of those habits are fine. Others involve braking heavily mid-corner, sitting bolt upright into a headwind, or drifting wide on every right-hander because the line was never actively chosen—just arrived at.
Descending with confidence is a learnable skill built on three core pillars: where your weight sits on the bicycle, where you do your braking relative to the corner, and the line you take through the bend. Master those three elements, and a descent that used to feel like survival transforms into pure control.
| Safety Precaution: Descending speed should always stay within your line of sight, the reality of the road surface, and local traffic laws. Practice on familiar descents before pushing your speed, keep a margin for gravel or wet patches, and treat the physics calculations below as descriptive principles rather than performance targets. |
Body position: where your weight goes and why

Keep your elbows soft and bent rather than locked. A supple upper body acts as suspension, absorbing road chatter and surface variations without transferring unwanted steering inputs into the handlebar. Always look far down the road—targeting the exit of the corner rather than the asphalt directly ahead of your front wheel.
On fast, straight stretches, tucking low reduces aerodynamic drag. On exposed ridges, bridges, or high-wind sections, adopt a slightly more upright posture while loosening your grip on the handlebar. A rider with locked arms acts as a rigid sail, transferring wind gusts directly into the steering; relaxed arms allow the chassis to tracking smoothly through turbulence.
Braking points: decelerate before the turn
The primary technical shift required for faster, safer descending is completing deceleration before initiation. Applying heavy braking force while the bicycle is upright and traveling in a straight line utilizes the tire's traction patch almost exclusively for slowing down. Braking heavily while leaned into a corner forces that same contact patch to divide its available friction between braking and lateral cornering forces, drastically reducing your safety margin.
The Rule of Entry: Execute the vast majority of braking in a straight line before you tip into the lean. Transition off the levers as you initiate turn-in, holding at most a light "trail" on the rear brake if minor speed adjustments are required. Hard front braking mid-corner generates a righting moment that stands the bike up, pushing your trajectory wide.
Worked example: braking from into a hairpin
A combined rider and system mass traveling at 55km/h(15.28m/s) approaches a hairpin turn with a maximum safe passage speed of 35km/h(9.72 m/s).
Assuming a controlled straight-line deceleration rate of α = 3.0m/s² (well within the traction threshold of modern disc brakes and high-performance tires):
-
Deceleration Distance (𝒹𝑏):
𝒹𝑏=(15.3² − 9.7²) ÷ (2 × 3) ≈ 23 m
-
Reaction Time Distance (𝒹r):
Allowing a 0.5 second rider perception-reaction time at 15.28m/s:
𝒹r= 15.28\0.5 = 7.64m
-
Total Braking Distance (𝒹 total):
𝒹 total = 𝒹𝑏 + 𝒹r = 23.17 + 7.64 = 30.81m
The rider must initiate braking approximately 31 meters before the turn-in point. Selecting a fixed roadside landmark (such as a signpost or marker) as your braking point eliminates guesswork and ensures entry speed is fully managed before lean-in.
Cornering lines: entry, apex, exit
A cornering line dictates the geometric radius available to your tires. Utilizing an "outside-inside-outside" path expands the effective radius of the turn, requiring less lean angle to navigate at a given speed.
For blind corners, adopt a late apex line. By delaying turn-in and clipping the apex point later in the curve, you stay farther away from the centerline and open up sightlines around the bend much earlier.
Throughout the corner, drive weight down into the outside pedal (positioned at 6 o'clock). This maintains tire contact force, settles the frame, and ensures the inside pedal remains safely clear of the pavement.
How much lean angle a corner actually needs
|
Corner radius (r)
|
Speed (v)
|
Approximate lean angle needed (θ)
|
Context / Safety Profile
|
|
20 m (tight hairpin)
|
30 km/h
|
19.5°
|
Modest lean; high traction reserve.
|
|
20 m (tight hairpin)
|
40 km/h
|
32.1°
|
Approaching open-road safety limits.
|
|
40 m (medium corner)
|
40 km/h
|
17.4°
|
Comfortable sweeping speed.
|
|
40 m (medium corner)
|
50 km/h
|
26.2°
|
Moderate lean; requires clean asphalt.
|
|
60 m (open sweeper)
|
60 km/h
|
25.3°
|
Smooth arc; excellent visibility needed.
|
These figures come from the standard bicycle lean-angle relationship (lean angle equals the arctangent of speed-squared over the product of radius and gravity), not a specific tyre test. Most riders' realistic, safety-margined limit on an open road, allowing for unknowns like a damp patch or loose gravel, sits well under 35°. If a corner needs more lean than that to hold your chosen speed, the answer is to slow down before it, not to lean further.
Reading the descent ahead
Equipment effects worth knowing
Frequently Asked Questions
How do I manage high-speed speed wobble (speed shimmy)?
Should I brake before or during a corner?
What is the correct body position for high-speed descending?
Why do unfamiliar corners feel more difficult on descents?
Share:
Wet-Weather Braking on Carbon Disc Wheels
Climbing Technique: Cadence, Gearing, Seated vs Standing