
Guide
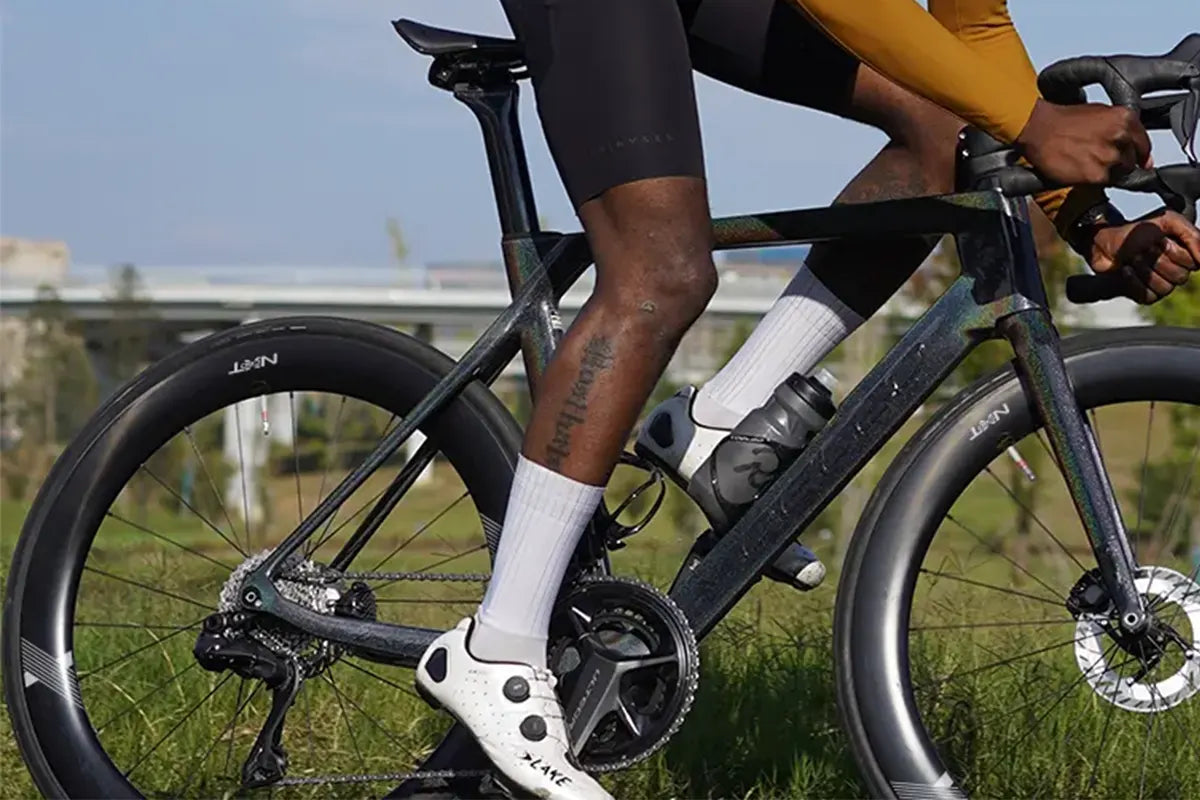
Cleat Setup and Knee Pain: A Step-by-Step Method
-
Isolate Your Symptoms: Anterior knee pain points to fore/aft positioning (foot too far forward over pedal axle); medial/lateral pain typically stems from improper cleat rotation or stance width (Q-factor).
-
Systematic Adjustments: Adjust fore/aft first, followed by rotation, and lateral stance last—moving hardware in small 2–3 mm increments.
-
Prioritize Float: Unless a professional fit confirms a perfectly linear pedal stroke, opt for 4.5 degree to 6 degree of float to prevent joint twisting.
-
Test Thoroughly: Change one variable at a time and ride at least two 30-to-45-minute sessions before making further alterations.
Read moreabout Cleat Setup and Knee Pain: A Step-by-Step Method
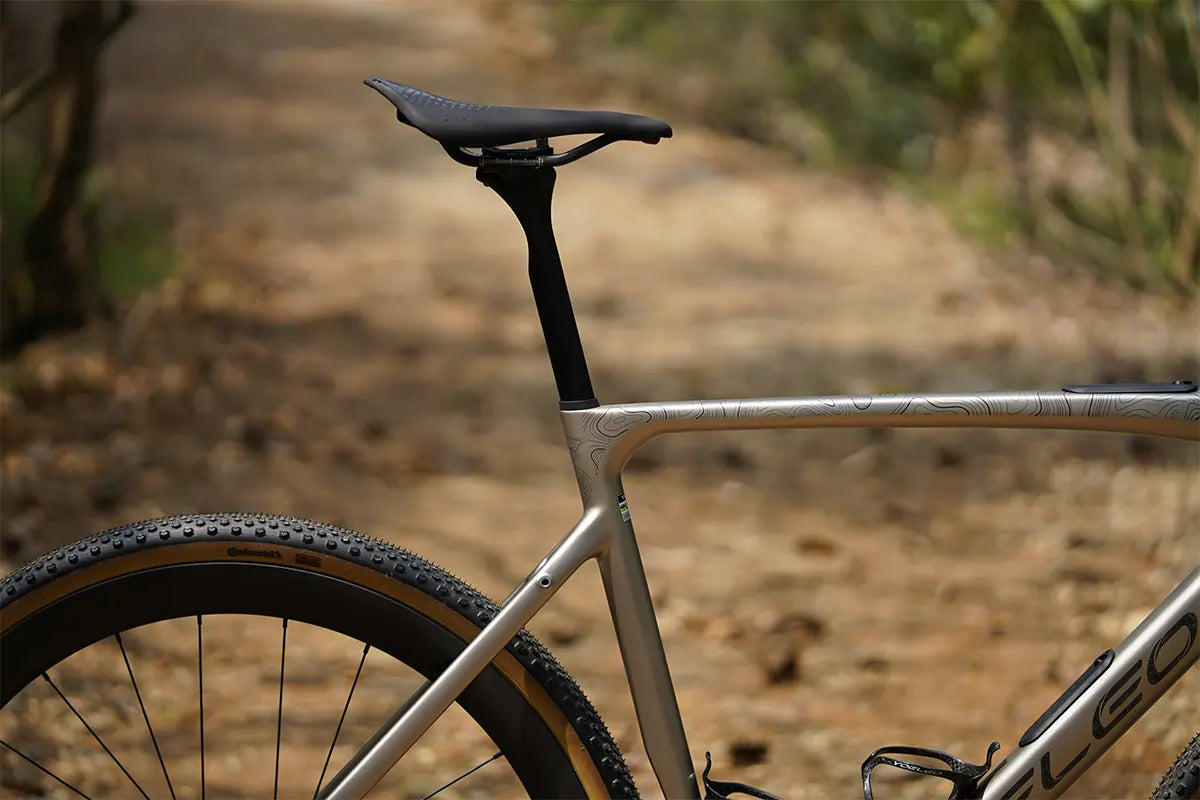
Saddle Height and Setback Without a Fit Studio
-
The Inseam Foundation: Accurately measuring your inseam using a hardback book provides the core metric required for both the LeMond ($0.883 \times \text{inseam}$) and Hamley ($1.09 \times \text{inseam}$) formulas.
-
Mathematical Alignment: The LeMond and Hamley methods yield nearly identical results once crank length is subtracted from the Hamley figure.
-
Dynamic Fine-Tuning: Target a knee flexion angle of 25°–35° at bottom dead centre (6 o'clock) using a smartphone goniometer app to prevent anterior knee pain or hip rocking.
-
Fore-Aft Balance: Align your tibial tuberosity over the pedal spindle with crank arms horizontal at 3 and 9 o'clock before finalizing height.
-
Incremental Changes: Adjust in increments of no more than 3–5 mm at a time to allow tendons and muscle groups to adapt safely.
Read moreabout Saddle Height and Setback Without a Fit Studio
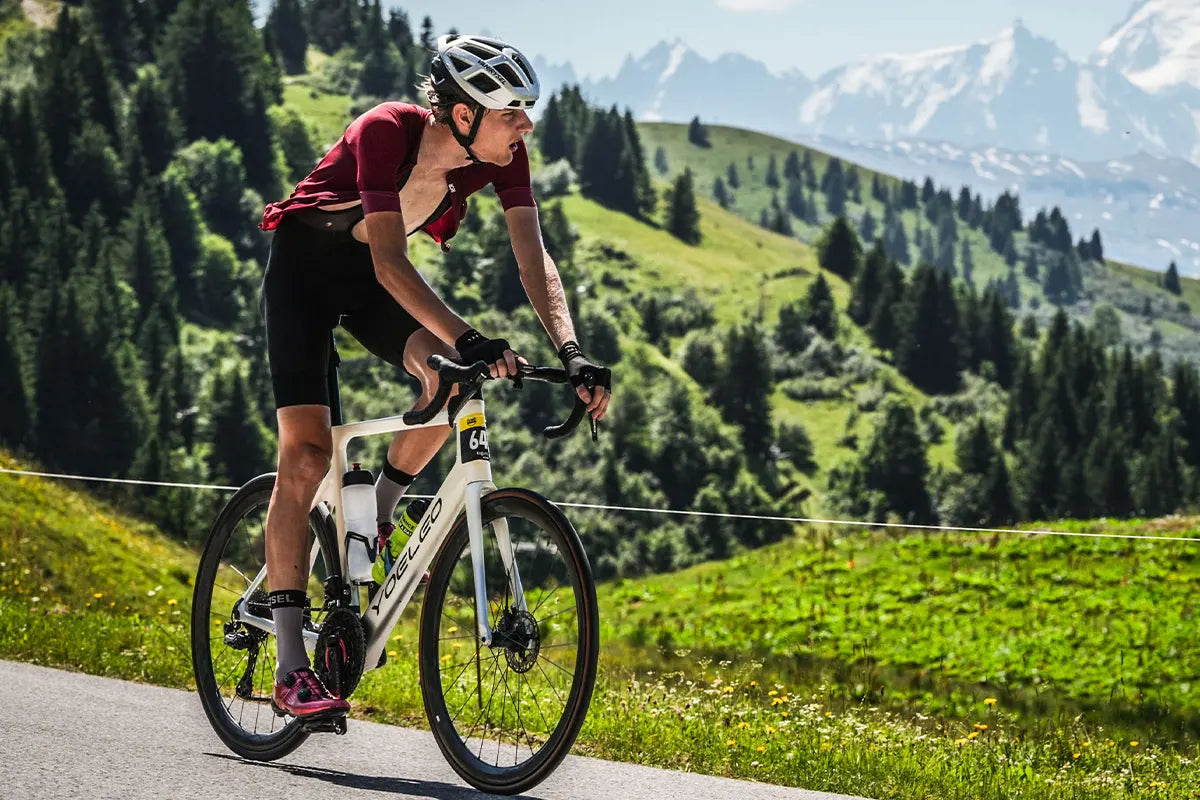
Climbing Technique: Cadence, Gearing, Seated vs Standing
-
Target 65–85 RPM: Spinning a moderate cadence balances neuromuscular fatigue and cardiovascular effort; don't force a flat-road 90+ RPM uphill or grind at 45 RPM.
-
Stay Seated Under 10%: Seated climbing uses roughly 5% less oxygen. Stand primarily on steep ramps (>10%) or briefly to change muscle recruitment and relieve lower-back strain.
-
Anticipate Gearing: Shift before the gradient increases to prevent losing momentum and shifting under heavy drivetrain load.
-
Pace from the Base: Avoid going over threshold in the first 30 seconds; an even effort preserves energy for the entire duration of the climb.
Read moreabout Climbing Technique: Cadence, Gearing, Seated vs Standing
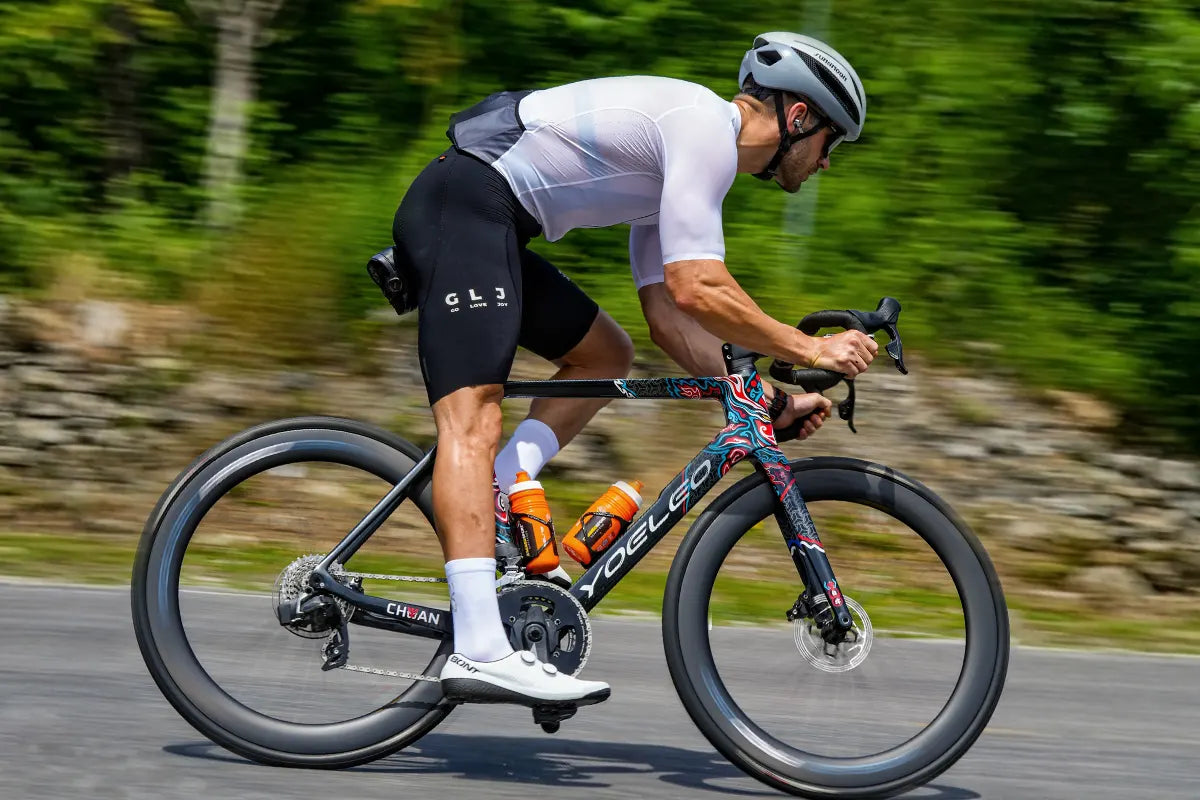
Descending Technique: Body Position, Braking Points, Cornering Lines
-
Weight Low & Back: Shift your hips toward the back of the saddle, drop your heels, and hold the drops with bent elbows to maximize traction and absorb road feedback.
-
Brake Straight, Not Late: Complete nearly all deceleration in a straight line before entering the corner to preserve tire traction for cornering forces.
-
Late Apex for Safety: Utilize an outside-inside-outside line, aiming for a slightly delayed apex on blind corners to maximize sightlines and buffer against oncoming traffic.
-
Eyes Drive the Line: Look through the turn to the exit rather than at the front tire or immediate obstacle—your bicycle naturally tracks where your gaze is directed.
Read moreabout Descending Technique: Body Position, Braking Points, Cornering Lines
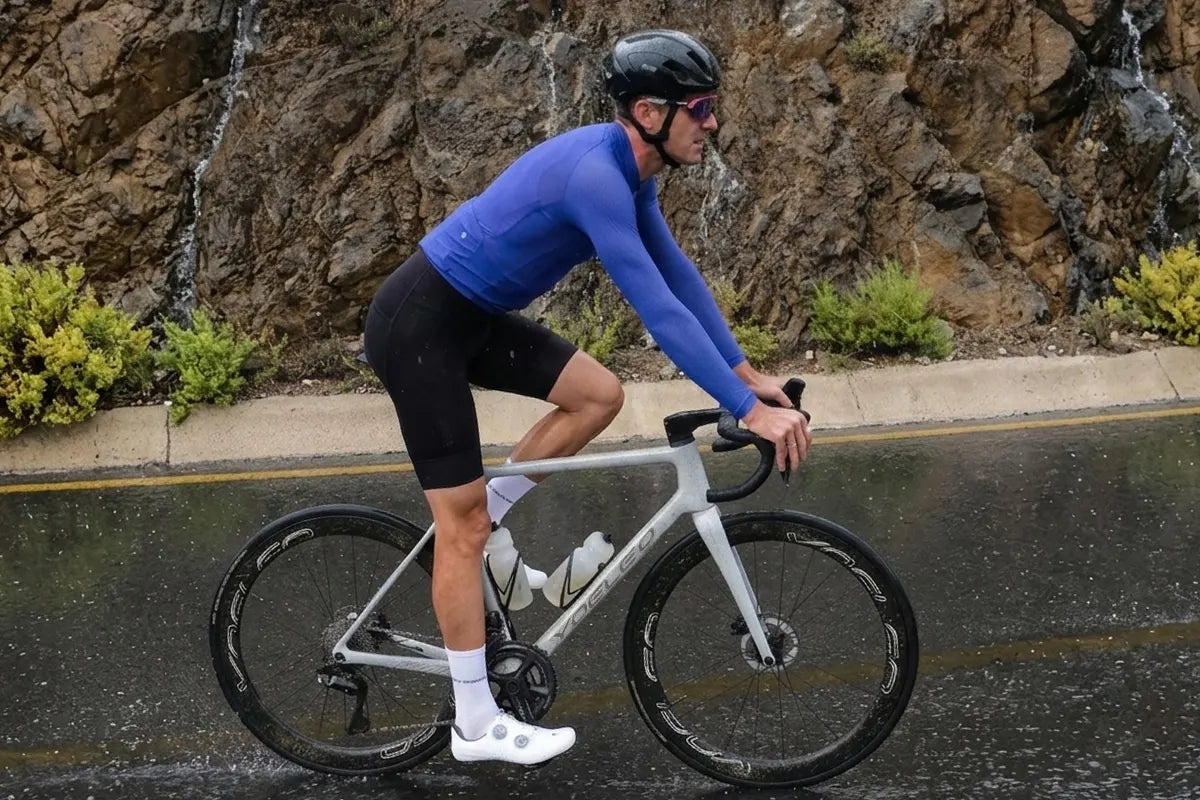
Wet-Weather Braking on Carbon Disc Wheels
Wet disc braking is limited by tyre grip, not brake power. Rain cuts your tyre traction roughly in half, doubling your stopping distance on clean wet asphalt—and tripling it over painted lines or oily patches.
-
Clear the water film: Apply light, continuous pressure to the levers early to sweep water off the rotors before squeezing harder. Avoid sudden, hard grabs.
-
Adjust body position: Shift your weight back and down to keep the rear tyre planted and prevent front-tyre slides.
-
Plan ahead: Factor in realistic reaction times—stopping from 30 km/h in the rain takes around 17 metres total. Start slowing down twice as early as you would in the dry.
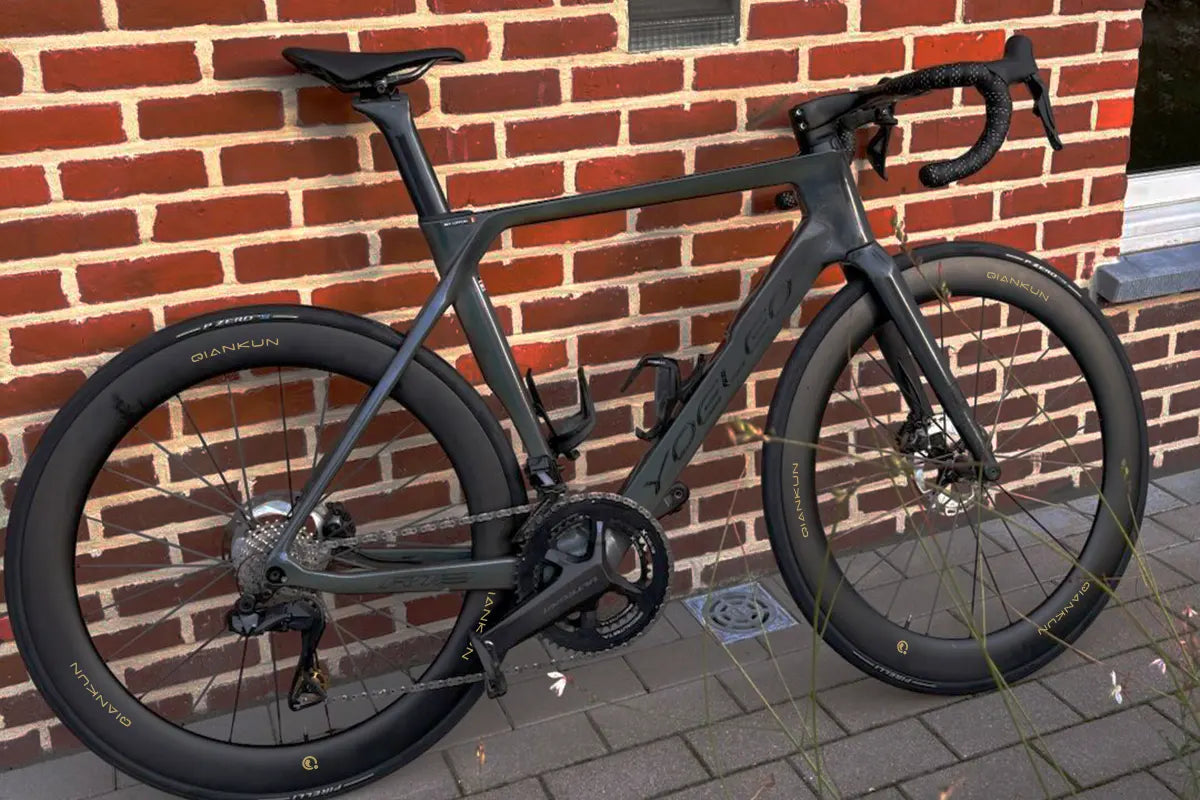
Off-Season Storage: Putting a Carbon Bike Away for Three Months
Most of that is achievable in most homes without a dedicated bike room. A spare bedroom, a dry basement, or a garage with a dehumidifier all sit comfortably in that humidity band. What doesn't work is an unheated shed or an attic that swings from freezing to over 35°C (95°F) across a season; the temperature swing itself matters less than the condensation it causes as the bike moves between zones.
Read moreabout Off-Season Storage: Putting a Carbon Bike Away for Three Months
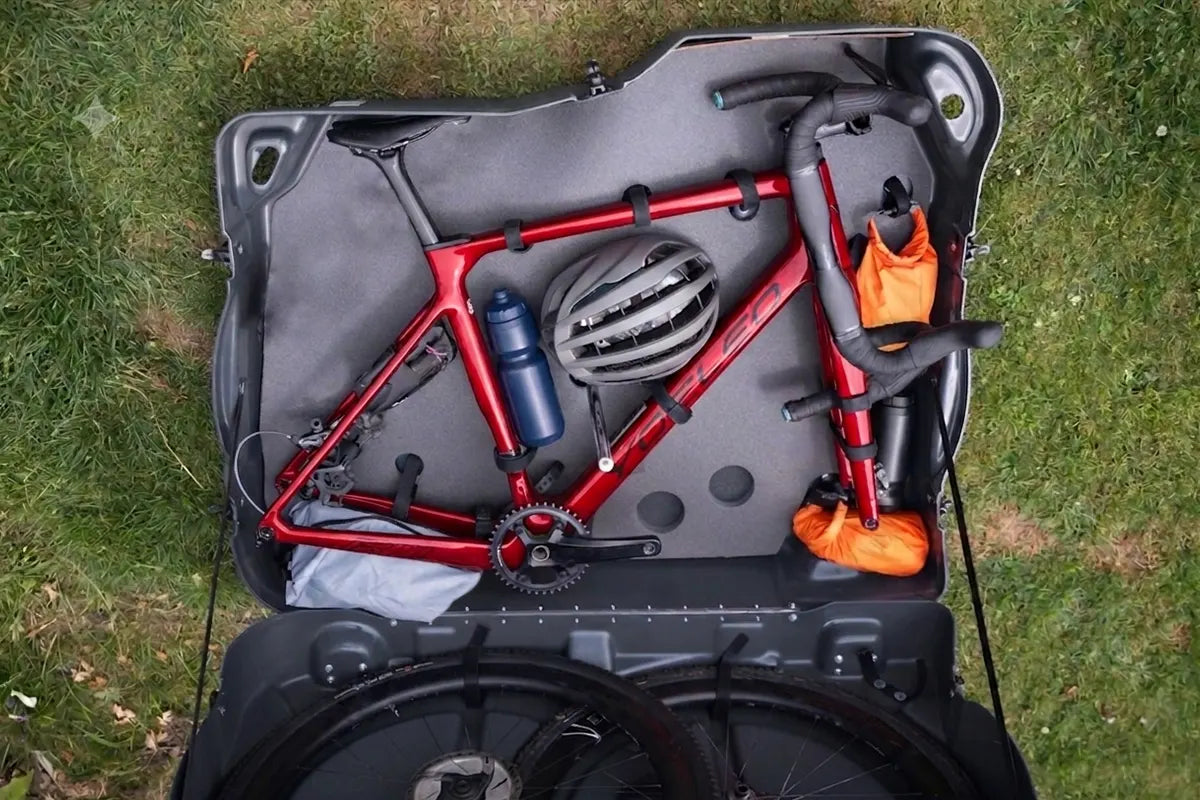
Flying With a Carbon Frameset: Packing So Nothing Cracks
Most damage happens in two ways: something rigid presses directly on a tube, a case wall flexing under stacked weight, a wheel jammed against the top tube, or something loose inside the case shifts during handling and hits a tube edge-on. Both are solved the same way, by removing anything that can move and padding the points that can't be removed.
Read moreabout Flying With a Carbon Frameset: Packing So Nothing Cracks
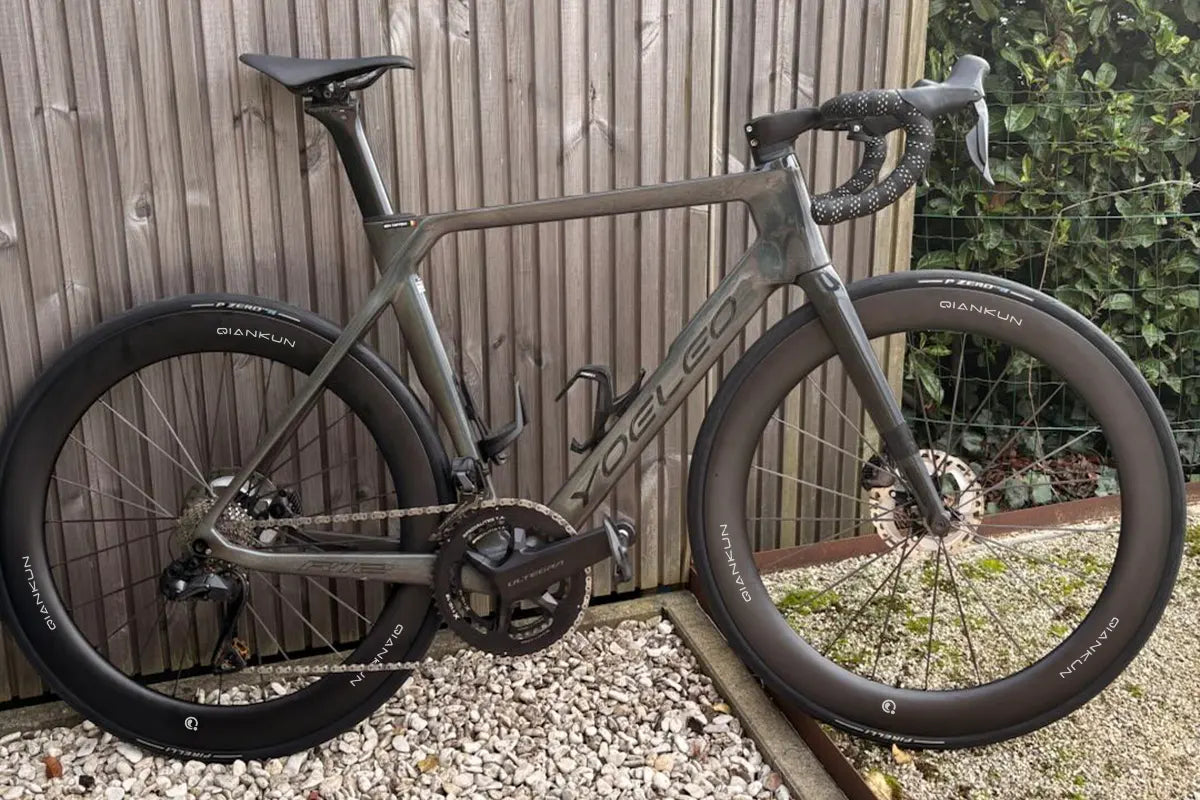
The 5-Minute Pre-Ride Check for a Self-Built Carbon Bike
Read moreabout The 5-Minute Pre-Ride Check for a Self-Built Carbon Bike
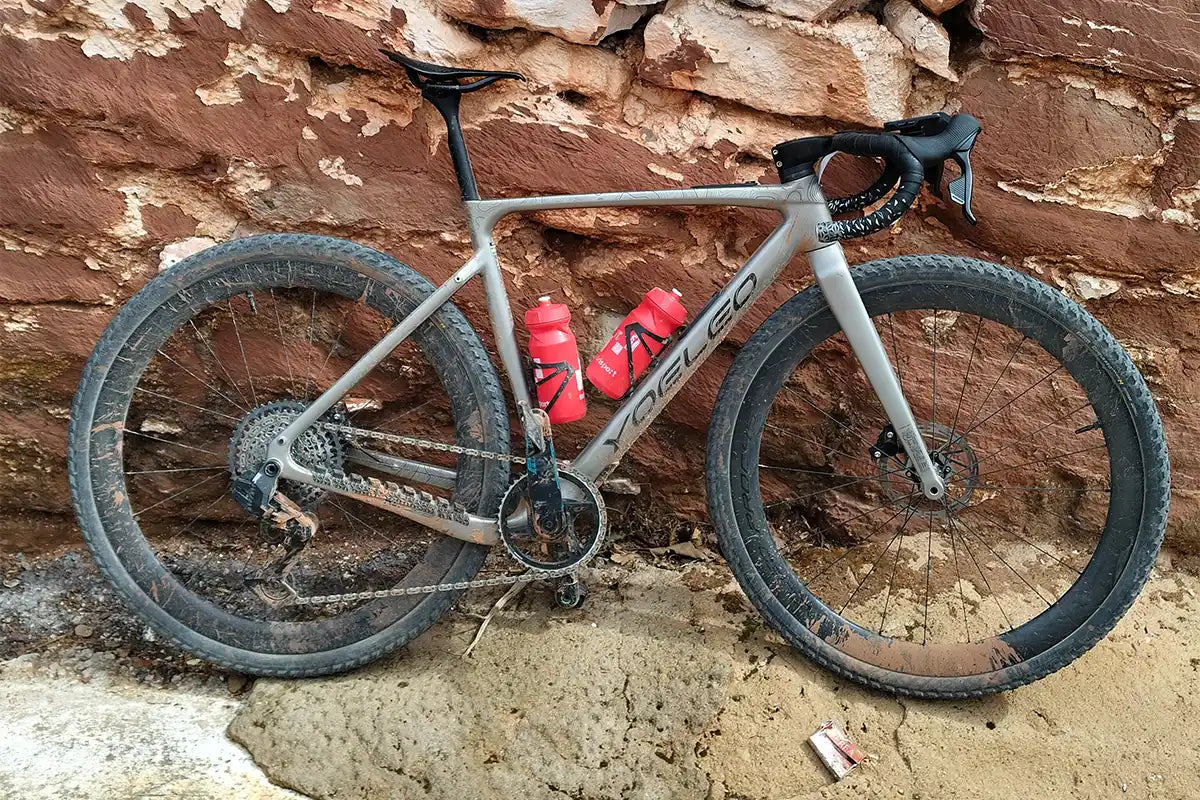
How to Wash a Carbon Bike Without Wrecking It
Read moreabout How to Wash a Carbon Bike Without Wrecking It