
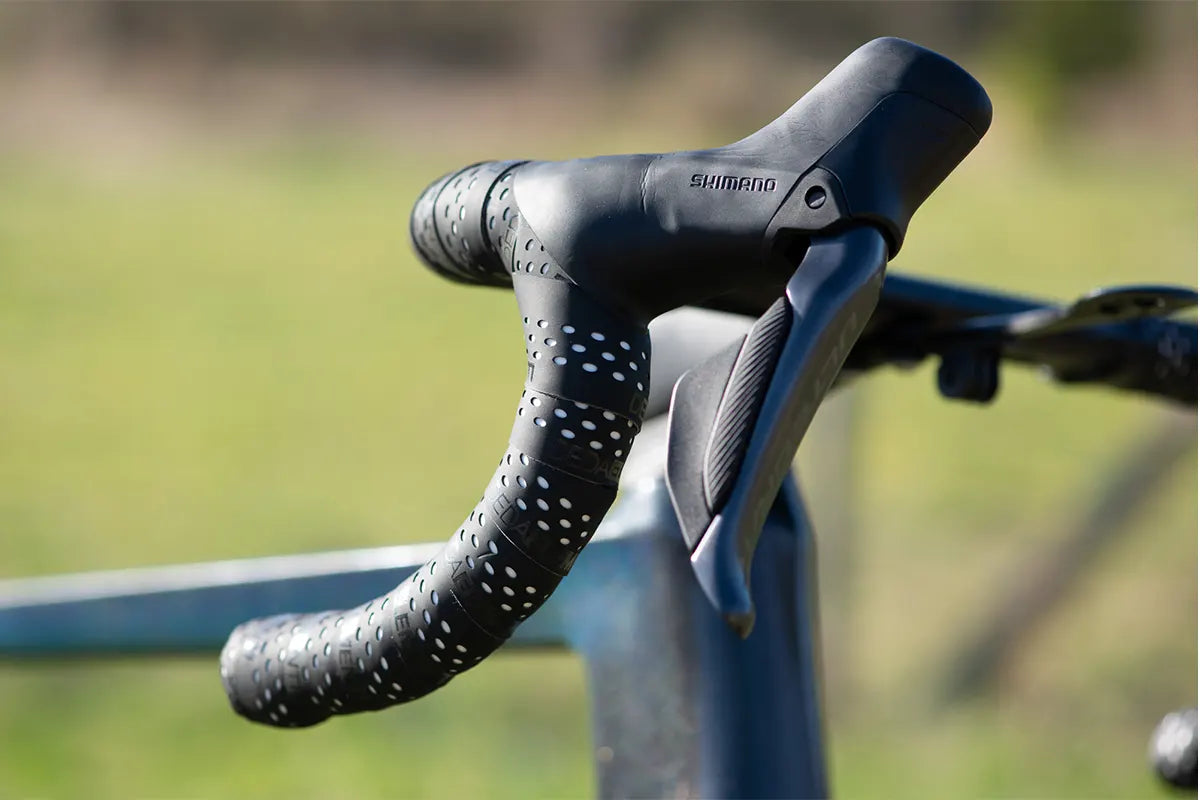
Wrapping Bar Tape on an Integrated Cockpit
You've wrapped tape before. It went fine on your old bike, with cables running along the outside of the bar under the tape, giving you room to hide the finish anywhere. Then you try the same technique on an integrated cockpit and the tape won't sit flat near the stem, there's a gap where the lever clamp meets the bar, and the finish looks lumpy no matter how many times you redo it.
The difference is what's underneath. An integrated cockpit routes brake and shift cables, or a fully internal wire on electronic groupsets, through the inside of the bar and stem rather than along the surface. That changes the shape the tape has to follow near the stem clamp, and removes some of the slack a traditional wrap relies on to hide a rough finish.
None of this makes the job harder once you know where the differences are. The tools are the same. The sequence changes in three places: the start point, the overlap through the lever body, and the finish at the clamp.
Why Integrated Cockpits Change the Wrapping Process
Integrated bars change three things about the wrap: there's no external cable to hide the tape edge against, the bar-to-stem transition is a fixed, often flared shape rather than a round clamp you can tape over freely, and the internal channel means less spare tape length is forgiving near the stem.
On a traditional bar with external cable housing, a slightly uneven wrap near the stem is hidden by the housing underneath. On an integrated bar, the tape sits directly against a moulded carbon surface with nothing to disguise a wobble, so the wrap has to be more consistent.
The other change is where the tape is allowed to start and finish. Some integrated bars have a cable exit port on the underside of the drop, close to where tape traditionally begins. Check where your bar's ports sit before you start, because taping over an exposed cable port is a common early mistake.
What You Need Before You Start
Two rolls of bar tape (buy the length rated for your bar shape, integrated aero bars often need more than round bars of the same reach), finishing tape or the plug-and-strip kit that came with your tape, scissors, and a 4 mm or 5 mm hex key for the bar-end plugs. A short length of electrical tape as a backup anchor is worth keeping on hand even if your kit includes its own adhesive strip.
Set the bar and lever position before you tape, not after. Tape hides small errors in lever angle, but it's much easier to check and adjust position on bare bar than through two layers of tape.
Where to Start the Wrap: the Drop End
Start at the bar end, not the stem. Pull about 20-30 mm of tape past the end of the bar so it tucks inside once you fit the bar-end plug, then begin wrapping toward the stem.
On an integrated cockpit, check the drop end for a cable exit or a moulded taper before you start. Road bars like the H9 and gravel bars like the H21 both use a clean, uninterrupted taper at the drop, so the standard start point applies directly. If a computer or light mount sits near the drop, start the wrap on the far side of it, not underneath.
Wrap with roughly 50% overlap: each turn covers about half the width of the previous turn. Less overlap leaves gaps that catch on gloves and let grime in. More overlap wastes tape and adds bulk under the hands.
Wrapping Sequence Around the Levers
Wrap consistently in the direction that tightens under hand pressure: tape should wrap so the leading edge trails under the rider's grip rather than lifting against it. In practice this means wrapping toward the stem on top of the bar and away from the stem underneath, which happens naturally if you keep tension pulling toward the direction you're moving.

At the lever body, do a figure-8: bring the tape up and around the back of the lever clamp, cross it, and bring it back down on the other side, so the clamp bolt stays accessible and the tape doesn't bunch on one side only. This is the step most riders rush, and it's the one that determines whether the tape sits flat under your palms for the next two years of riding.

Keep tension even here. Tape pulled too tight over the clamp will crack or thin at the edges within a season; too loose and it slips and bunches within a few rides.
Finishing at the Clamp: Where Integrated Bars Differ Most
This is the section where integrated cockpits diverge most from a standard round bar. Traditional bars usually finish with a clean run of tape right up to the stem clamp, because the clamp area is a simple round tube. Integrated bars often taper, flare, or narrow right where the tape needs to finish, and there may be a cable port on the underside near the clamp that must stay uncovered for airflow or serviceability.
Finish the wrap 5-10 mm short of the stem faceplate rather than running it flush, and anchor the end with a wrap of electrical tape before applying the finishing tape or strip supplied with your kit. This gives a clean, consistent edge regardless of the exact shape of the transition on your particular bar, and it avoids taping over a cable port by mistake.
Bar-End Plugs and Torque
Most bar-end plugs on integrated cockpits are expansion plugs: a rubber or plastic sleeve that widens against the inside of the bar wall when a central bolt is tightened. Carbon bar surfaces are torque-sensitive, so use a torque wrench with a low-range bit if you have one, and tighten in small increments rather than cranking to a stop.
As a general reference for expansion-style bar-end plugs on carbon bars, most manufacturers spec somewhere in the 3-5 Nm range, though this varies by plug design and wall thickness. Always check the figure printed on the plug or in your bar's documentation before tightening, since carbon components are damaged by guesswork more often than by genuine failure.
|
Wrap zone
|
Target overlap
|
Wrap direction
|
Notes
|
|
Drop end to lever
|
~50%
|
Toward stem, top of bar
|
Start 20-30 mm past bar end for the plug tuck
|
|
Around lever clamp
|
~50%, figure-8
|
Up and over, both directions
|
Keep clamp bolt accessible
|
|
Lever to stem clamp
|
~50%
|
Toward stem
|
Finish 5-10 mm short of the faceplate
|
|
Bar-end plug
|
—
|
—
|
3-5 Nm reference, confirm printed spec
|
Worked example: wrapping a 420 mm integrated bar in under 20 minutes
A rider wraps a 420 mm integrated road bar with new SPD-SL-compatible levers already fitted and set to the correct angle.
Minute 0-3: check both drop ends for cable ports, confirm none are present on this bar model, and set out tools.
Minute 3-9: wrap the left side, starting at the drop with 25 mm of tape past the bar end, maintaining 50% overlap up to the lever, then a figure-8 around the lever clamp.
Minute 9-15: continue from the lever to 8 mm short of the stem faceplate, anchor with electrical tape, and apply the finishing strip. Repeat the same sequence on the right side.
Minute 15-20: fit both bar-end plugs, torque to the figure printed on the plug (3.5 Nm on this particular plug design), and do a final check for gaps or lifted edges by running a palm along the full length of both sides.
Common Mistakes on Integrated Bars
Taping over a cable exit port is the most common integrated-specific mistake, usually caught only after the cable rubs through the tape from underneath. Check for ports before the first wrap of tape goes on, not after.
Finishing tape flush against the stem faceplate, rather than 5-10 mm short, is the second. Integrated stem-to-bar transitions are rarely a perfect round tube, and tape run right up to the edge tends to lift within the first few rides.
Uneven tension through the lever clamp figure-8 is the third. It's the hardest section to get right and the one most visible to your hands every ride, so it's worth redoing if the first attempt looks uneven.
Frequently Asked Questions
Can I reuse bar tape after removing it once?
Rarely without visible damage. Bar tape stretches as it's wrapped, and removing it typically tears the adhesive backing or leaves permanent crease marks. Plan on a fresh roll each time you rewrap rather than trying to reuse tape from a previous job.
Why does my tape keep sliding down near the lever after a few rides?
Usually tension applied unevenly through the figure-8 around the lever clamp, or a wrap direction that loosens under hand pressure instead of tightening. Rewrap that section with firm, even tension in the direction that tightens as you pull toward the stem.
Do I need different tape for an integrated bar than a standard bar?
Not necessarily, but check the length. Integrated aero-shaped drops sometimes need more tape per side than a round bar of the same reach, since the wrap has to follow a wider cross-section. Buy tape rated for your bar's shape if the manufacturer specifies one.
How do I know if my bar-end plug is tight enough?
Check the torque figure printed on the plug or in your bar's documentation, and use a torque wrench rather than judging by feel. An under-tightened plug can work loose and rattle; an over-tightened one can crack the inside wall of a carbon bar, which won't be visible until it fails.
Share:
Cleat Setup and Knee Pain: A Step-by-Step Method
Diagnosing Creaks: A Systematic Elimination Method