


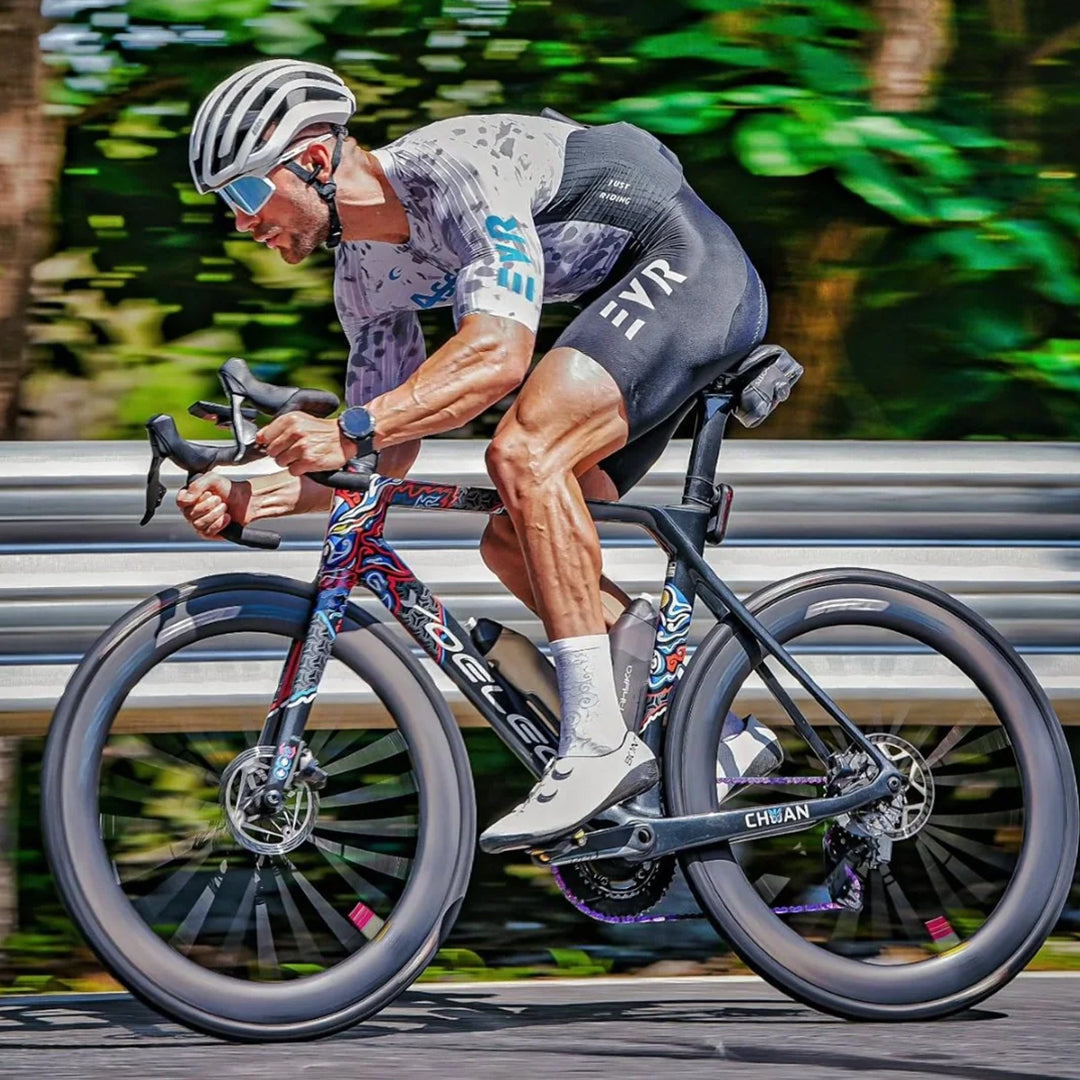

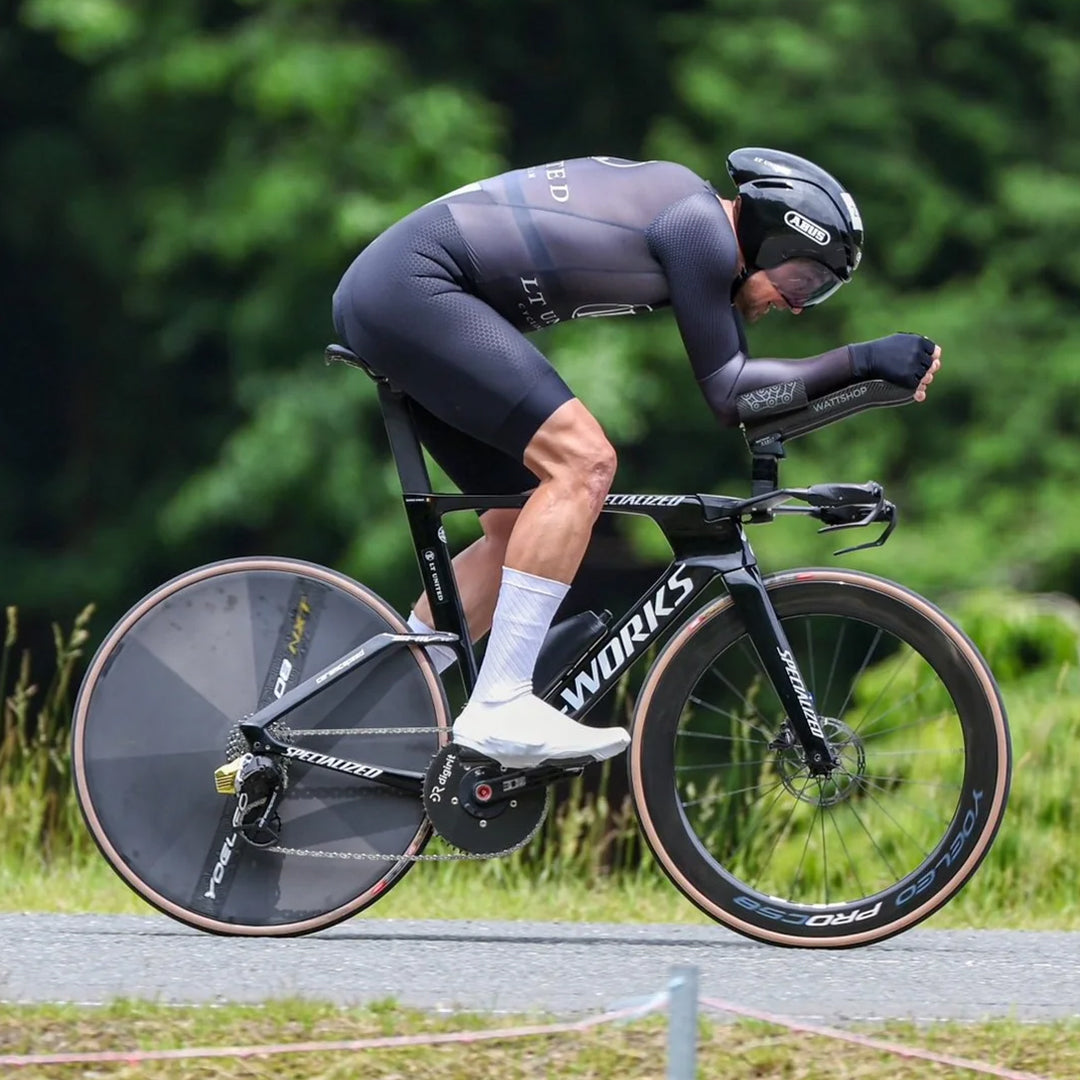
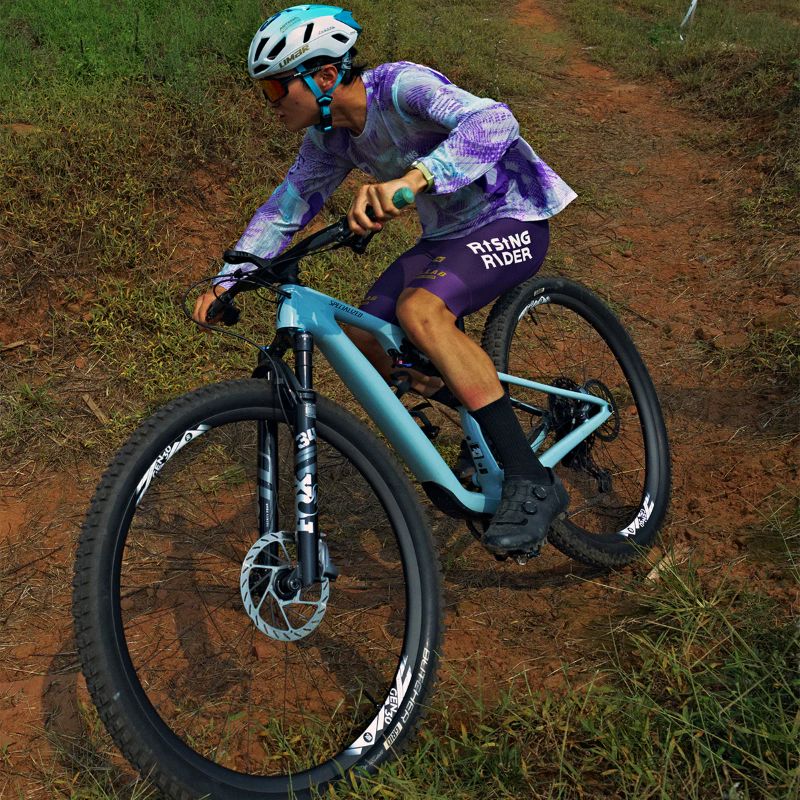
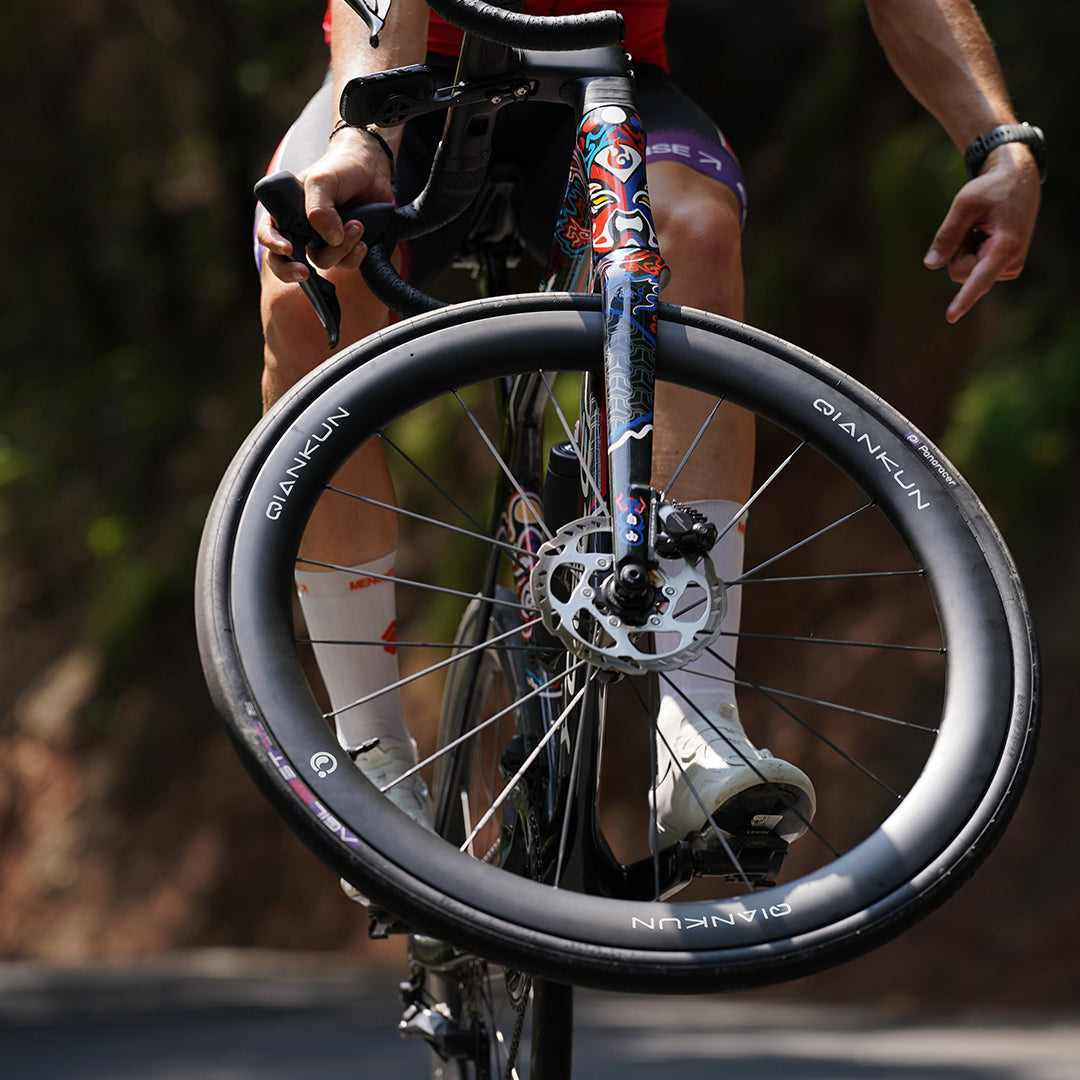

Altera G21 bundle
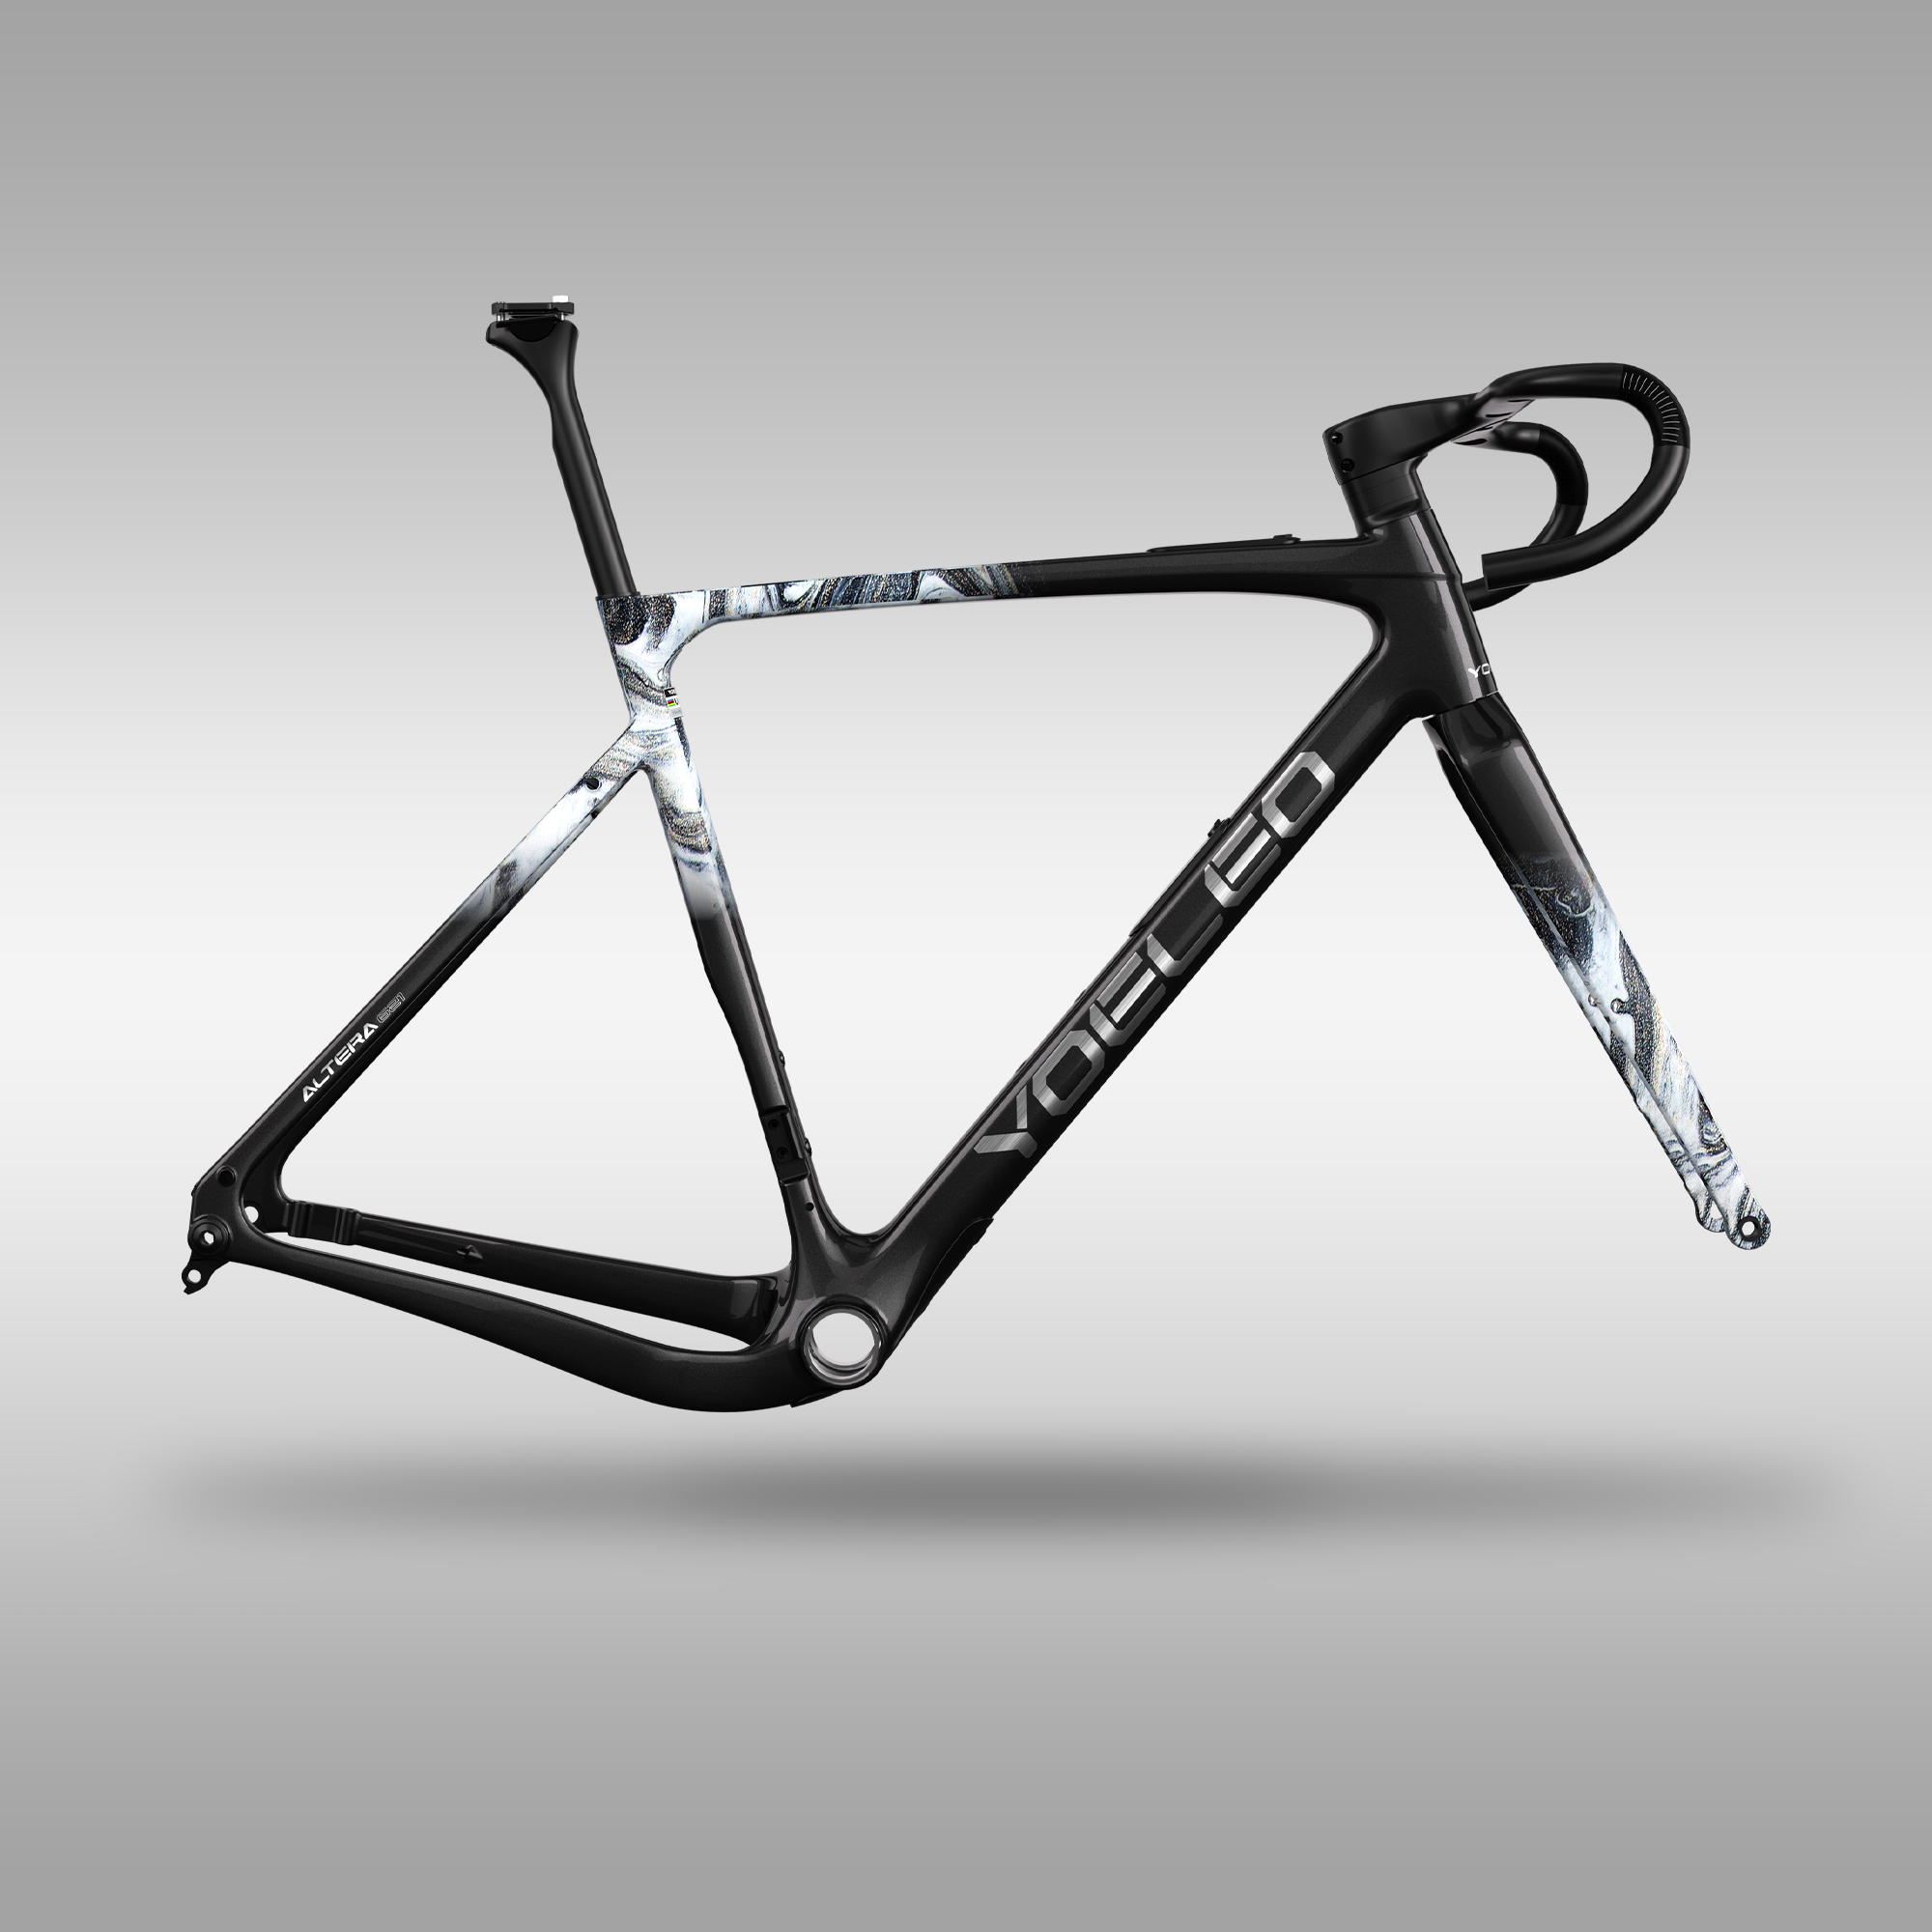
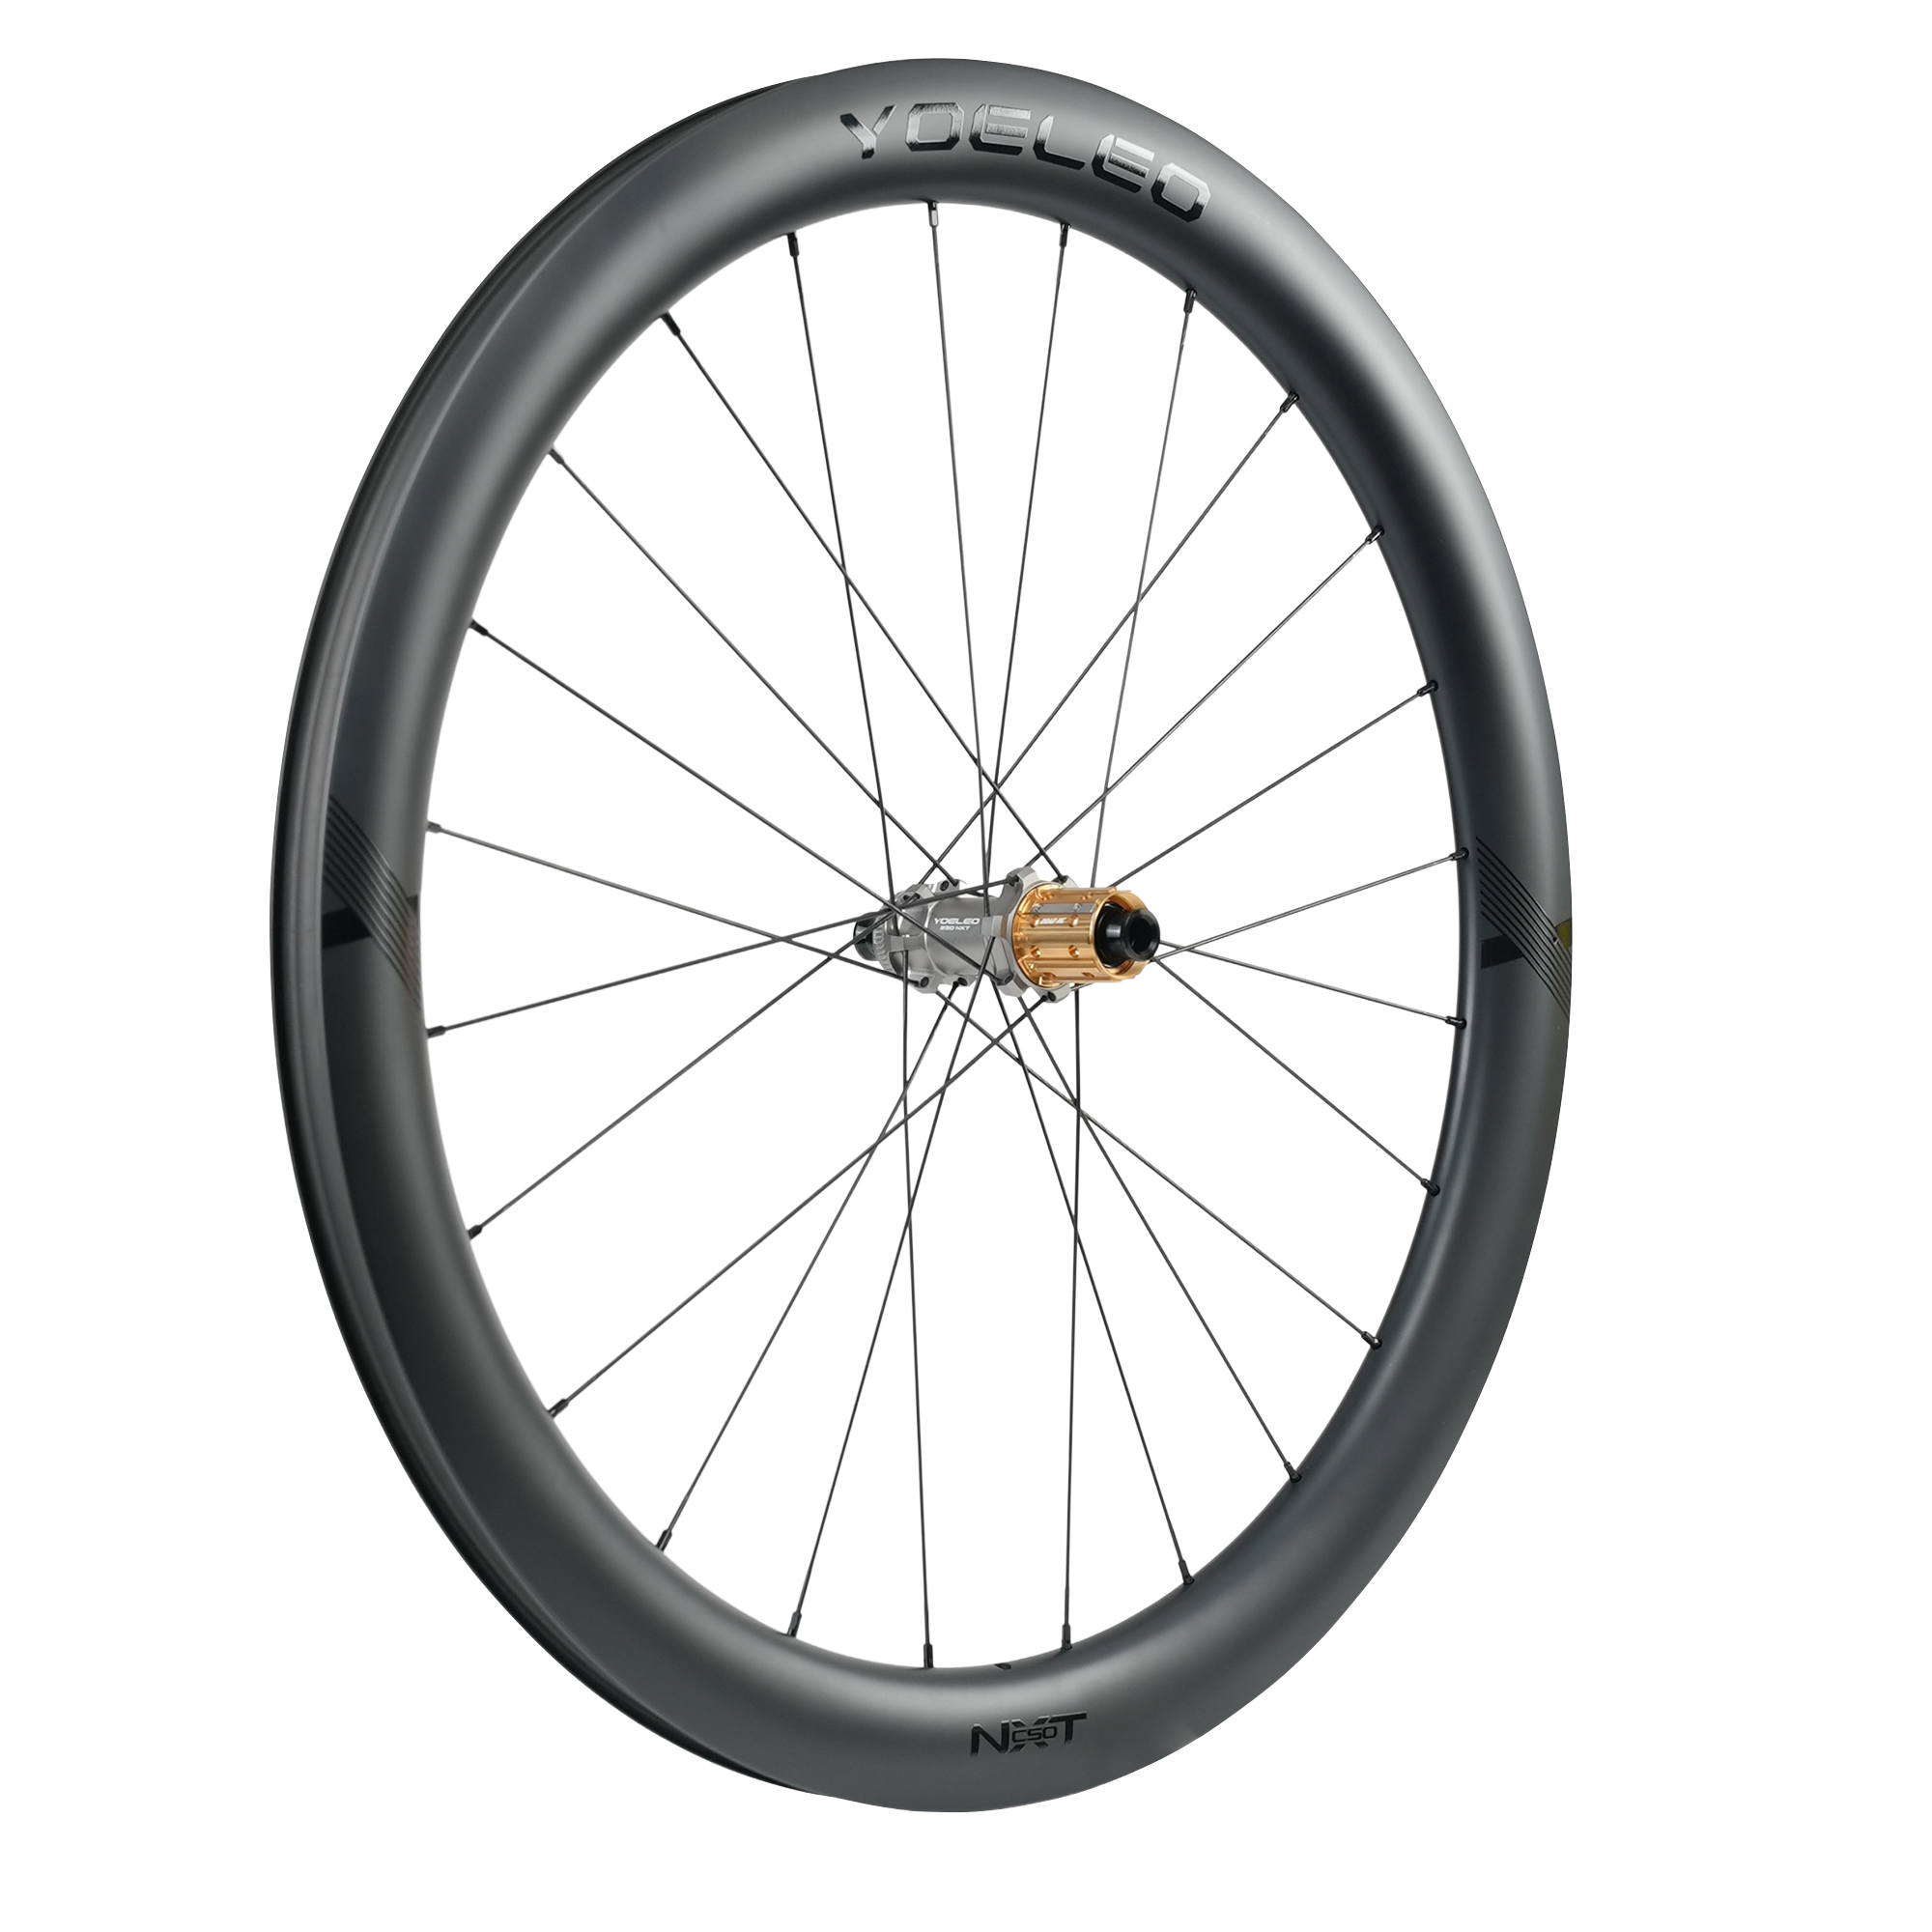
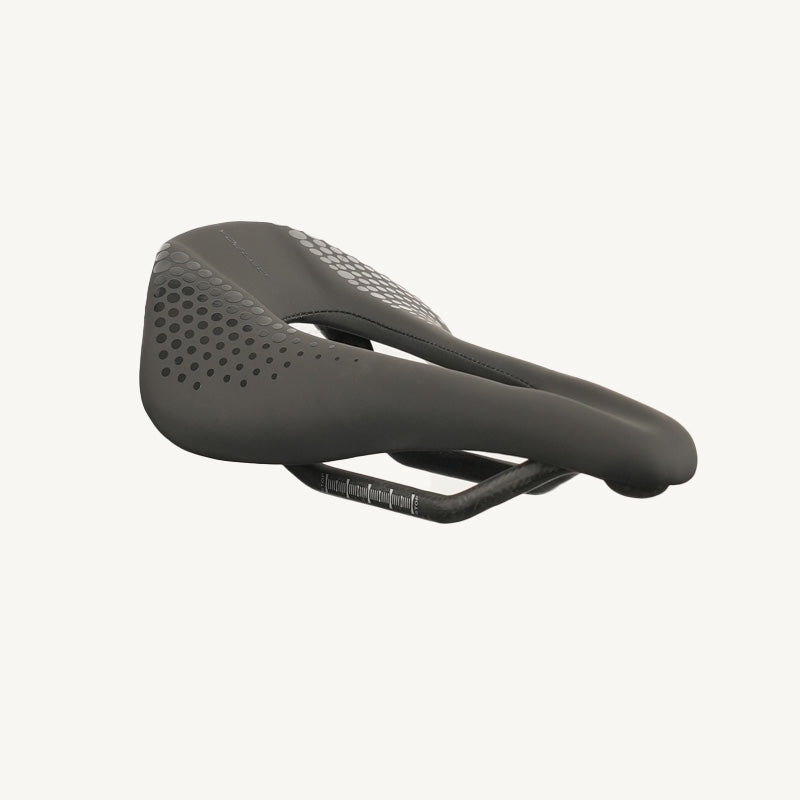
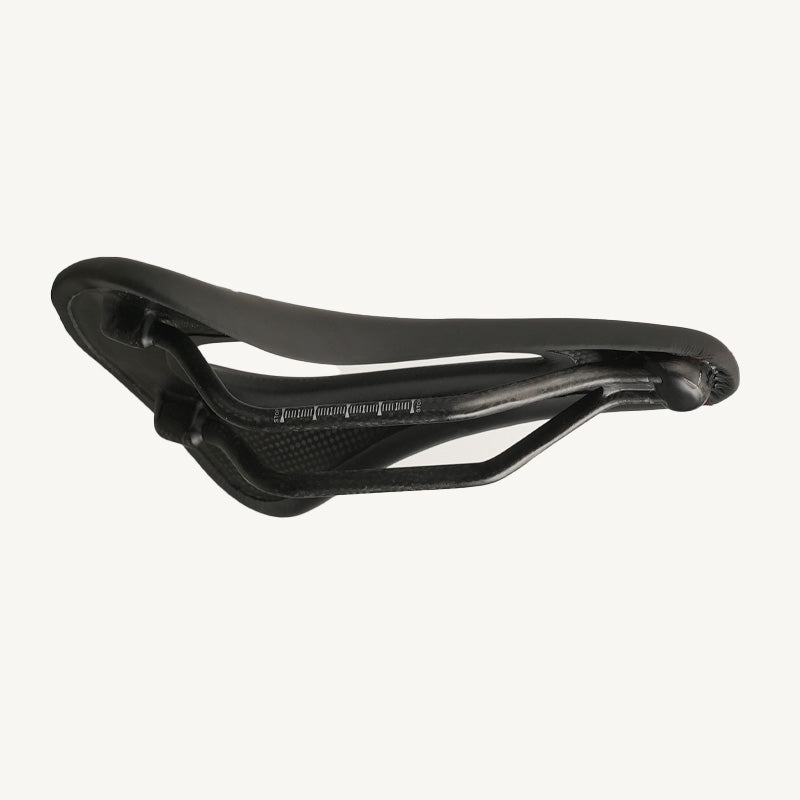
Altera g21 with C45 NxT SL2, Carbon Saddle
Best Sellers
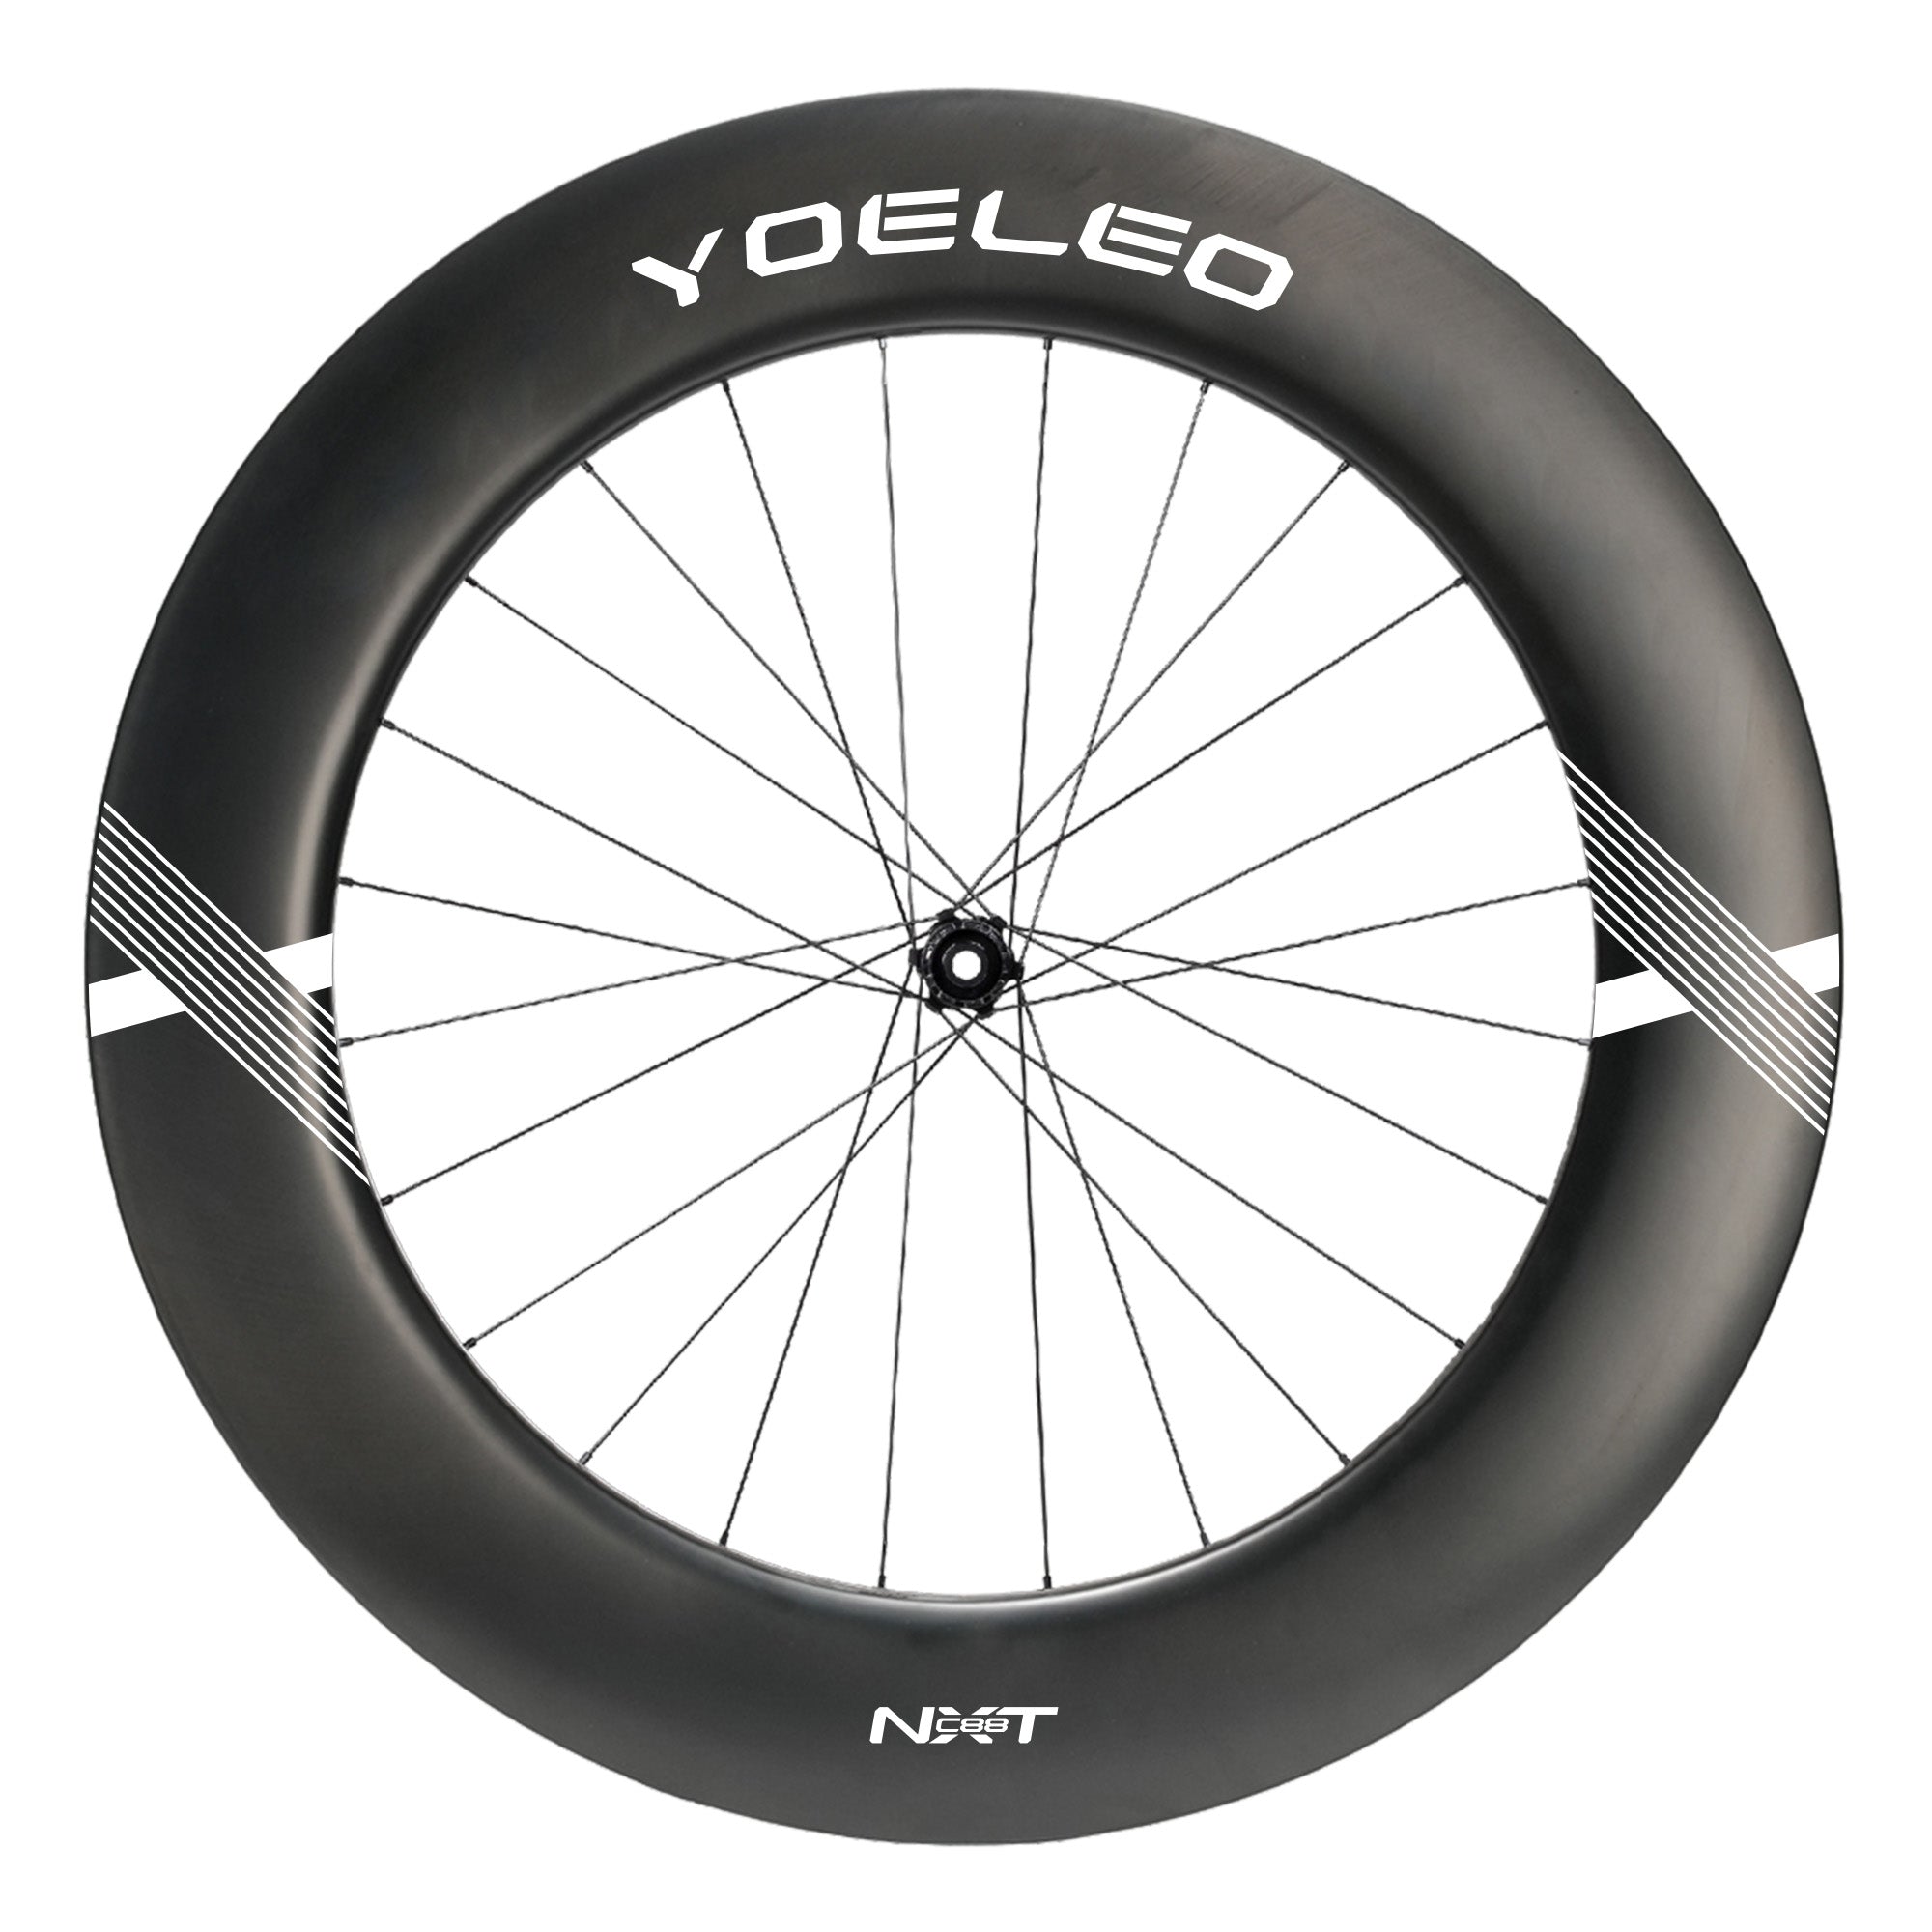
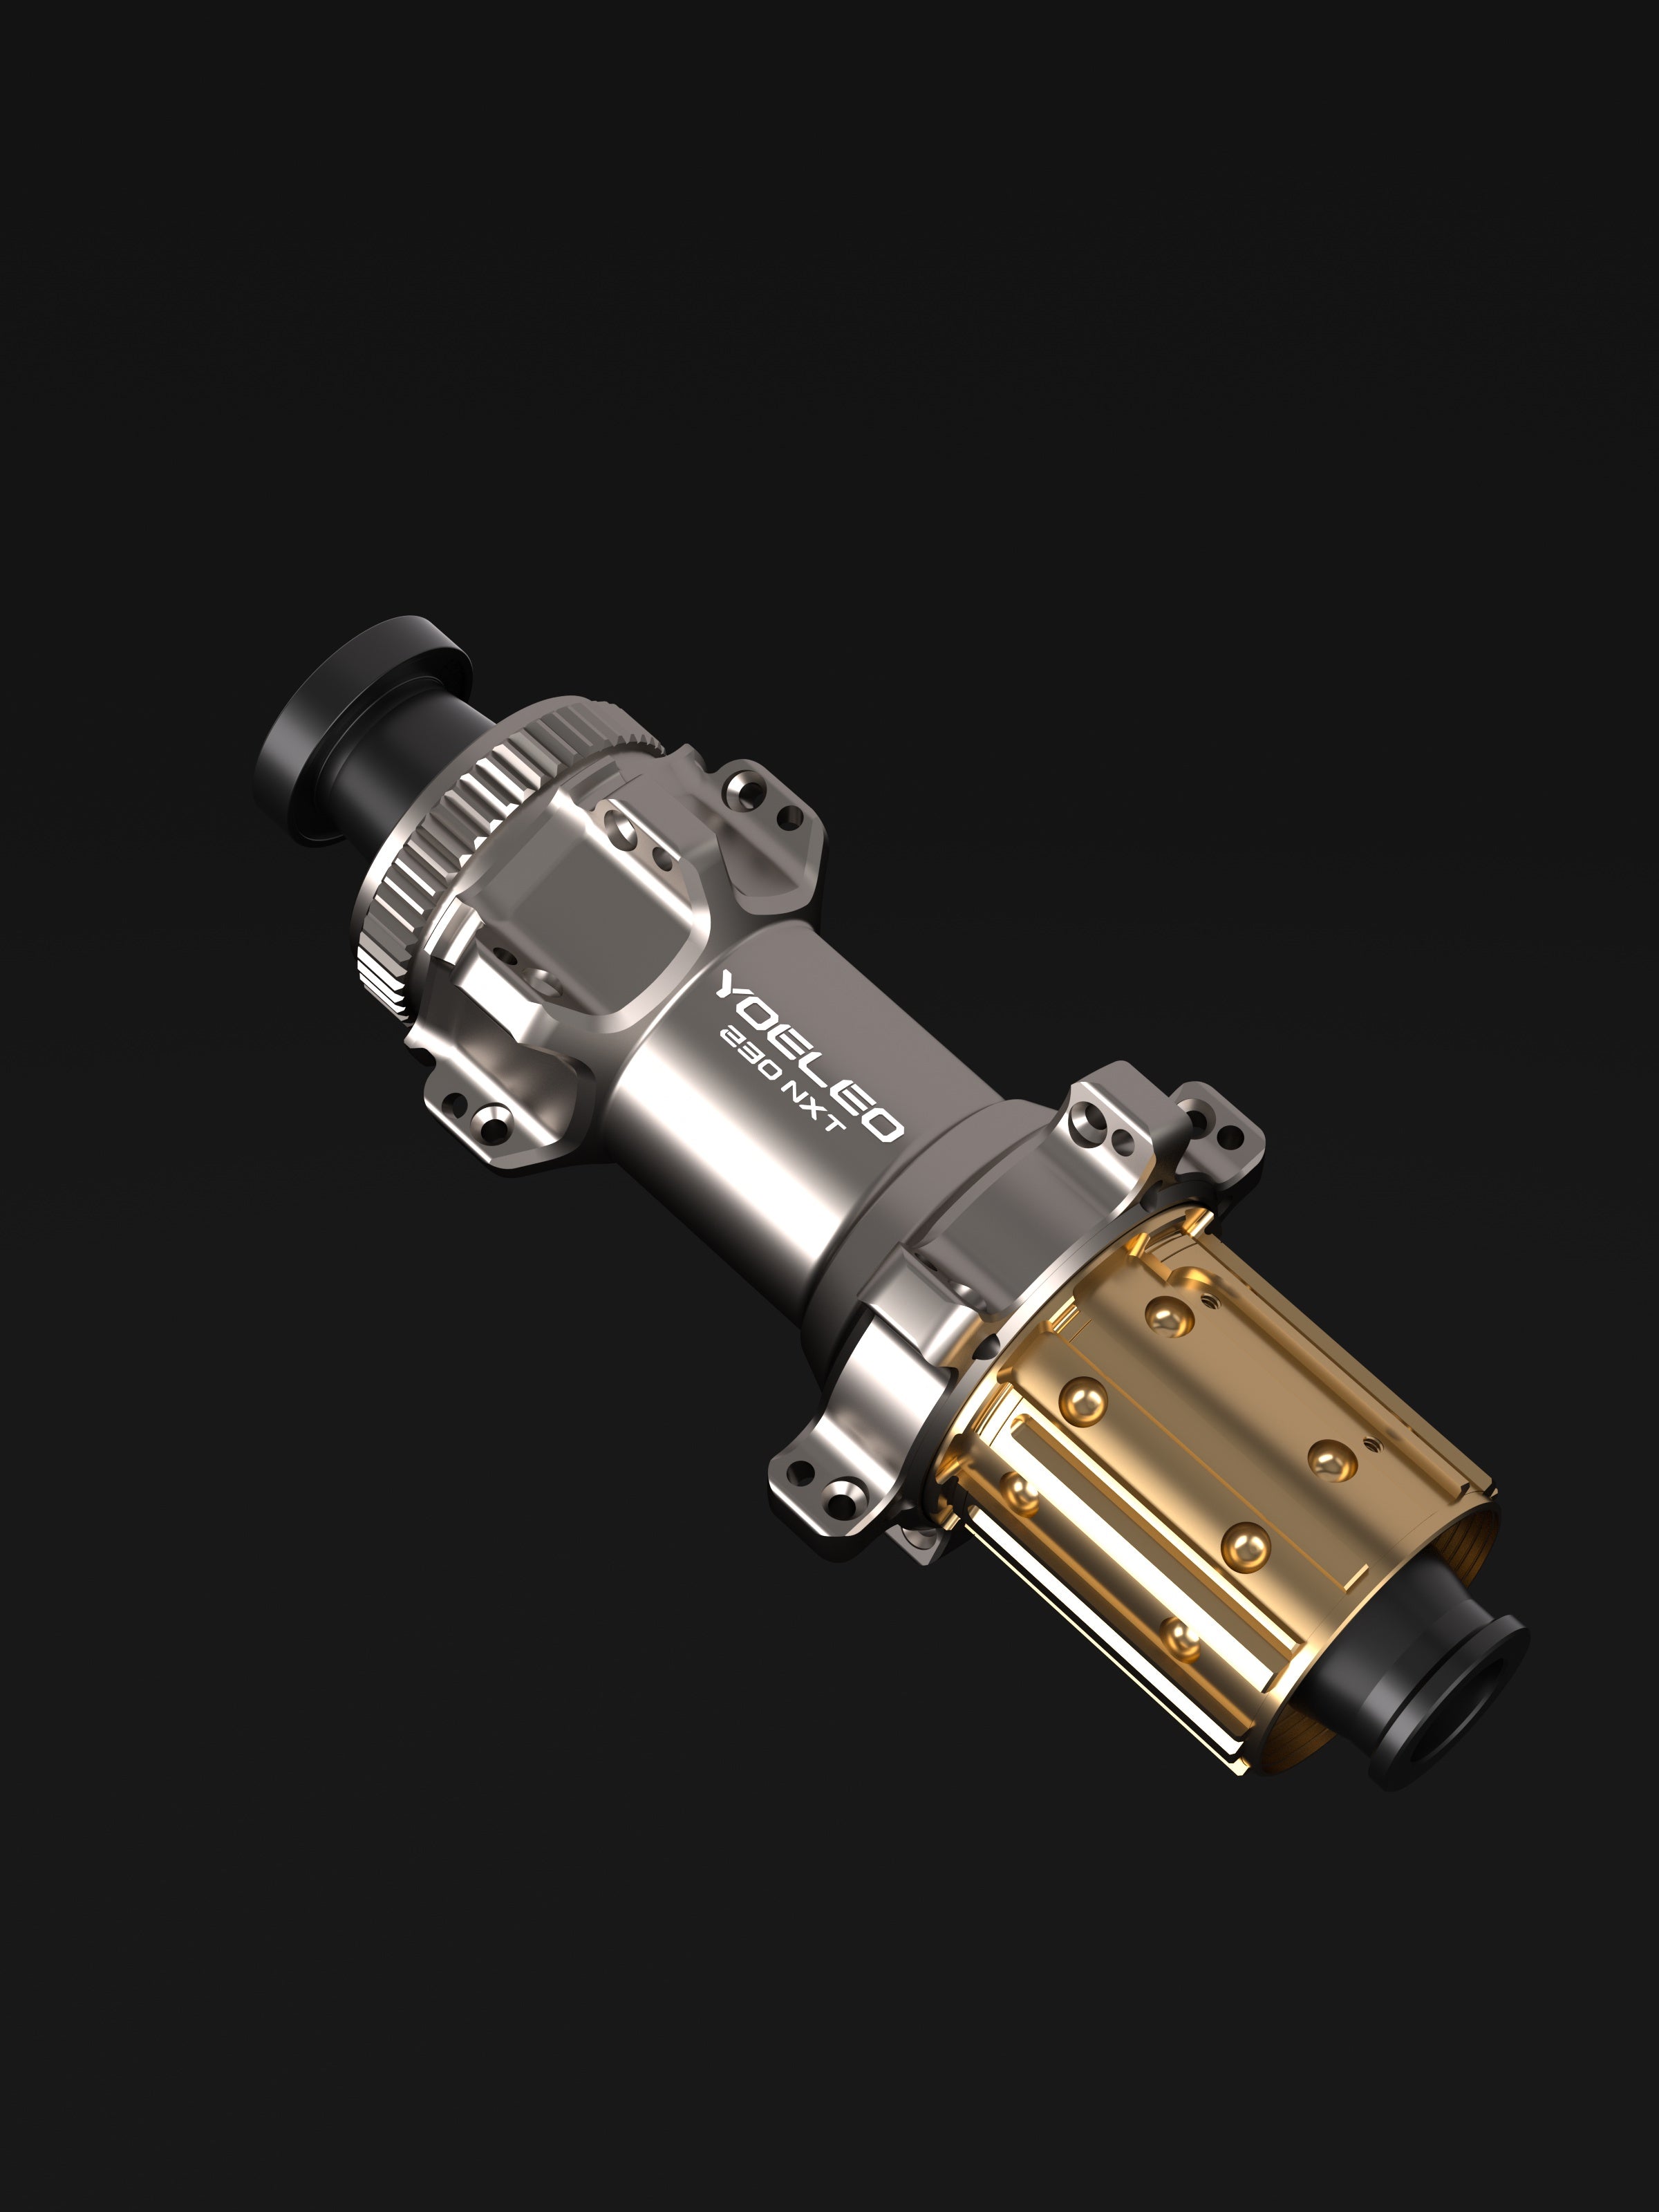
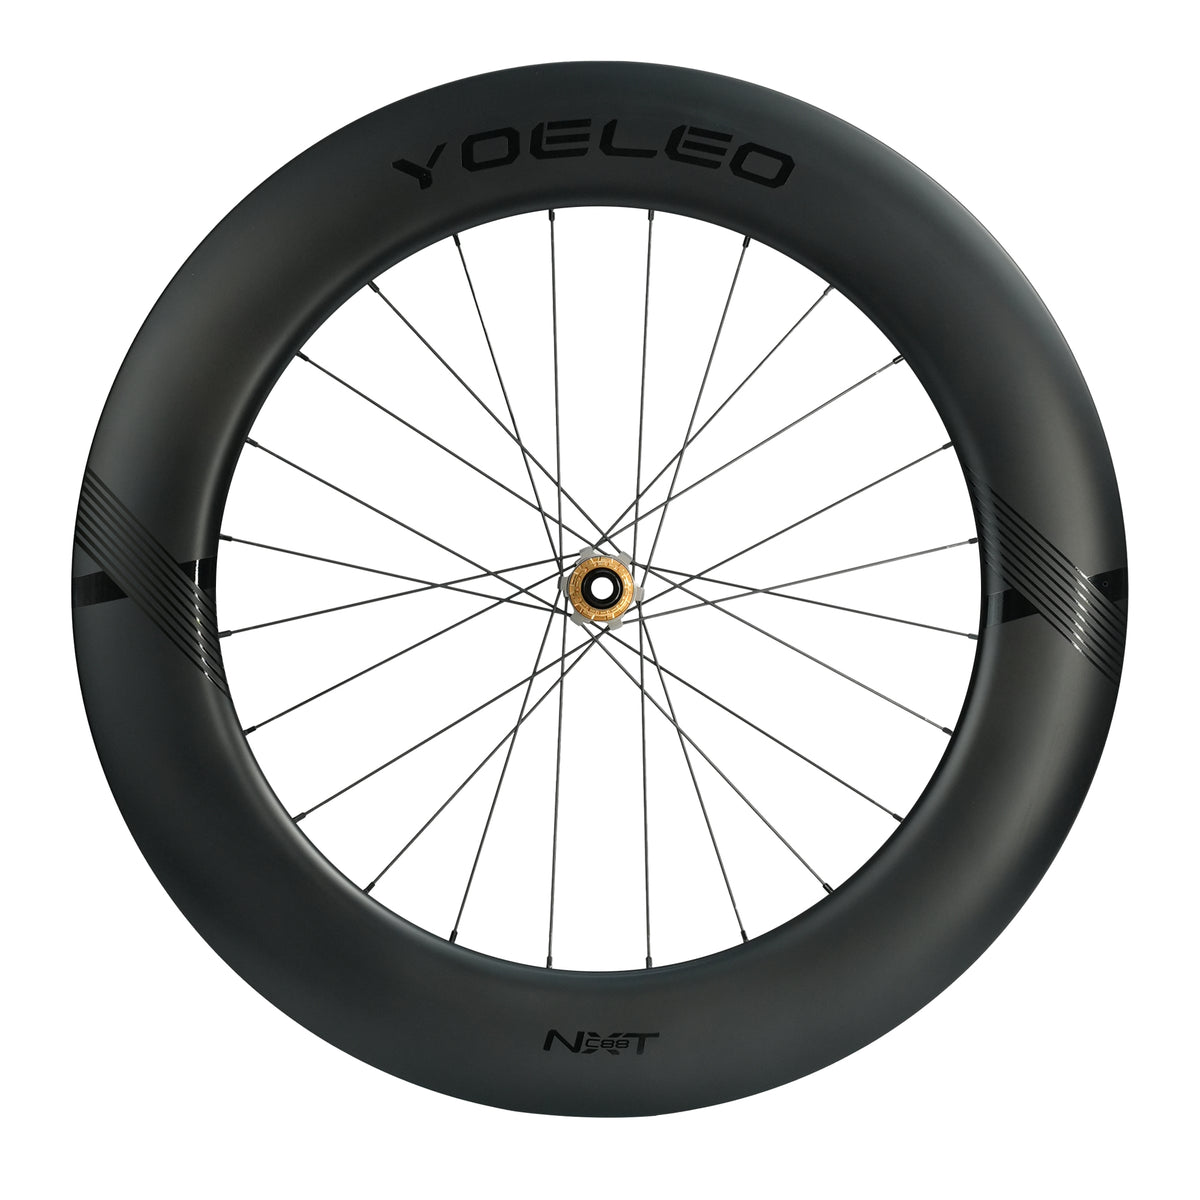

Rim Profile
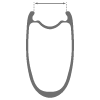
Inner Width
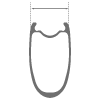
Outer Width

Weight
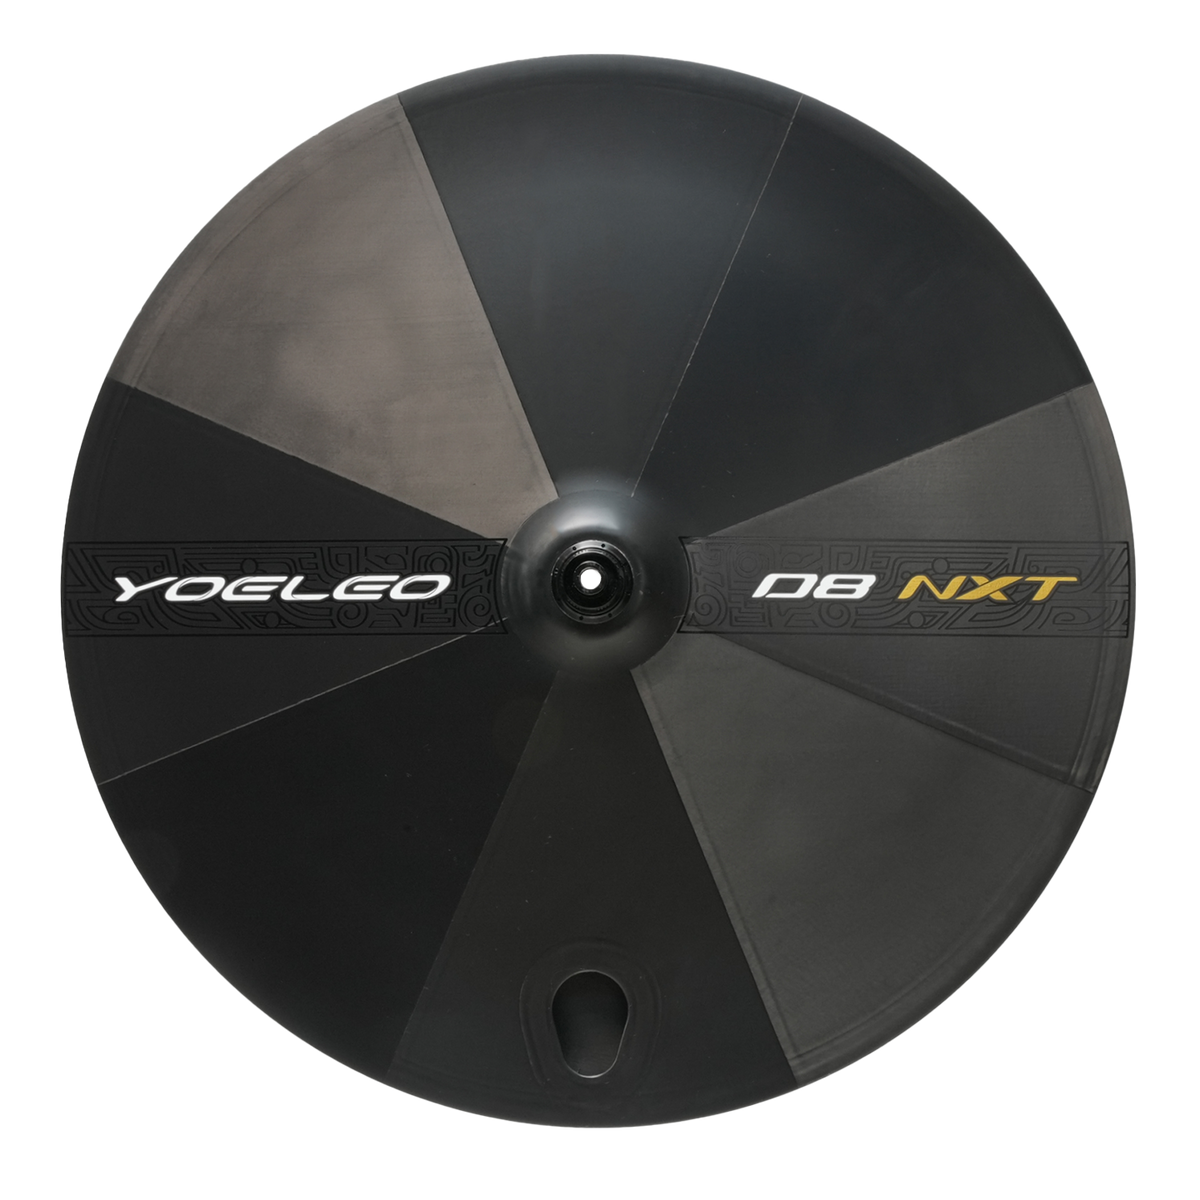

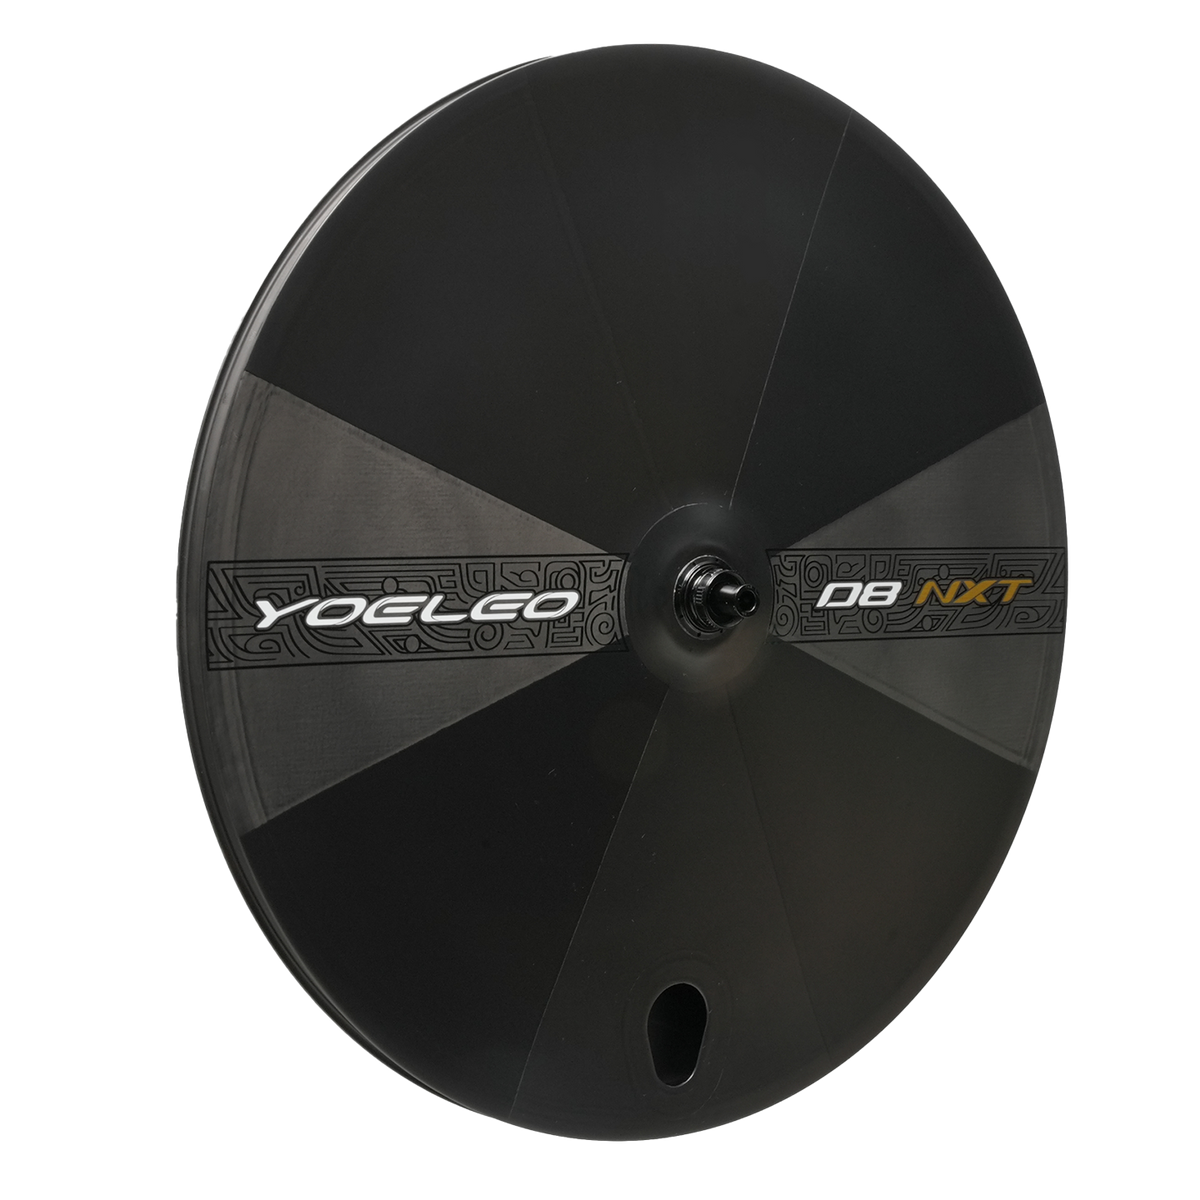

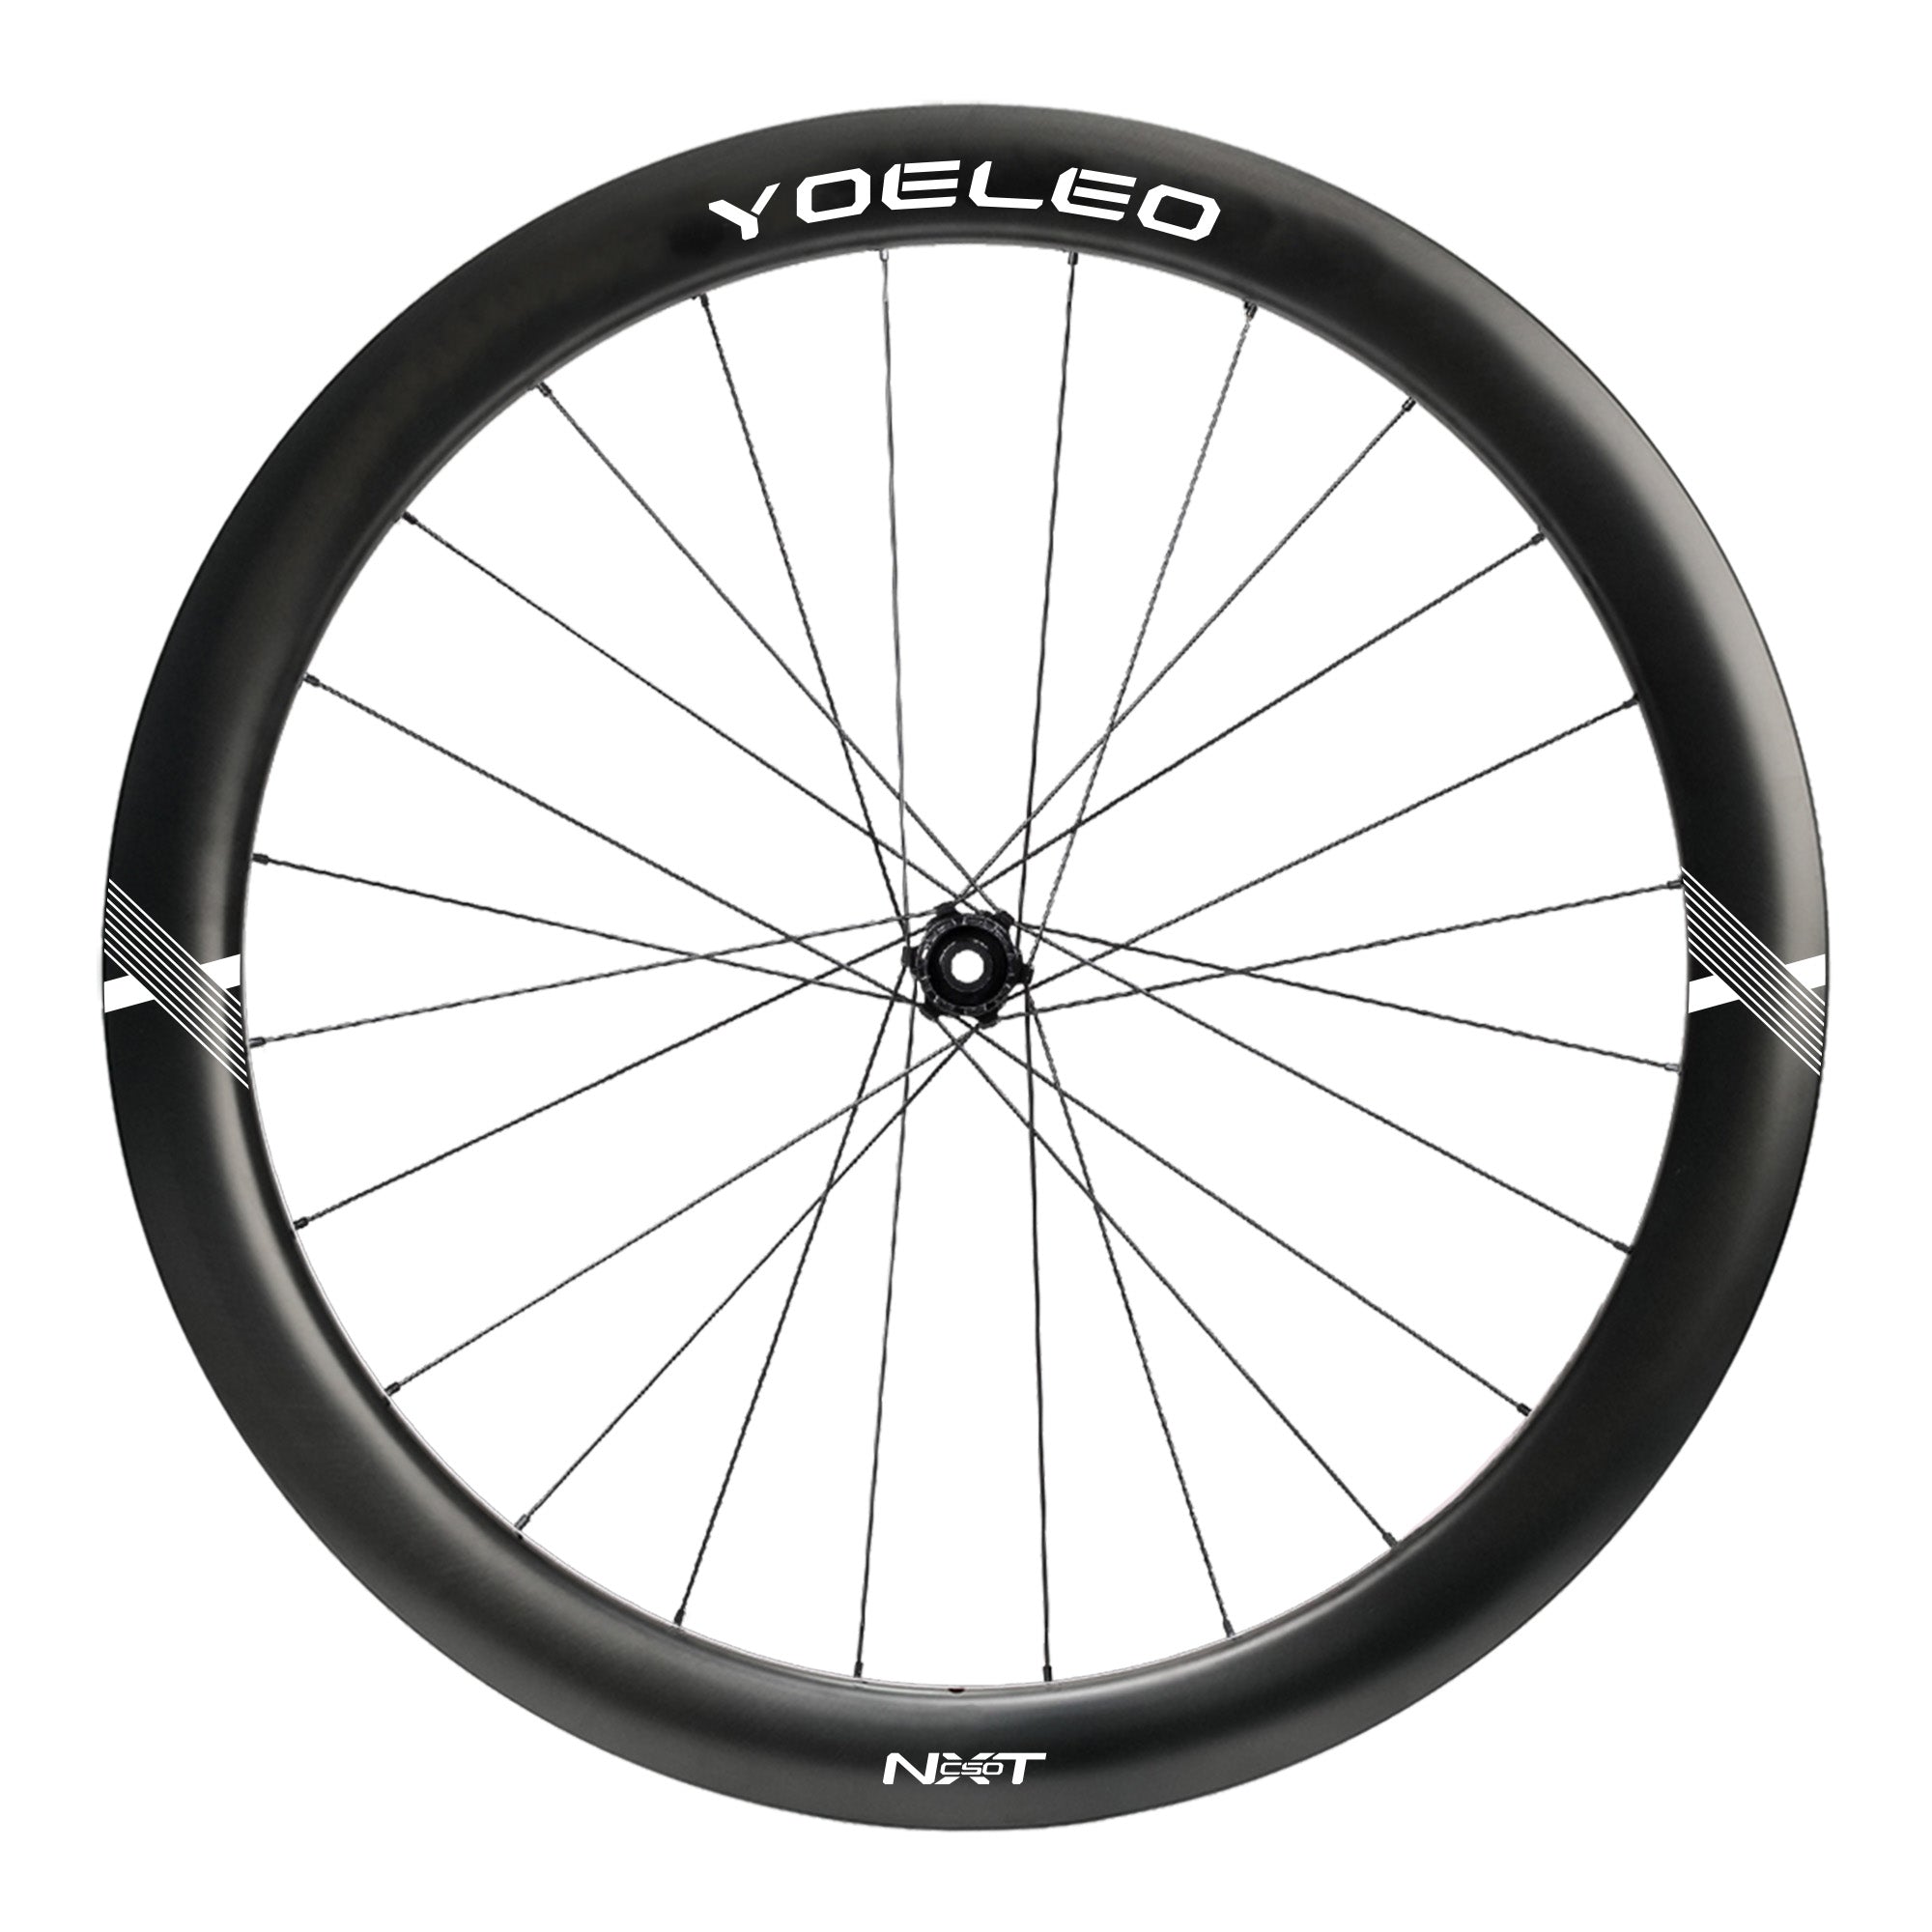
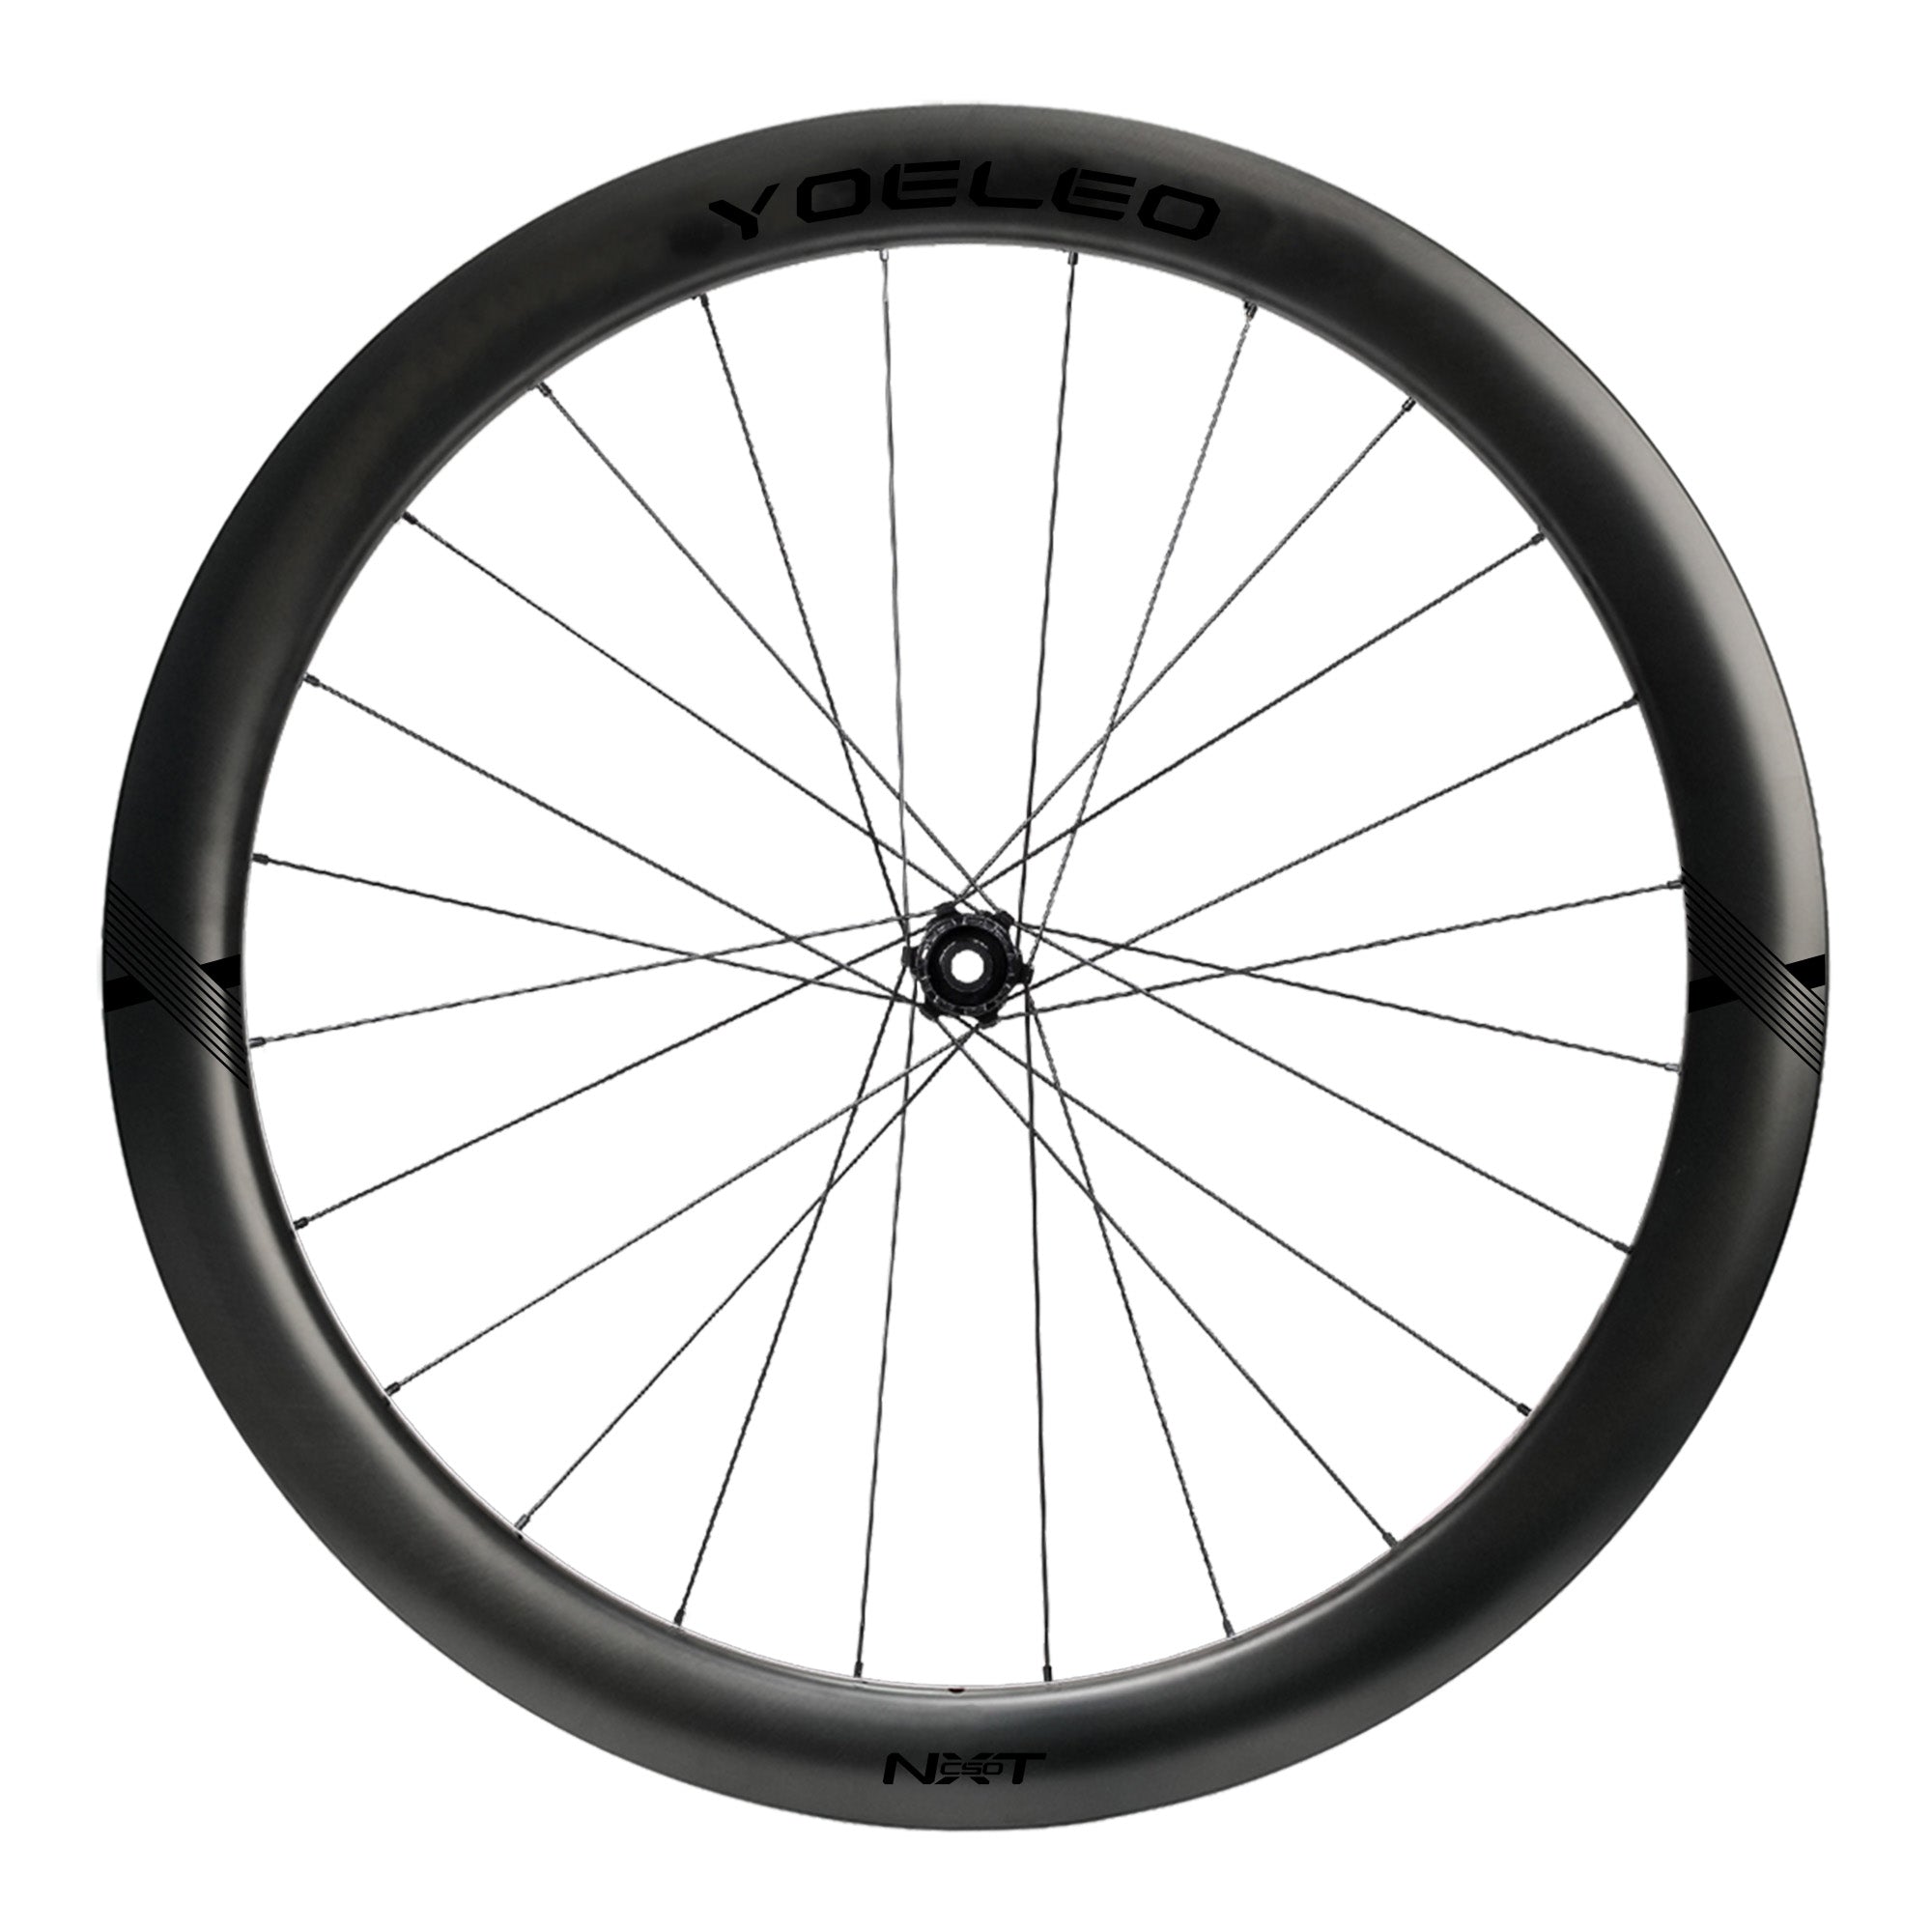
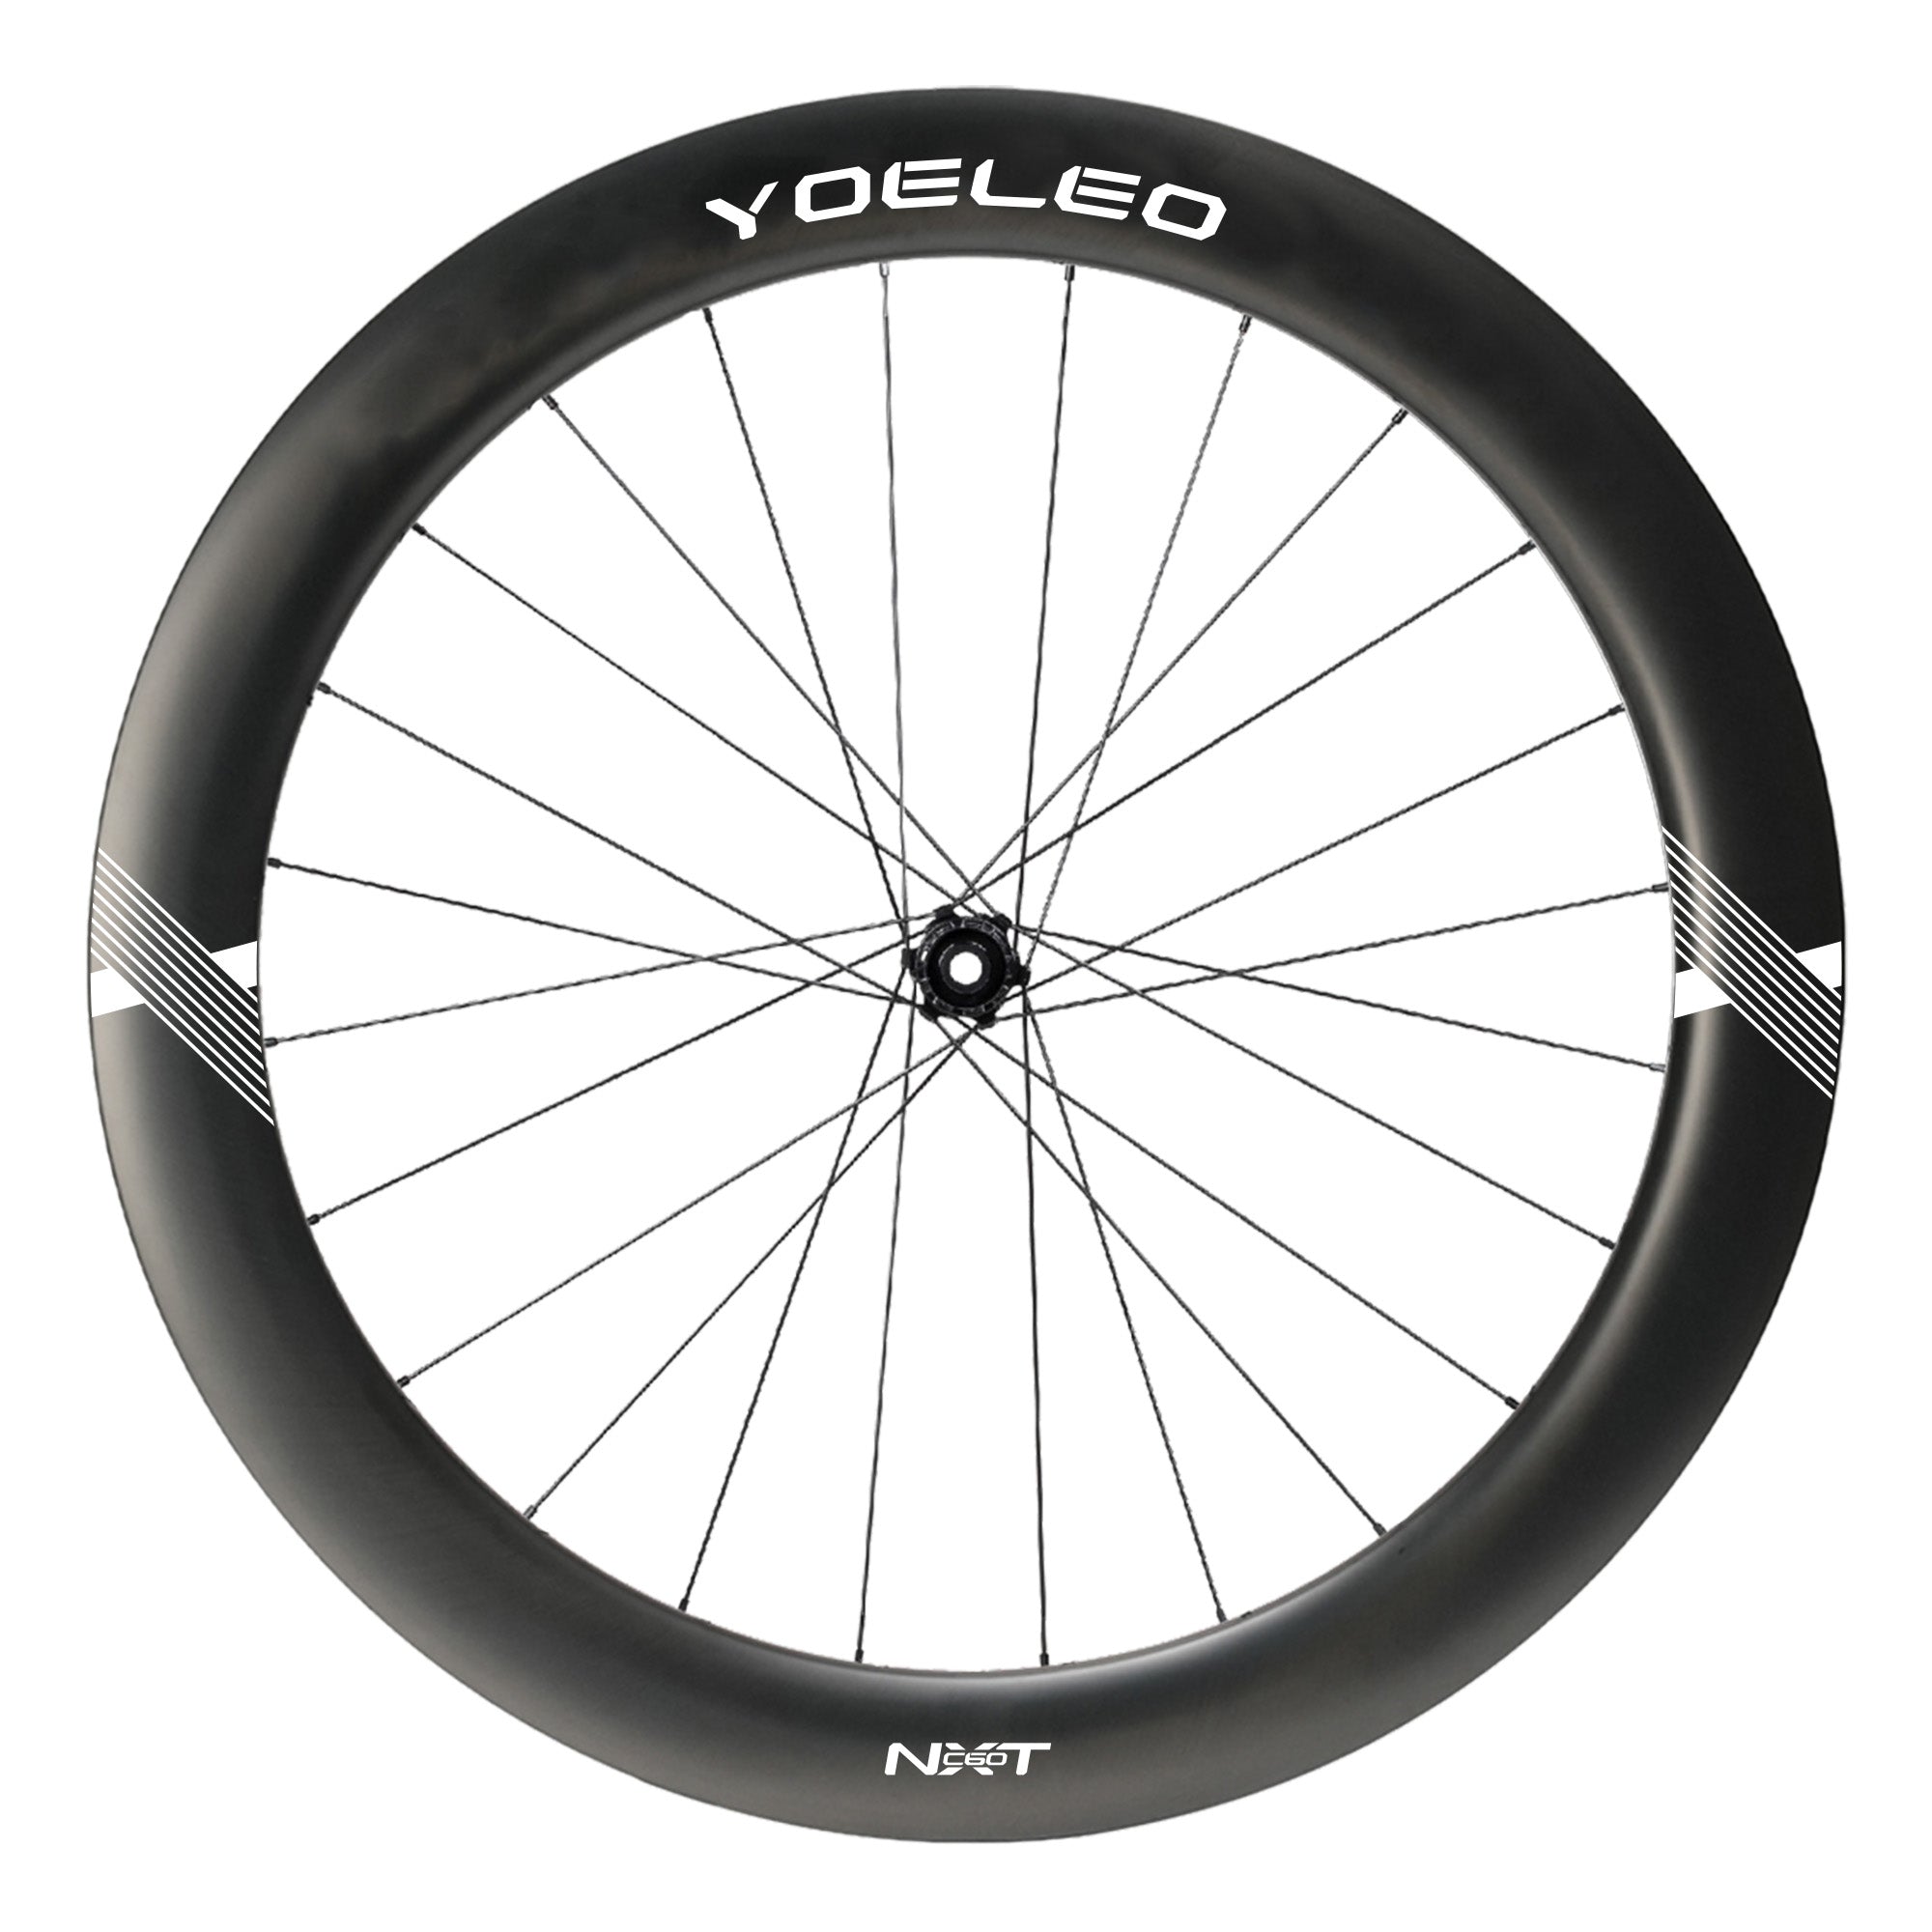
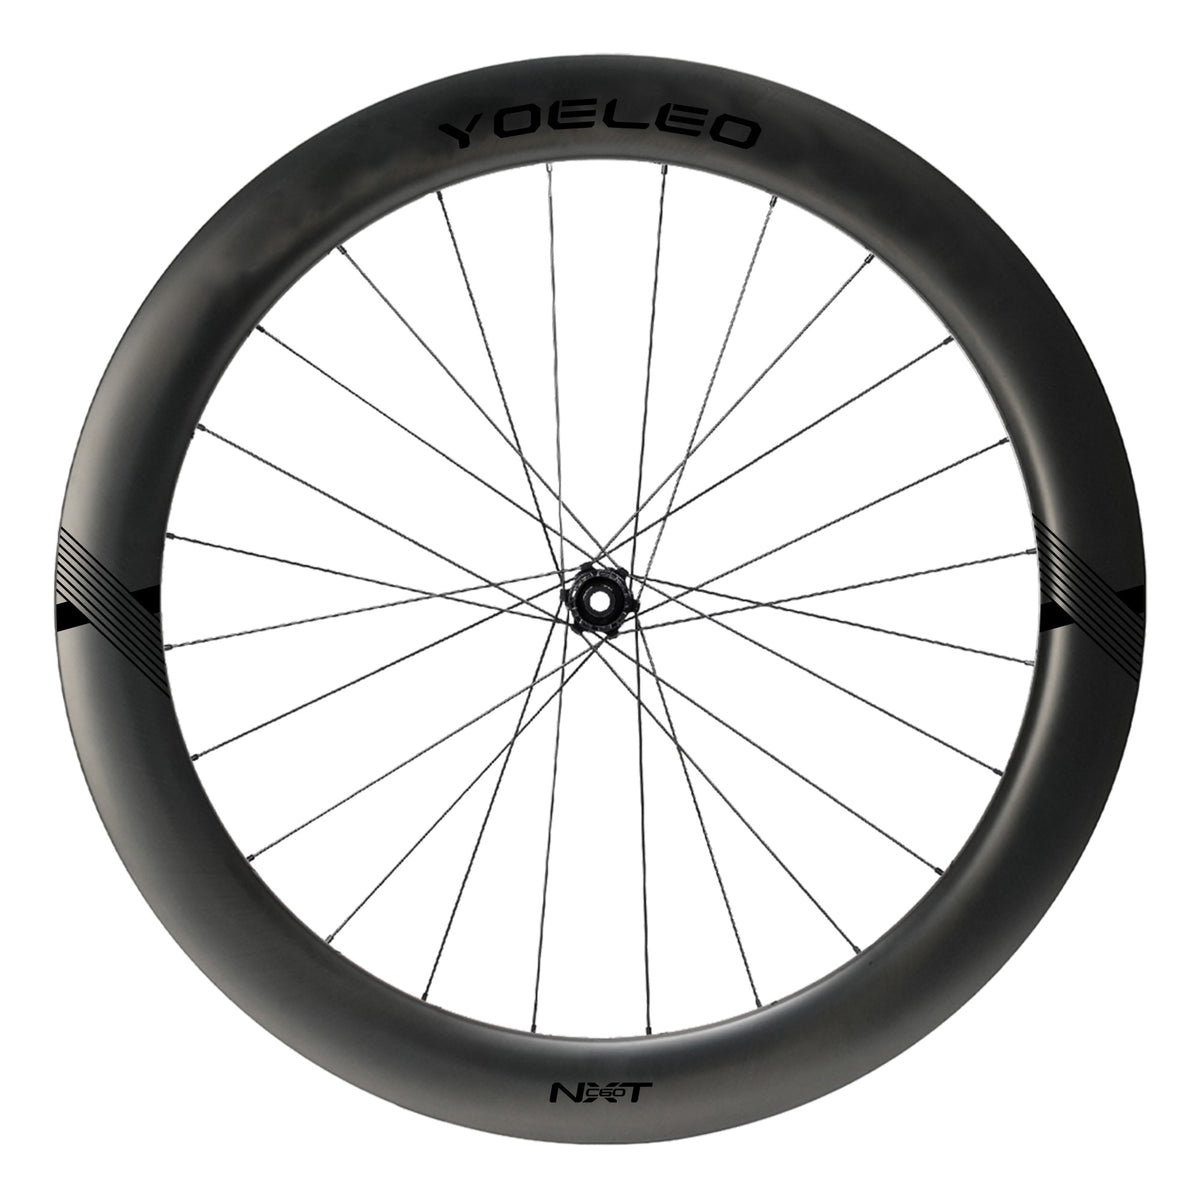

Spoke Holes
Outer Width
Inner Width

Ratchets
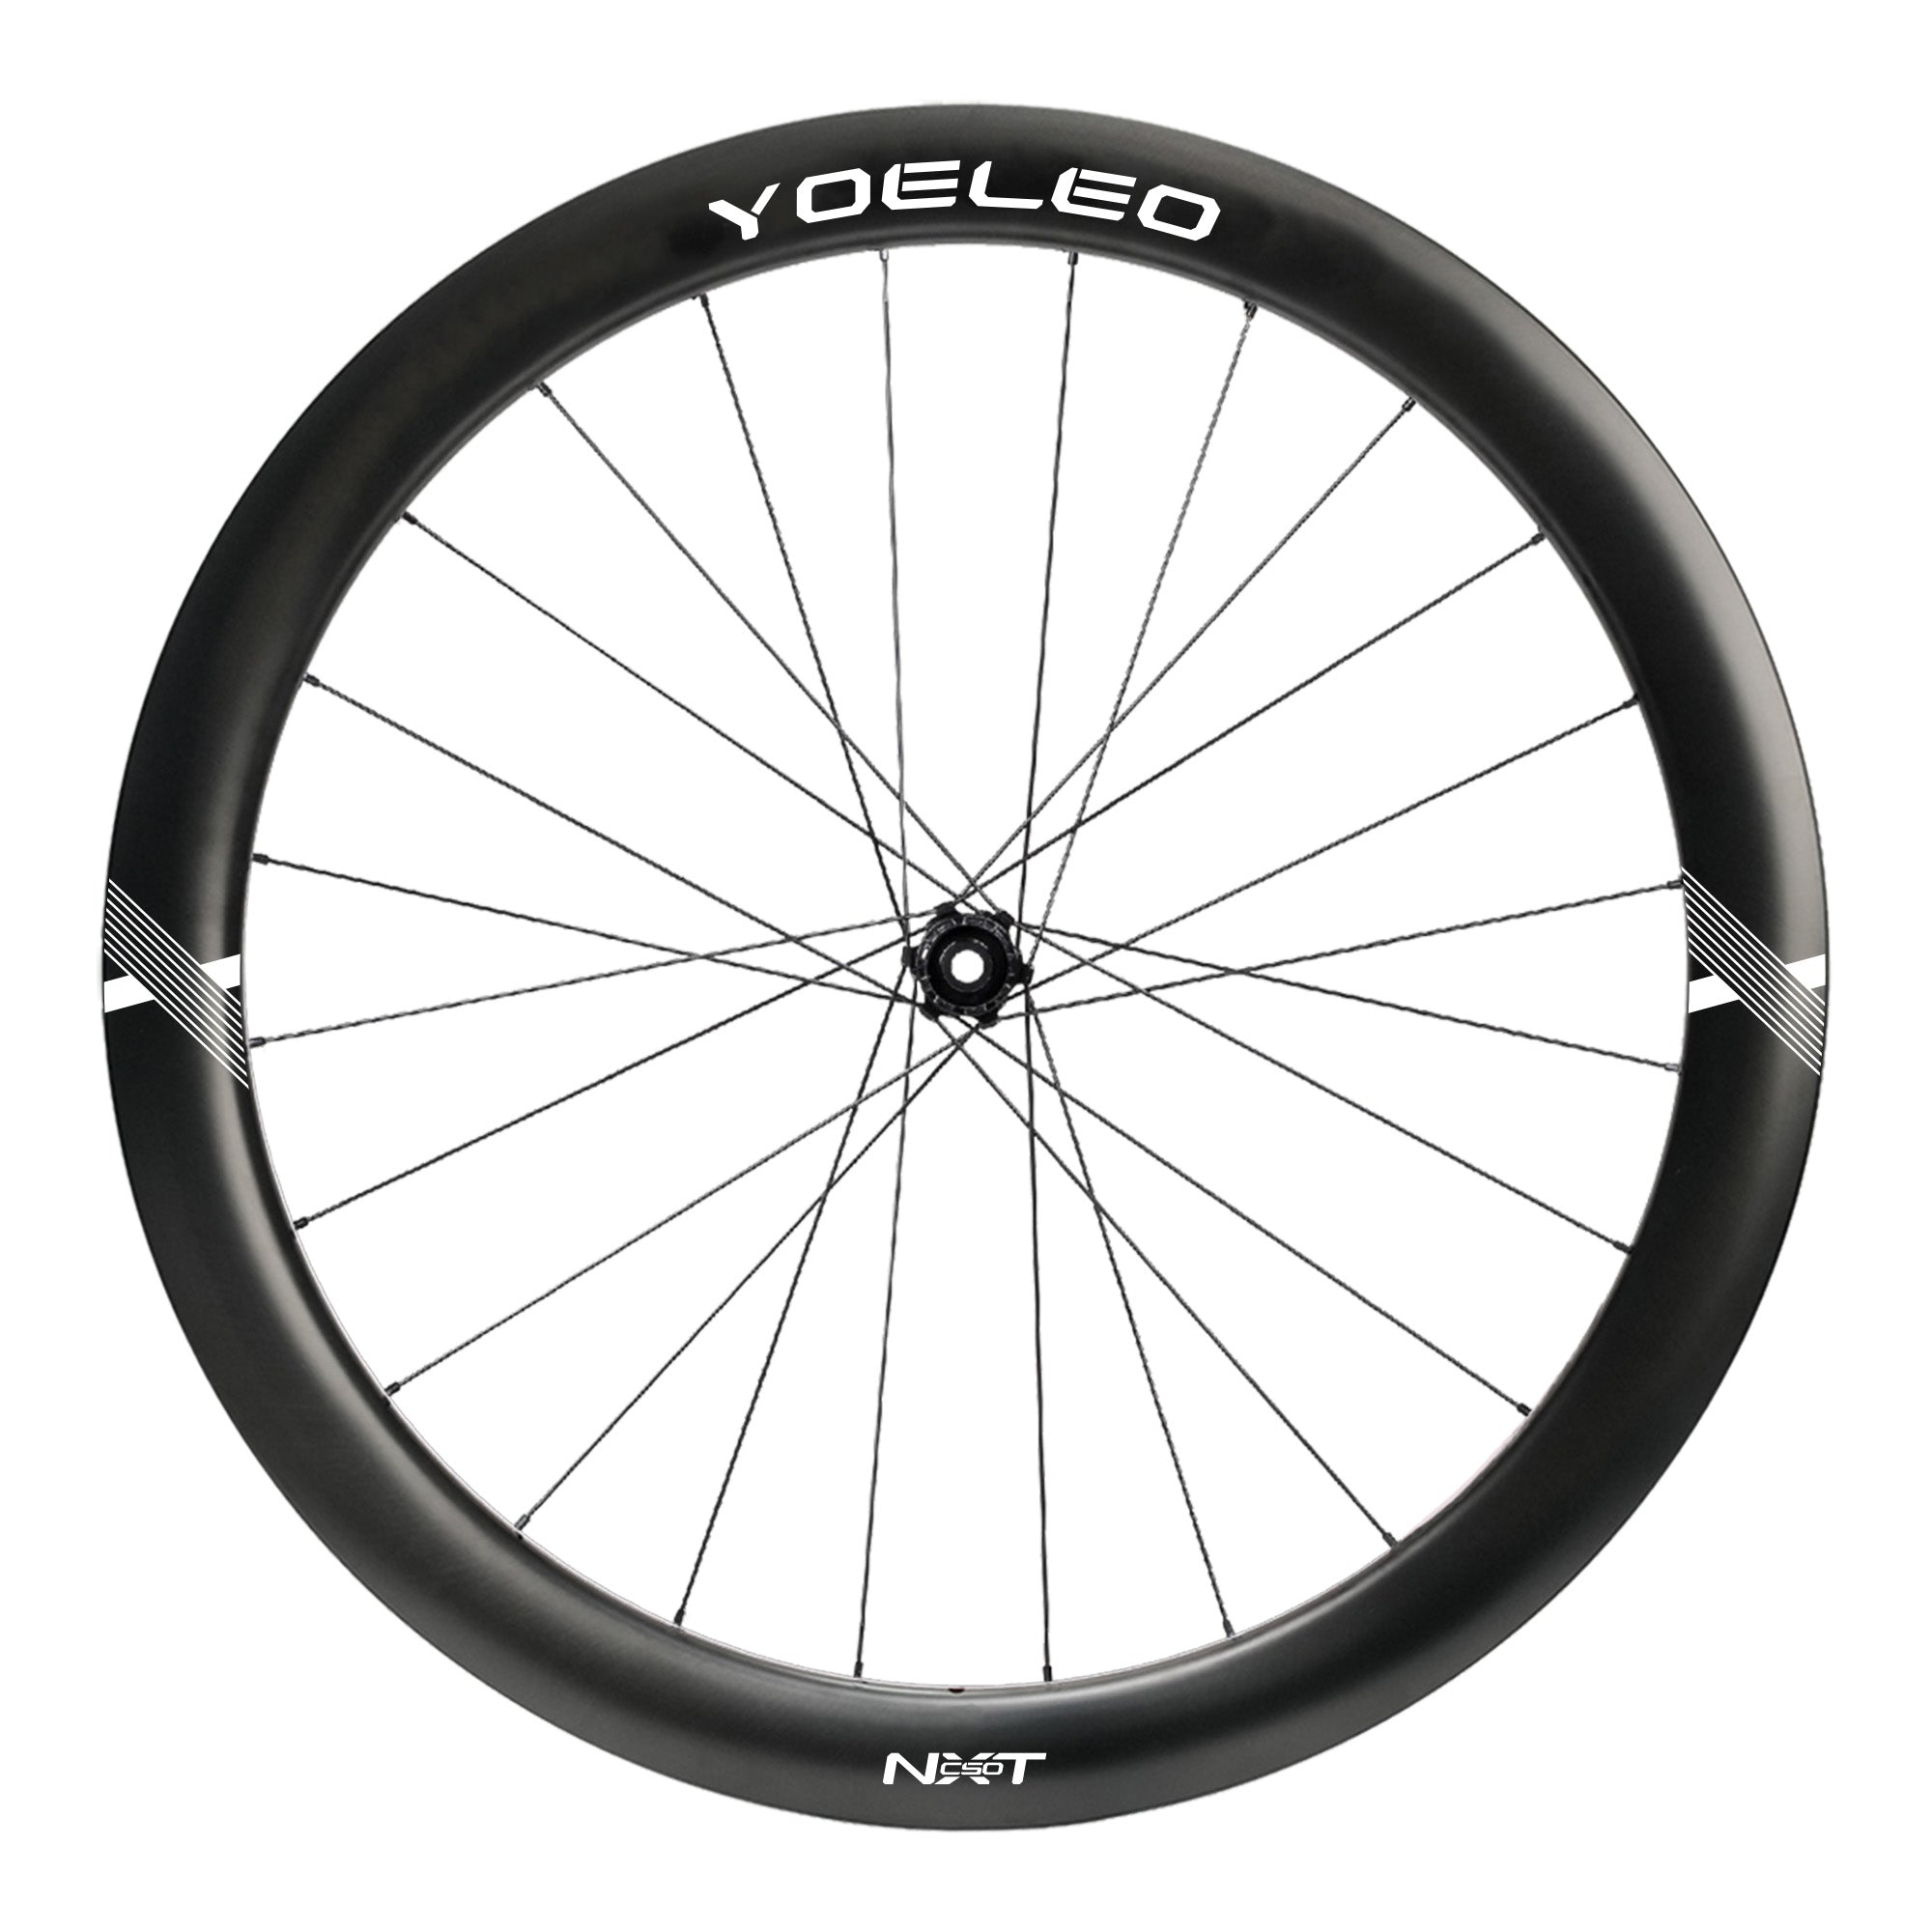
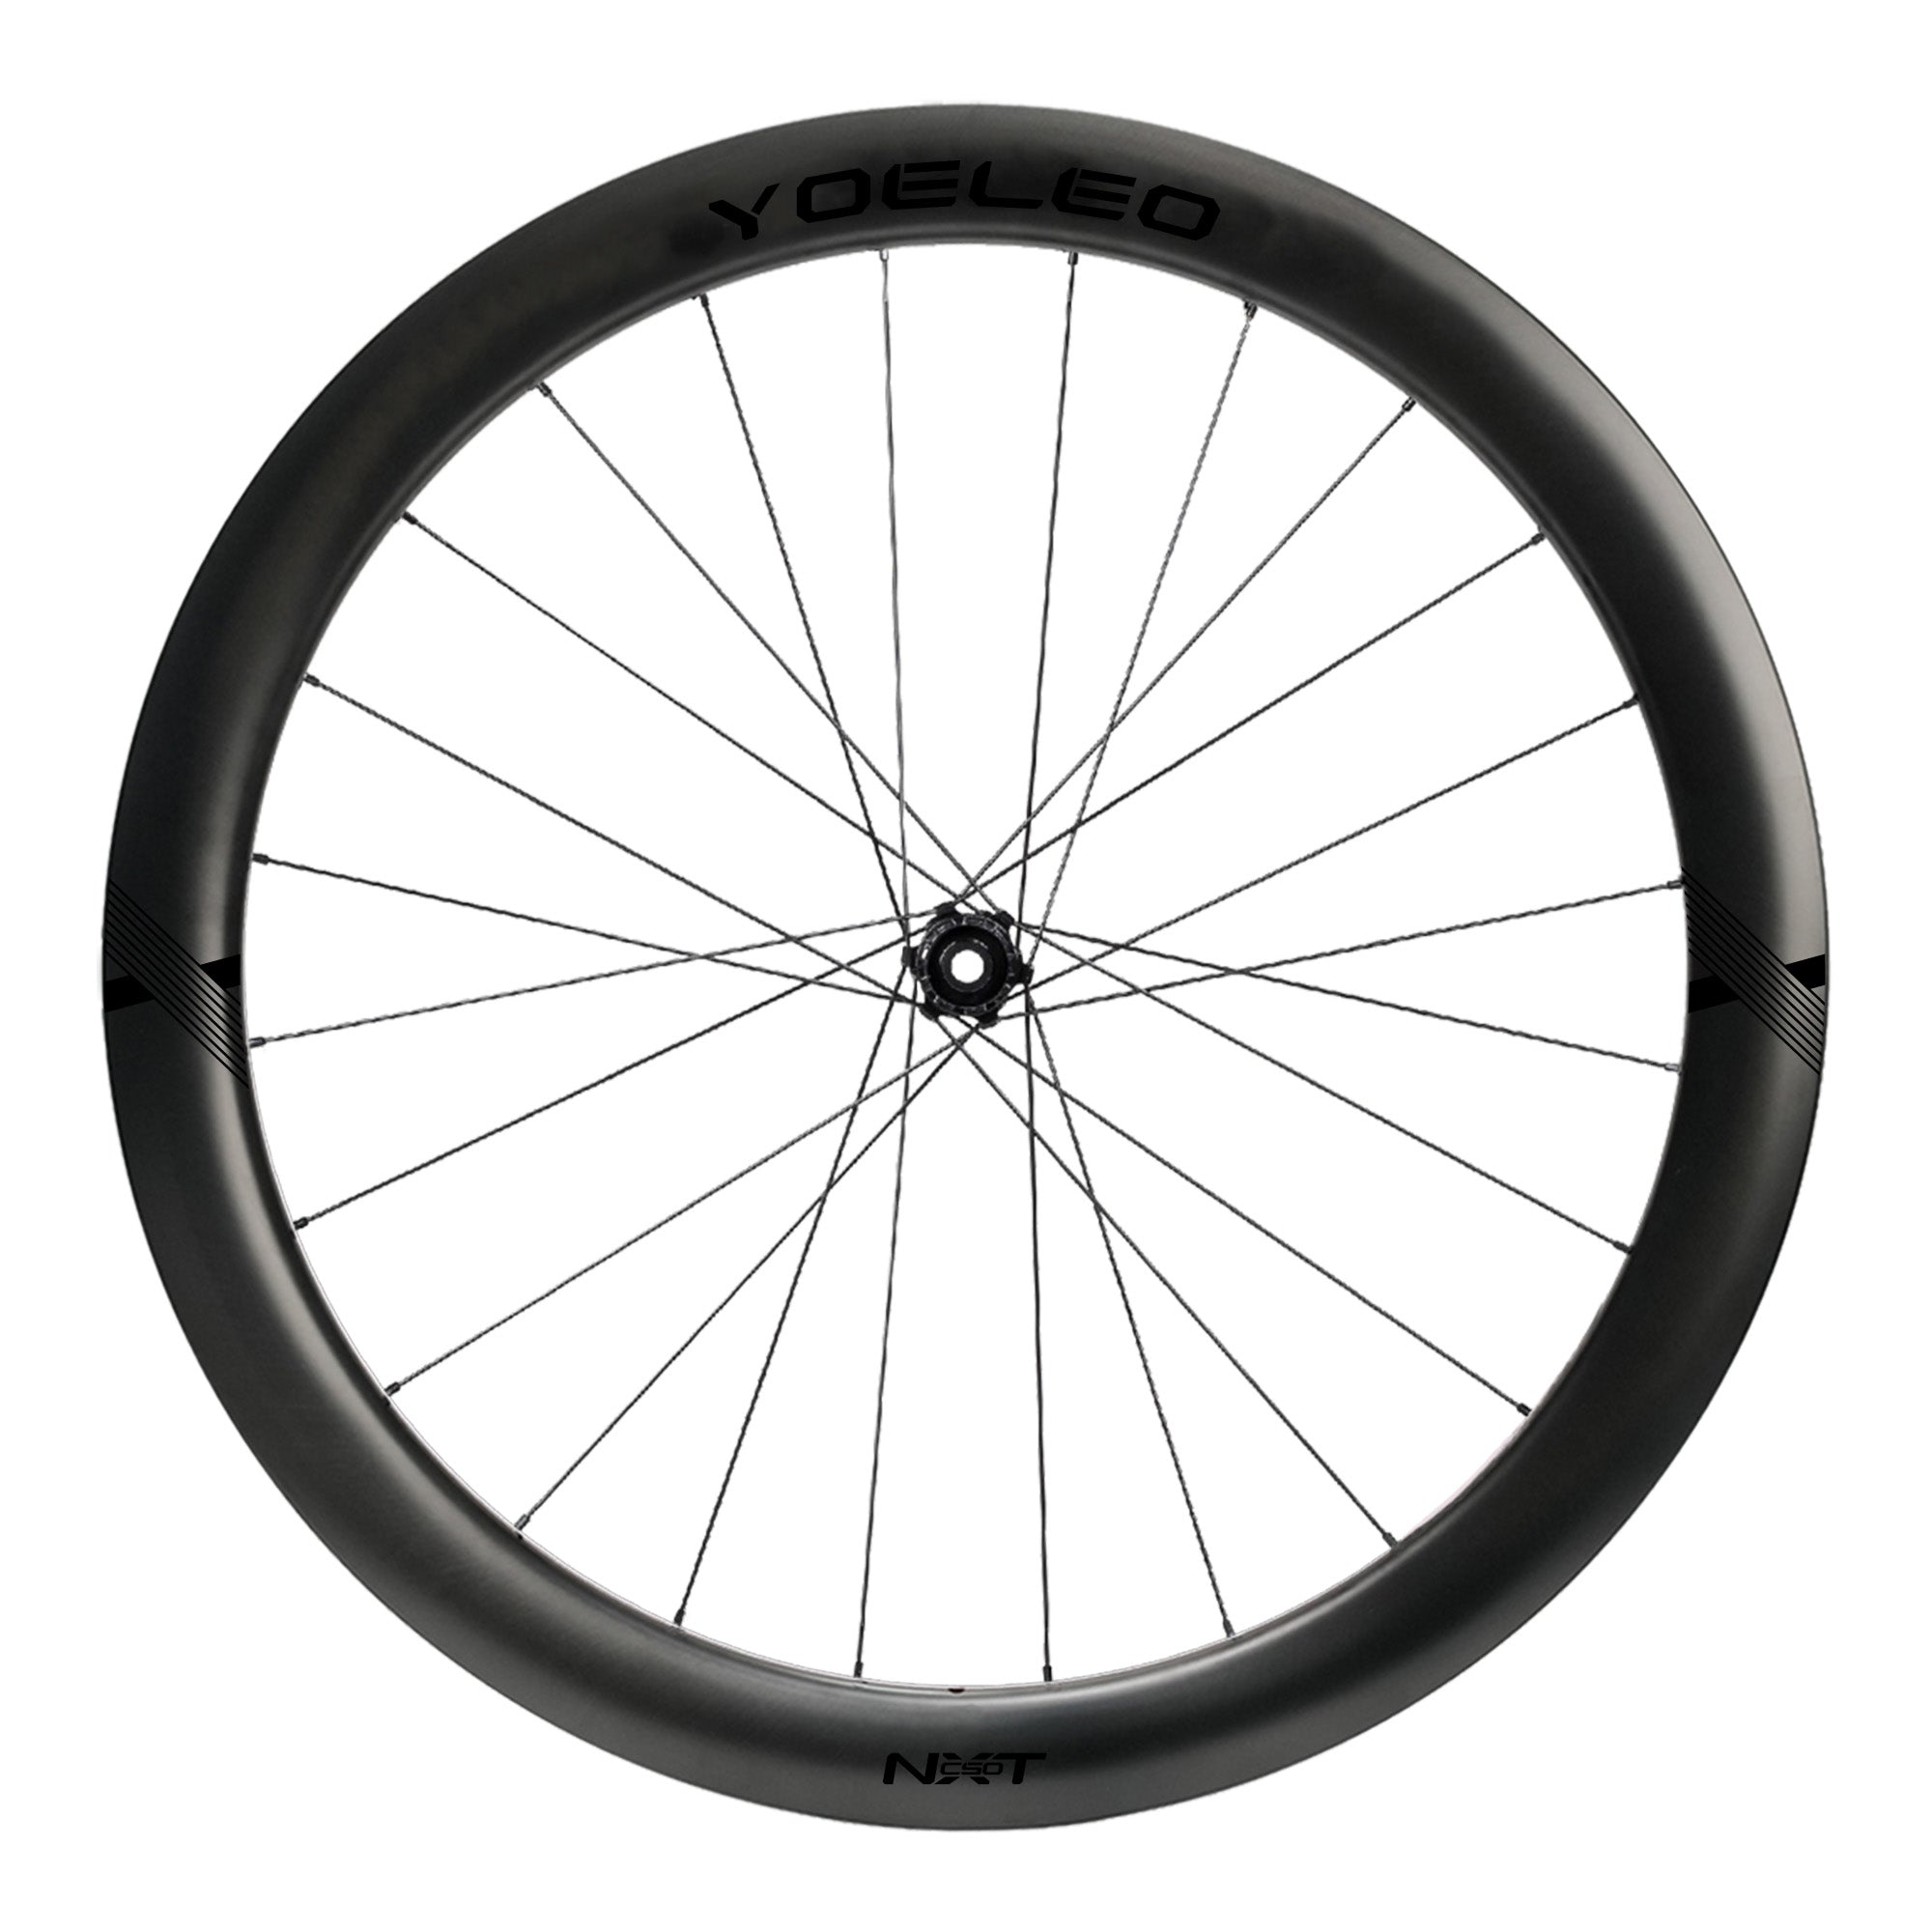

Rim Profile
Inner Width
Outer Width
Weight
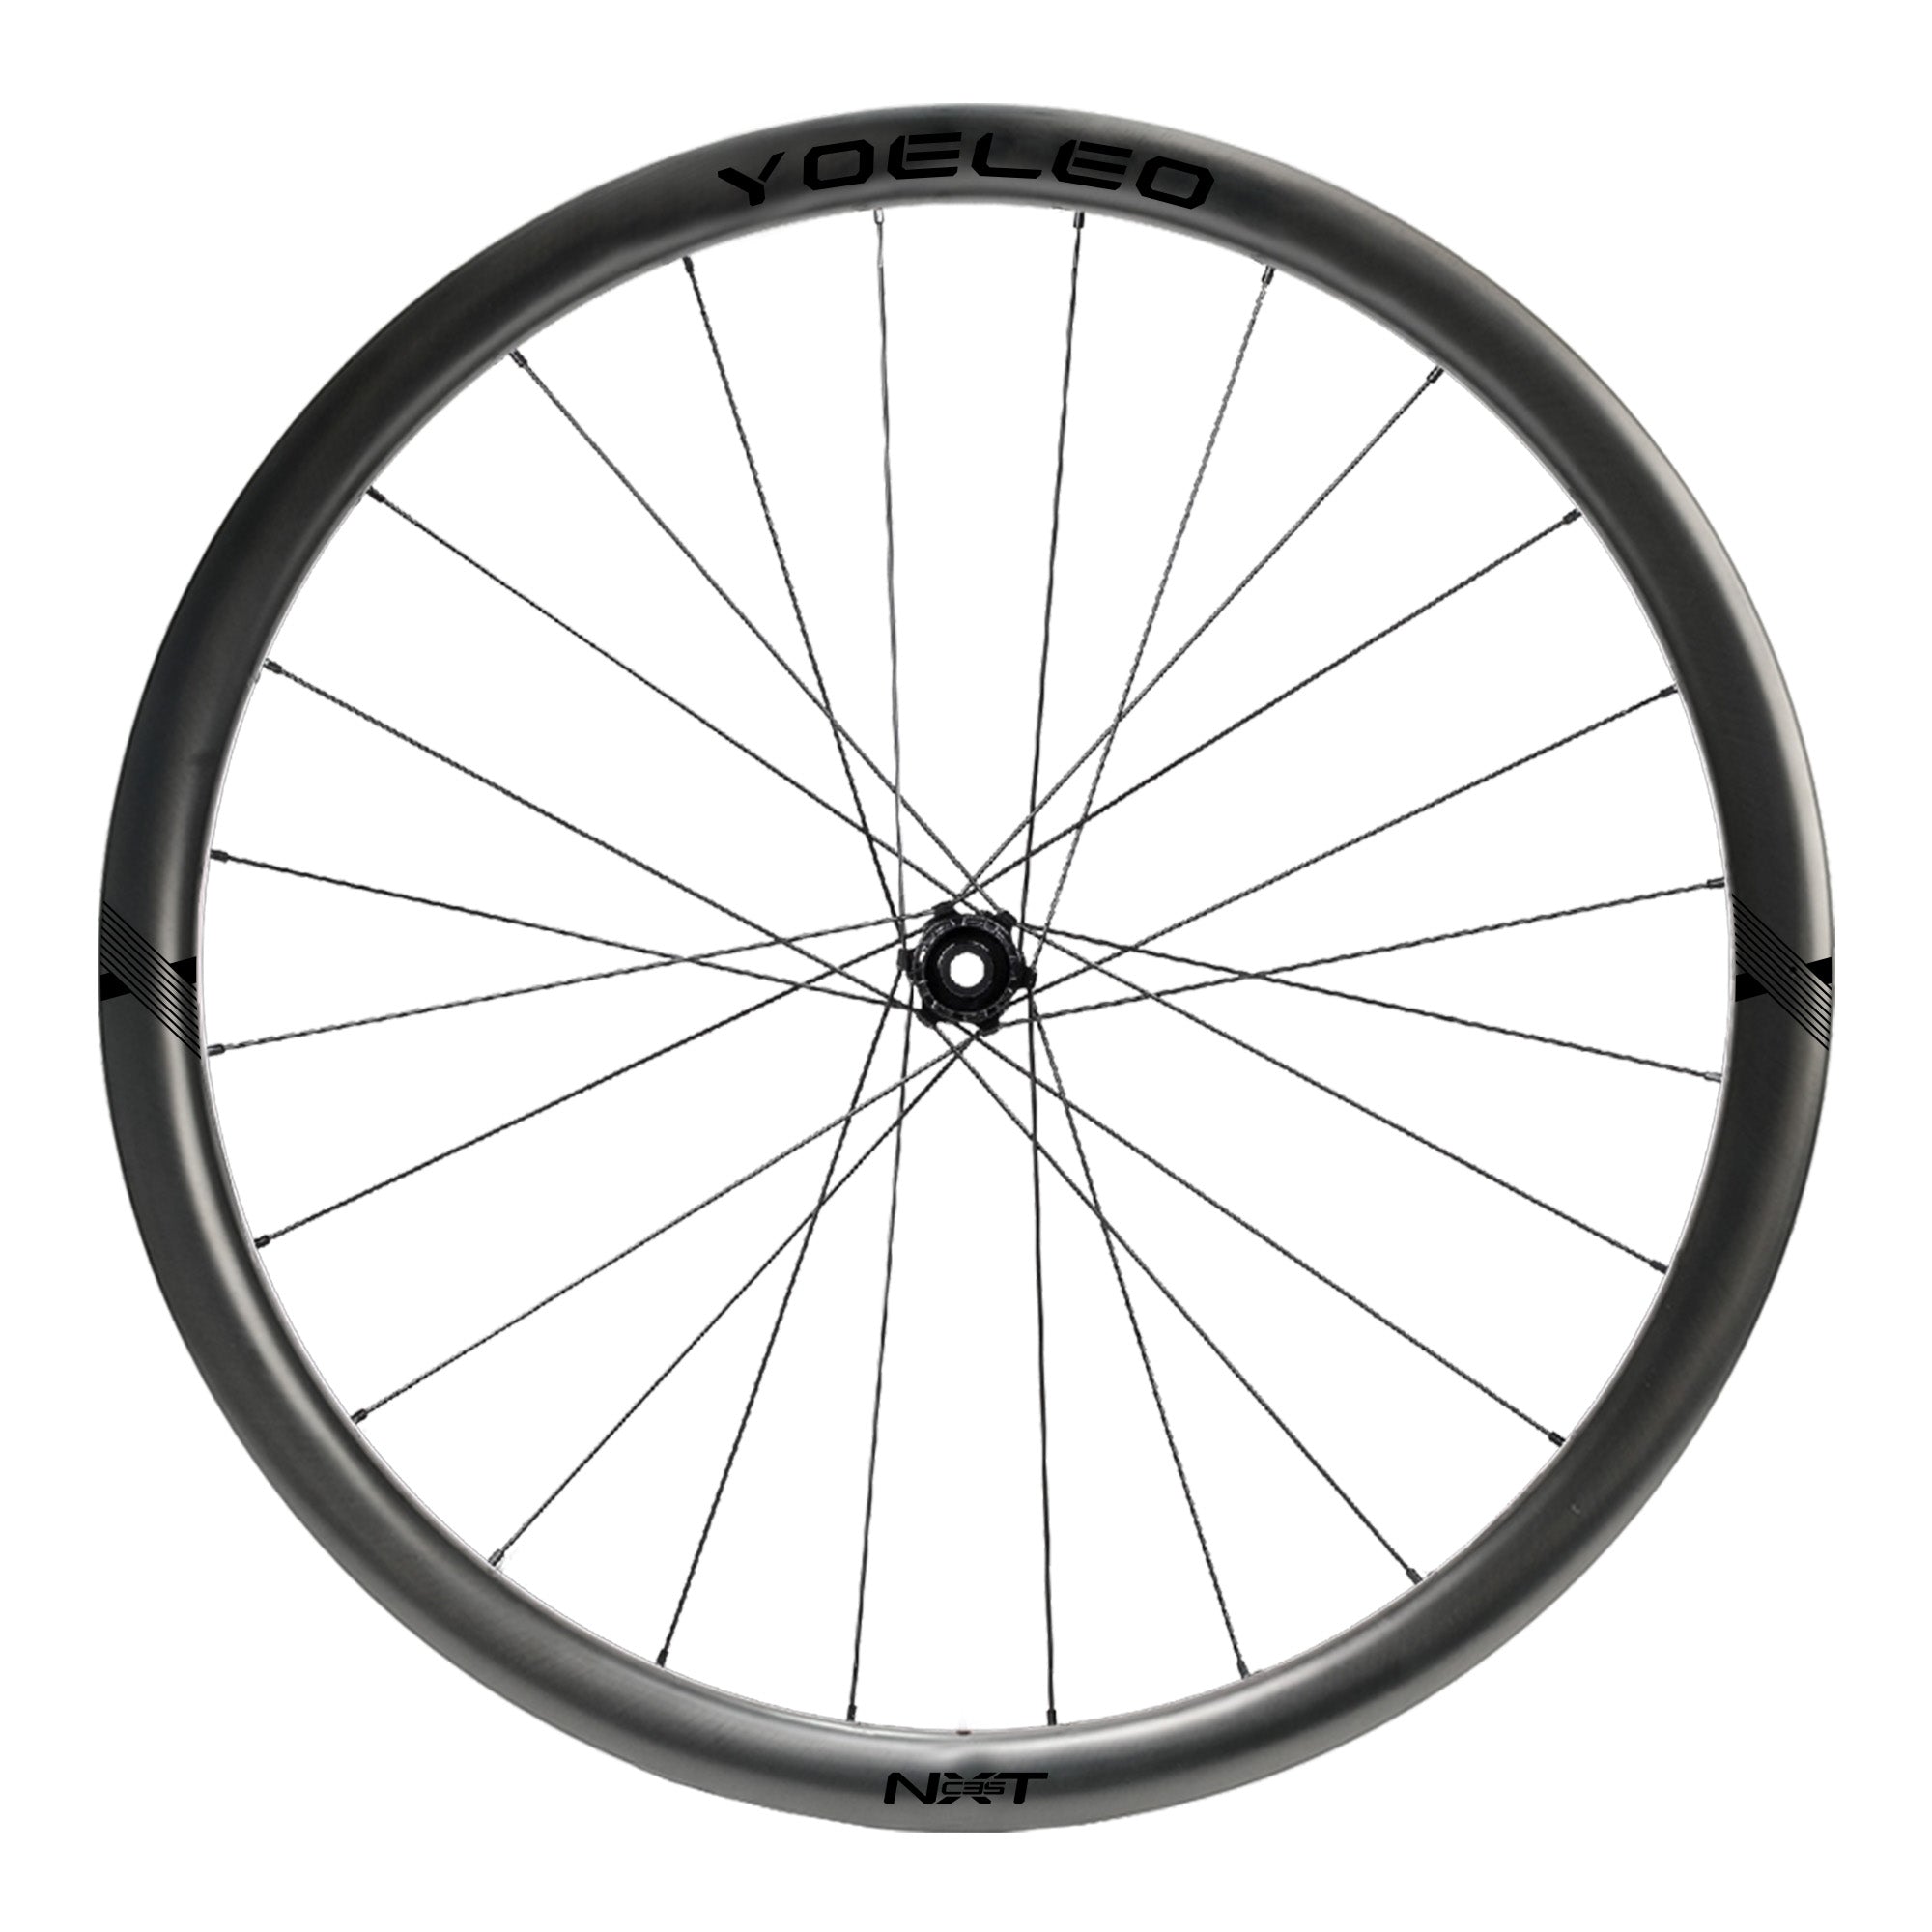
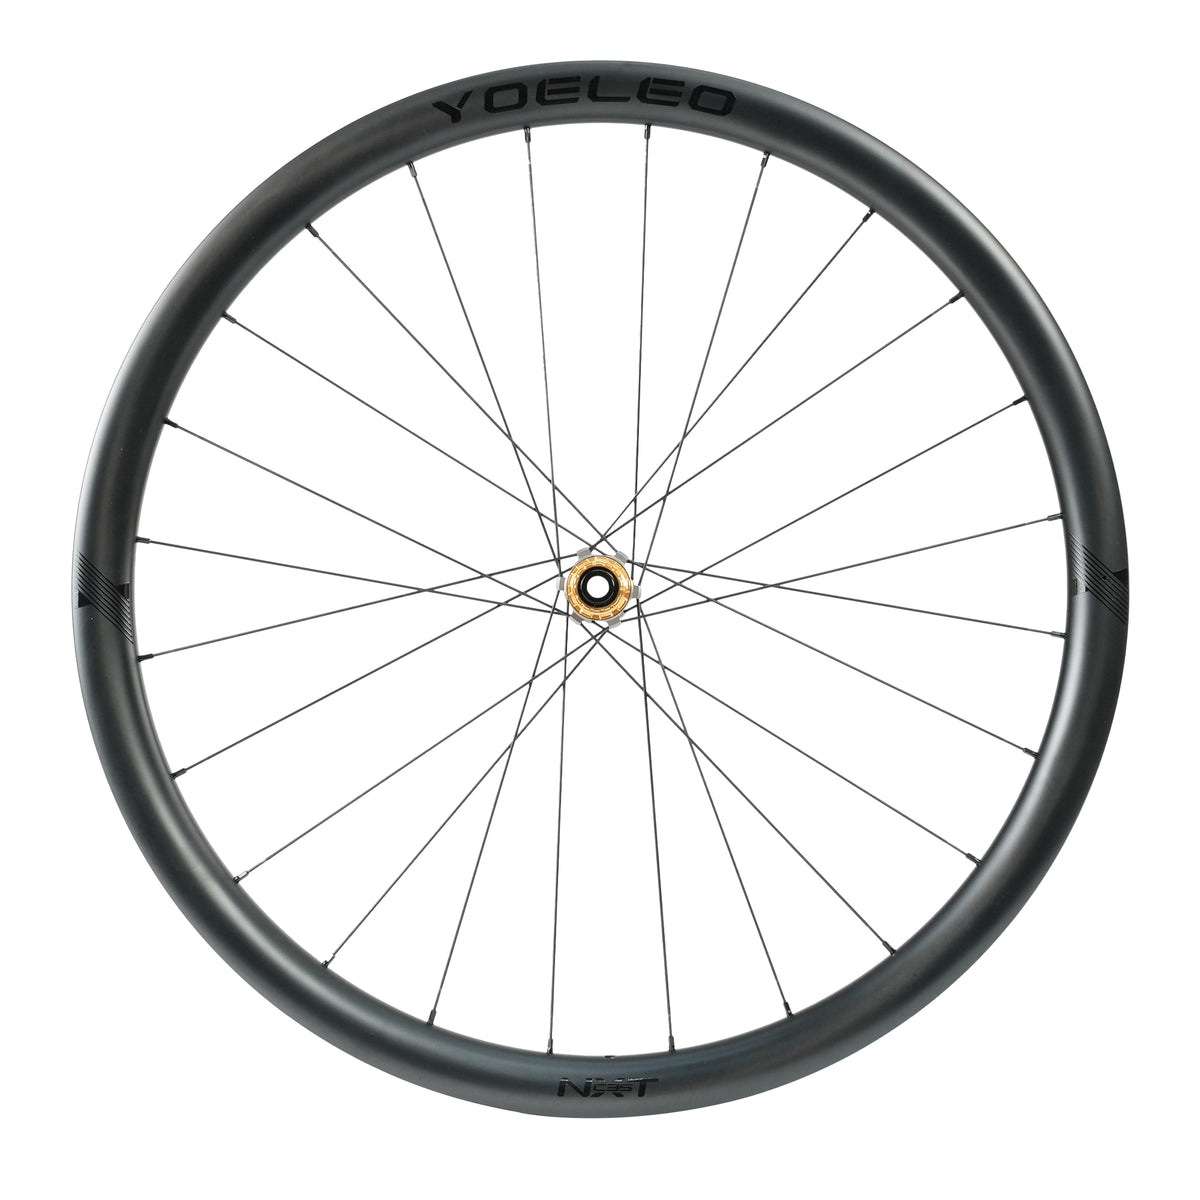

Rim Profile
Inner Width
Outer Width
Weight
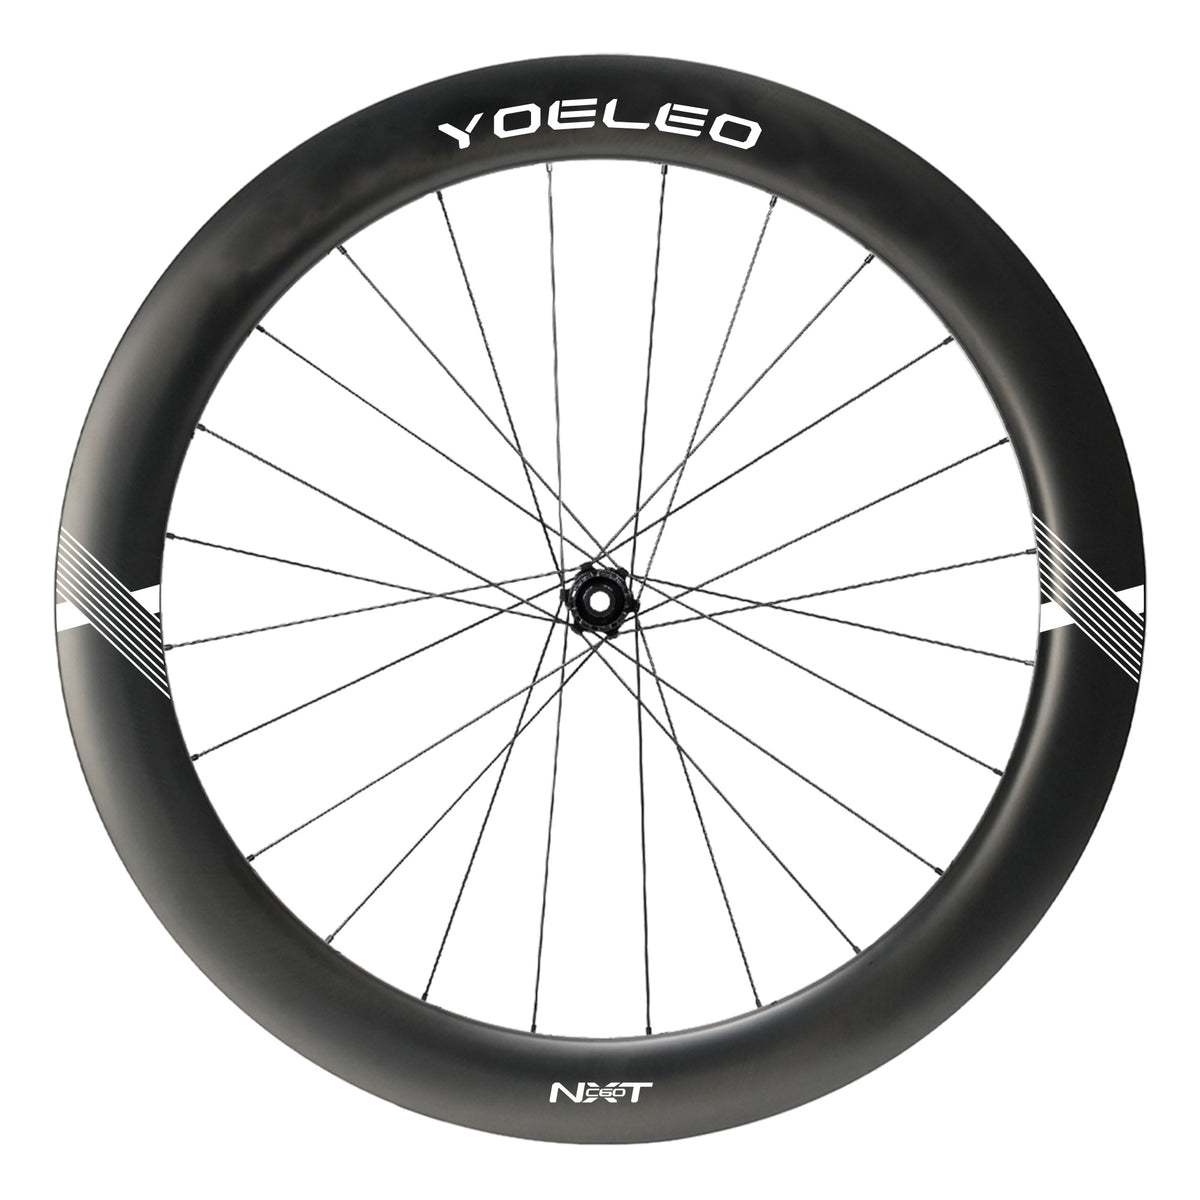

Rim Profile
Inner Width
Outer Width
Weight

Latest Stories
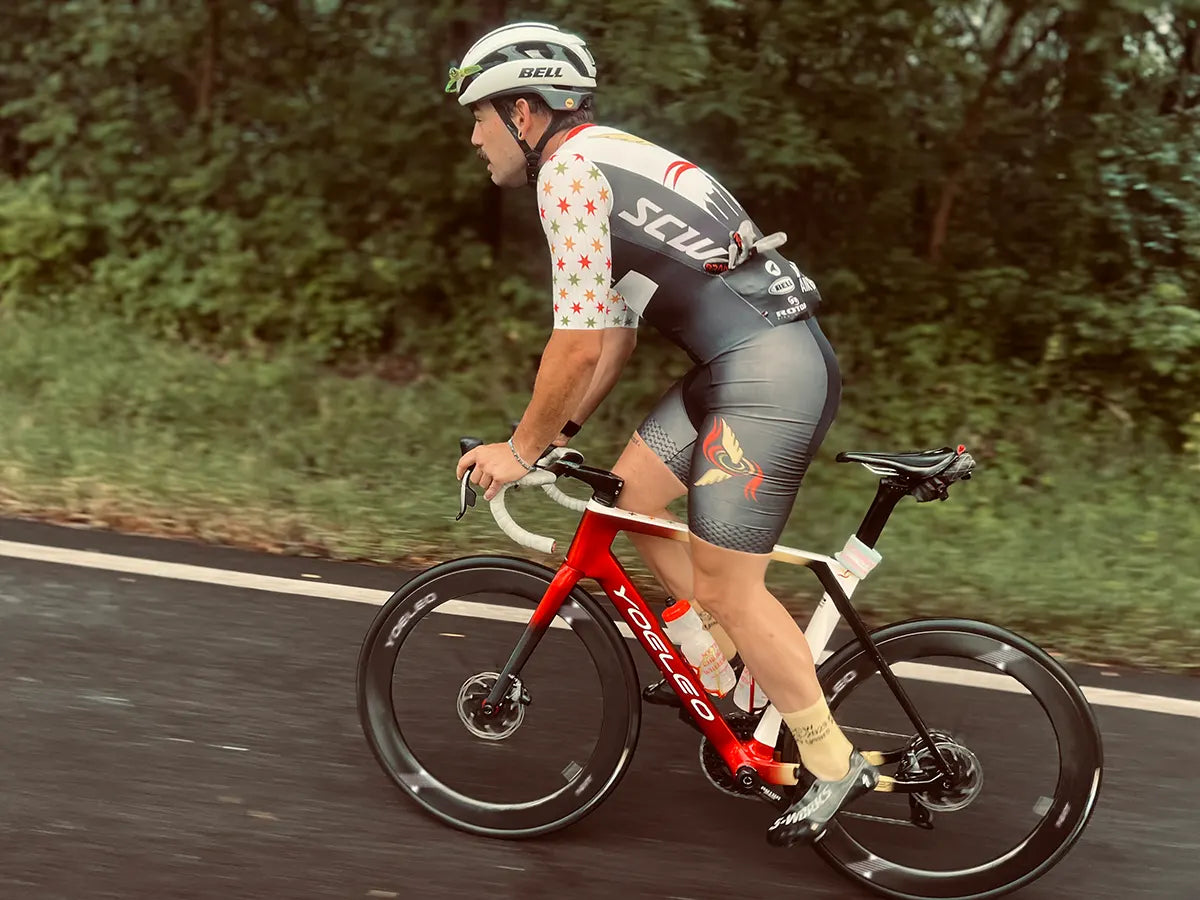
Gearing for Your Terrain: Choosing Chainrings and Cassette
-
Gear Ratio Defines Effort: Gear ratio equals front chainring teeth divided by rear cog teeth (Teeth front\Teeth rear). A 1.00 ratio (34 x 34) means one pedal revolution yields exactly one rear wheel revolution.
-
Calculate Gradient Capacity: Lower gears allow higher cadence at lower speeds. For a 78 kg system outputting 210 W at 70 RPM, a 1.00 ratio allows sustaining an ~10.4% gradient without dropping cadence into muscle-fatiguing grind territory (<60RPM).
-
Check Derailleur Specs First: Before buying a larger cassette, verify two derailleur parameters: Max Cog Size (e.g., 34T) and Total Capacity (Chainring Diff + Cassette Diff). Exceeding these causes shift failure or derailleur destruction.
-
Chainring vs. Cassette: Reducing front chainring size preserves tight gear steps on the flat while shifting the entire range lower. Enlarging the rear cassette adds low-end bail-out gears but increases gear jumps.
Read moreabout Gearing for Your Terrain: Choosing Chainrings and Cassette
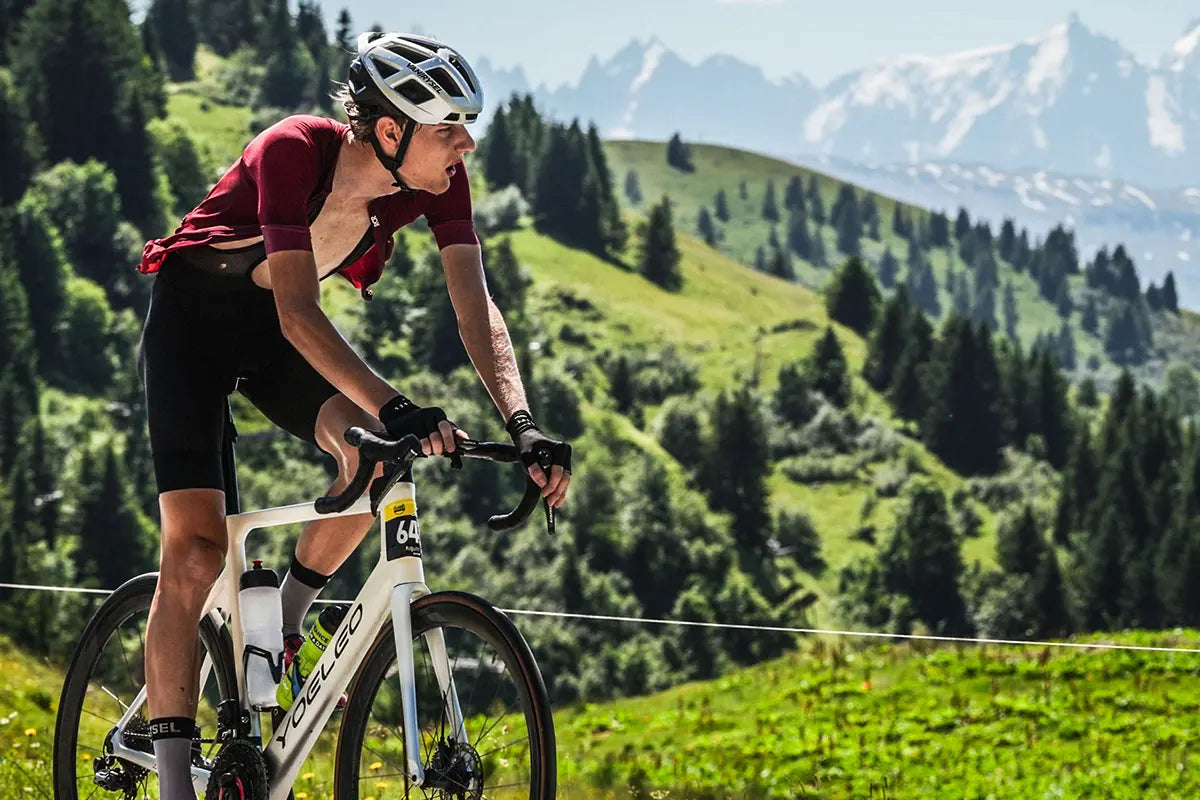
Riding in Heat: Hydration Maths, Pacing, and Kit
-
Expect Cardiac Drift: As temperatures cross 25°C, blood redirects to the skin to cool off, raising your heart rate at the same power output. Scale power back by 5–10% and pace using RPE and heart rate.
-
Calculate Sweat Loss: Weigh yourself before and after a 60-minute hot ride. Subtract post-ride mass from pre-ride mass, add the fluid consumed, and divide by ride hours (1kg loss ~ 1L sweat).
-
Target 70–90% Replacement: Do not attempt to replace 100% of fluid losses on the bike. Aim for 70–90% to avoid gastrointestinal distress and prevent Exercise-Associated Hyponatremia (EAH).
-
Replenish Electrolytes: If you leave white salt streaks on your jersey or helmet straps, choose an electrolyte drink providing 500–1,000 mg of sodium per liter.
-
Know Emergency Red Flags: Heat exhaustion requires immediate shade and cooling. Heat stroke (confusion, lack of sweating, hot dry skin) is a direct medical emergency—stop and seek immediate help.
Read moreabout Riding in Heat: Hydration Maths, Pacing, and Kit
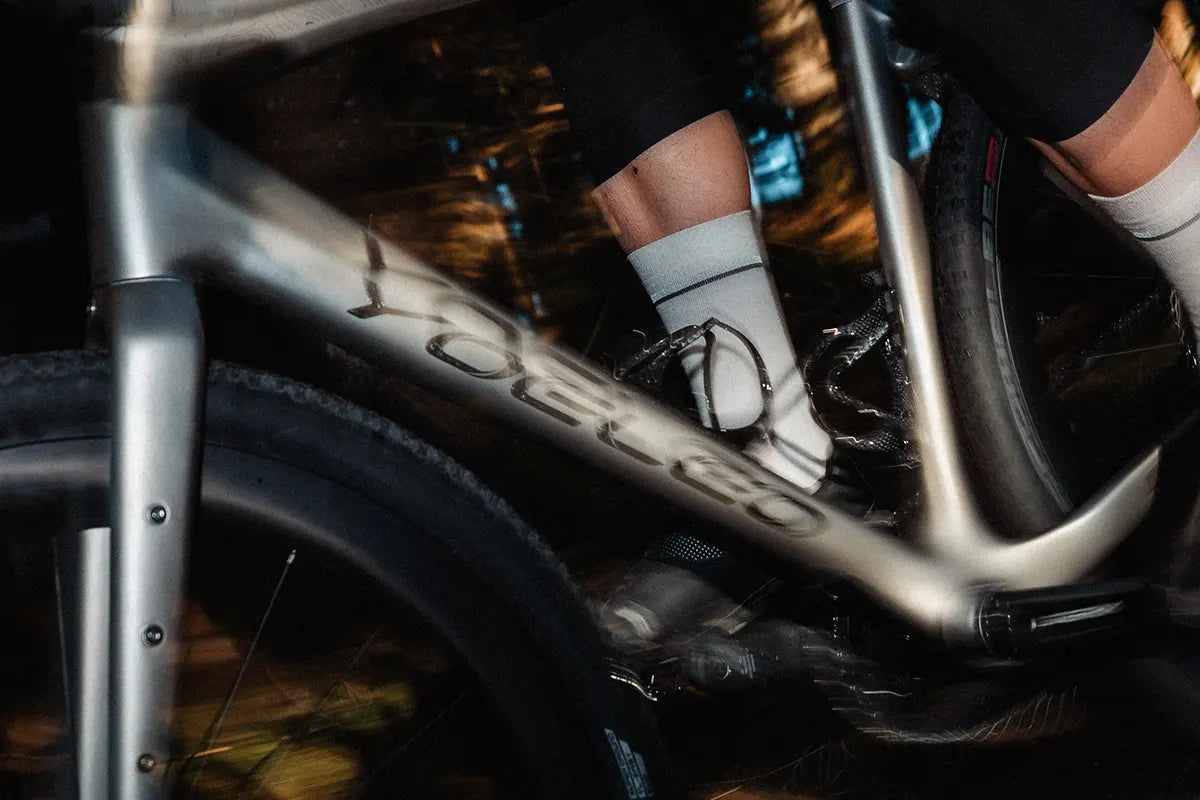
Threaded Insert Care: Stop Stripping Bottle Cage and Bolt Holes
-
Carbon Is Safe, Inserts Fail: Bottle cage bolts thread into aluminum or stainless steel inserts bonded into the carbon frameset, not into the carbon fiber itself.
-
Use the Right Lube: Apply a dab of anti-seize or waterproof grease to bottle cage bolts. This prevents galvanic corrosion, which seizes the steel bolt inside the aluminum insert and causes it to spin.
-
Chase Threads First: If an M5 bolt strips but the insert remains securely bonded, running an M5x0.8 tap through the hole can often reform the damaged threads without replacing parts.
-
Replace, Don't Upsize: If threads are completely destroyed, do not drill the hole out to an M6 size. A specialist can extract the damaged M5 insert and compress a new M5 rivnut into the existing carbon bore.
-
Respect Torque Limits: Small M5 accessory bolts require only 3–4 Nm of torque. Always use a calibrated micro-torque wrench.
Read moreabout Threaded Insert Care: Stop Stripping Bottle Cage and Bolt Holes