
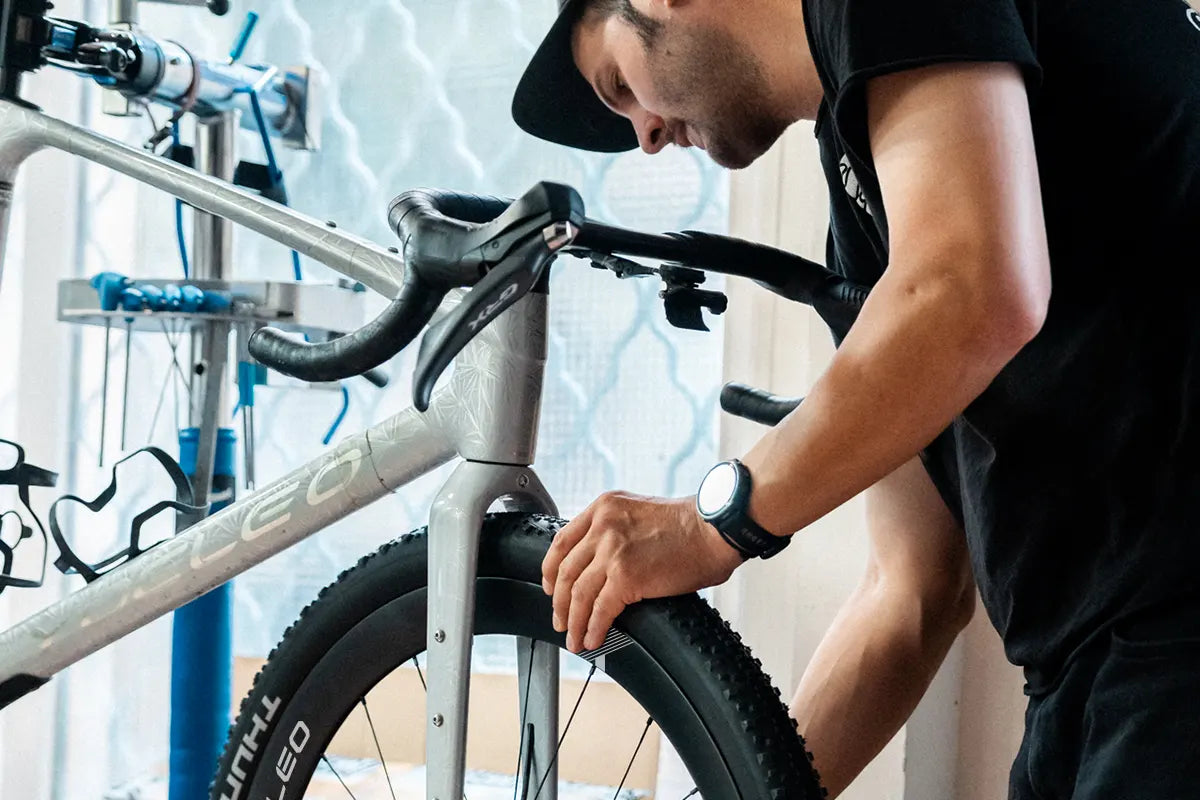
The box arrives at your door. Inside is a carbon frameset that took months to plan and a meaningful amount of money to buy. You slide it out of the packaging, lean it against the wall, and feel a wave of something between excitement and mild dread. Building a complete bike from a raw frameset — choosing every component, installing every bolt, setting every torque — is either deeply satisfying or deeply stressful, depending on how prepared you are.

The truth is that a home build is well within reach for any mechanically inclined cyclist. The intimidating parts are mostly about knowing the sequence, having the right tools, and understanding which steps genuinely require a professional shop. This guide walks through the entire journey — from unboxing to rolling out the door.
|
HOME FRAMESET BUILD IN 30 SECONDS
• A home build is realistic with basic mechanical confidence, the right tools, and a careful torque approach.
• The sequence matters: frame prep first, then drivetrain, cockpit, wheels — never skip steps.
• Carbon torque specs are firm limits, not guidelines — a torque wrench is non-negotiable.
• Cable and hose routing and brake bleed are the two tasks most worth delegating to a local shop.
|
What Tools Do You Actually Need?
A well-equipped home build does not require a professional workshop. It requires precision tools rather than a large number of tools. The non-negotiables are a calibrated torque wrench (0-10 Nm range for cockpit bolts; 0-25 Nm for drivetrain), a quality set of hex keys (2-10 mm), and a work stand that holds the frame securely.
|
Tool
|
Why it matters
|
Required or Optional
|
|
Torque wrench 0-10 Nm
|
Carbon fasteners have firm upper limits; over-torquing cracks carbon
|
Required
|
|
Torque wrench 0-25 Nm
|
Bottom bracket and cassette lockring
|
Required
|
|
Carbon assembly paste
|
Increases friction so you reach spec torque at lower clamp force
|
Required for carbon-on-carbon
|
|
Hex key set 2-10 mm
|
Every bolt on a modern road or gravel build
|
Required
|
|
BB press or T-47 thread tool
|
Installs bottom bracket without damaging shell
|
Required (frame-specific)
|
|
Cable cutter (housing-specific)
|
Clean cut prevents fraying that causes cable drag
|
Required for mechanical
|
|
Bleed kit (brand-specific)
|
Hydraulic brake systems need manufacturer bleed procedure
|
Required for disc hydraulic
|
|
Chain tool
|
Sizes and pins the chain correctly
|
Required
|
|
Work stand
|
Keeps frame secure during assembly without marring paint
|
Strongly recommended
|
If you are building with a press-fit bottom bracket on an R12 (BB386) or threaded T-47 on an Altera G21, make sure you have the correct installation tool before you start. Using the wrong tool risks permanent shell damage.

The Right Build Sequence
Assembly order matters more than most guides acknowledge. Work from the frame outward — get the interface components installed and torqued before adding external parts that will make earlier access difficult.
-
Step 1 — Frame inspection: Check for any transit damage before touching tools. Examine head tube, BB shell, and dropout faces.
-
Step 2 — Frame prep: Install headset cups, bottom bracket, derailleur hanger. Apply fresh grease or anti-seize where specified.
-
Step 3 — Fork: Insert steerer, set compression, install top cap and stem at hand-tight. Do not torque yet.
-
Step 4 — Cable and hose routing: Route all cables and hydraulic hoses before installing the drivetrain. This step is harder to undo later.
-
Step 5 — Drivetrain: Crank, front derailleur (if applicable), rear derailleur, chain. Torque to spec.
-
Step 6 — Brakes: Mount calipers finger-tight. Do not align or final-torque until wheels are installed.
-
Step 7 — Cockpit: Bar, stem — torque to spec now. Seatpost and saddle last.
-
Step 8 — Wheels: Install, set brake caliper alignment, final-torque calipers.
-
Step 9 — Finishing: Bar tape, cable end caps, housing trim.
-
Step 10 — Final torque check: Walk every fastener again with the torque wrench before the first ride.
Where Home Builders Commonly Go Wrong
The most common mistakes in home builds are not about skill — they are about sequence violations and torque errors. Installing the stem before routing internal cables forces partial disassembly. Over-torquing a seatpost clamp on a carbon post compresses the tube unevenly and can cause cracking weeks later, not immediately.
Carbon assembly paste deserves a specific note: it raises the coefficient of friction between two carbon surfaces so you can reach the specified clamp force at a lower torque value. If the spec says 5 Nm with carbon paste, that does not mean 7 Nm is safer — it means the paste was factored into that spec. Apply paste, torque to spec, stop.
What to Delegate to a Shop
Two tasks consistently produce better outcomes when handed to a qualified mechanic: full-internal cable and hose routing through tight frame passages, and hydraulic brake bleeding. Internal routing on frames with very tight entries requires frame-specific routing guides — without them you risk binding hoses that only reveal their problems when braking at speed. Brake bleed is technically learnable at home but is unforgiving of errors.
|
Task
|
Do at home
|
Delegate to shop if...
|
|
BB installation
|
Yes, with correct tool
|
You do not have the correct press or thread tool for that BB standard
|
|
Internal cable routing
|
Yes, on semi-internal frames
|
Full-internal frame with tight passages and no routing guide
|
|
Hydraulic brake bleed
|
Possible
|
First build, unfamiliar with mineral oil vs DOT, or no bleed kit
|
|
Derailleur indexing
|
Yes
|
Electronic groupset without E-tube access for motor initialisation
|
|
Wheel truing
|
Yes, with spoke key and truing stand
|
Carbon spokes or significant wobble beyond minor touch-up
|
|
Headset installation
|
Yes, with headset press
|
No press available — improvised pressing risks misaligning cups
|
Your First Ride — and What to Listen For
Before the first ride, lift the front end and drop it gently to check for any rattles from loose internal components. Squeeze both brakes hard while rolling in the driveway to check hydraulic firmness and caliper alignment. Shift through all gears at low speed before committing to traffic. In the first 30 minutes of riding, listen for creaking — which typically indicates an under-torqued BB, a dry cleat interface, or a seatpost that needs paste. Address sounds immediately; on a new build they rarely go away on their own.

Why a DTC Frameset Makes the Home Build Case
A DTC frameset purchase is, at its core, a commitment to owning your build. You choose every component, you set every torque, you learn your bike from the ground up. The DTC efficiency model means a greater share of your budget goes into the carbon — not into a dealer margin or a shop assembly fee. Yoeleo's R11, R12, and Altera G21 framesets are designed to be builder-friendly: clear geometry charts for sizing confidence, full internal routing options with semi-internal alternatives, T-47 threaded BB on the G21 to avoid press-fit tooling issues, and a universal derailleur hanger on the G21 so UDH-compatible systems drop straight in.
|
HOW YOELEO IS BUILT FOR THE HOME BUILDER
• Full geometry published per size — measure your current fit, match it directly to R-series or G21 specs
• T-47 threaded bottom bracket on Altera G21 — no press-fit tools required, easier installation and service
• UDH (Universal Derailleur Hanger) on G21 — works with SRAM and compatible systems without proprietary hangers
• ProRoute dual-mount system — choose full-internal or semi-internal routing based on your tool access and experience
• Six-year frameset warranty and direct support — jasmine@yoeleobike.com for build questions
|
Frequently Asked Questions
Can a beginner build a bike from a carbon frameset?
Yes, with patience and the correct tools. The most important non-negotiable is a calibrated torque wrench — carbon fasteners have firm upper limits. Most home builders successfully complete road and gravel builds; hydraulic brake bleed and full-internal routing are the two steps most worth delegating to a shop.
What torque setting should I use on a carbon seatpost?
Always follow the torque value printed on the seatpost clamp or published in the frameset manual — typically 4-6 Nm with carbon assembly paste applied. Never exceed the stamped value; under-torque causes slipping, over-torque causes compression damage that may not be visible immediately.
Do I need carbon assembly paste for a frameset build?
Yes, wherever two carbon surfaces contact each other — seatpost, stem clamp, and some headset interfaces. Carbon paste raises friction so you reach the correct clamping force at the specified lower torque value. It is built into the torque specification; use it correctly.
How long does a home bike build from a frameset take?
A first home build typically takes 6-12 hours spread across two or three sessions. An experienced home mechanic working on a familiar build can complete the same job in 3-4 hours. Allow more time for full-internal cable routing and electronic groupset programming.
Share:
Frameset Groupset Compatibility Guide for Road & Gravel
Endurance vs Race Geometry: Which Frame Fits You?