
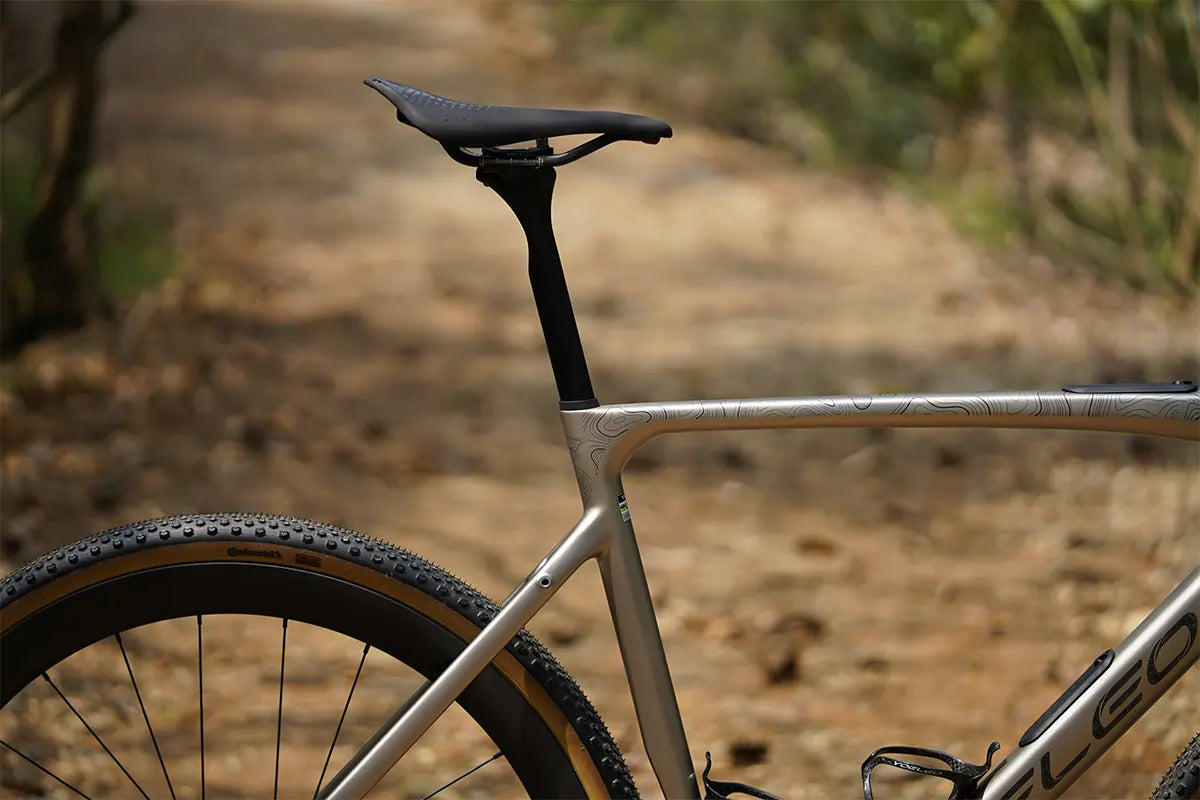
Saddle Height and Setback Without a Fit Studio
A saddle that is even a single centimetre too high manifests as hip rocking, lower back strain, or a numb, stretched sensation behind the knee near the end of a long ride. Conversely, a saddle set too low causes a dull ache at the front of the knee, underneath or around the kneecap, often appearing within the first twenty minutes of effort. Most riders fail to connect these symptoms to setup, as discomfort frequently manifests away from the contact point itself.
A rider does not need a full fitting studio to achieve a correct saddle position within millimetres. Two validated formulas—cross-referenced across published sports science research—yield accurate starting positions directly from a single core input: inseam length. A third check, evaluating knee extension angle at the bottom of the pedal stroke, fine-tunes what these formulas establish.
This guide details both mathematical formulas, precise input measurement techniques, dynamic knee-angle verification, and proper fore-aft position (setback) configuration.
Why formula-based saddle height works without a professional fit
Comparative biomechanical studies in trained cyclists demonstrate no statistically significant difference in efficiency or comfort outcomes between the primary saddle height formulas. Applied to a precise inseam measurement, either formula places the rider comfortably within an optimal biomechanical window.
Saddle height exists within a narrow functional window—typically a few millimetres wide—where joint torque, muscle recruitment, pedalling efficiency, and pelvic stability align. The two leading formulas were derived independently using different physical reference points on the frameset, yet they converge on equivalent saddle positions once adjusted for crank length.
Step one: measure your inseam correctly

Formula accuracy depends entirely on precise input measurement.
-
Stand upright against a flat wall in cycling shorts, feet positioned 15 cm apart, barefoot.
-
Place a firm hardback book between your legs, pulling it firmly upward into the crotch to simulate actual saddle pressure.
-
Ensure the book sits flat against the wall, mark the top edge of the spine on the wall, and measure vertically to the floor in centimetres.
-
Repeat the measurement twice and take the average. A 1 cm variance in inseam measurement alters calculated saddle height by 8.8 mm to 10.9 mm, shifting the saddle outside the target window.
The LeMond method: 0.883 × inseam
Multiply your measured inseam in centimetres by 0.883. The resulting figure is the distance from the centre of the bottom bracket to the top surface of the saddle, measured directly along the seat tube axis.
To set this distance on your frameset:
-
Hold the bike upright on a stationary trainer or perpendicular to a flat surface.
-
Run a tape measure from the exact centre of the bottom bracket spindle along the angle of the seat tube up to the top midpoint of the saddle contour.
This method comes from Greg LeMond's 1987 book on cycling and remains one of the two most widely used starting formulas. To apply it, you need a tape measure and a bike held upright and stable, ideally on a trainer or leaned plumb against a wall, with the crank arm in line with the seat tube (pointing straight down).
The Hamley/Thomas method: 109% of inseam
Multiply your measured inseam in centimetres by 1.09. The resulting value represents the total distance from the top surface of the pedal body (with the crank arm rotated to bottom dead centre, aligned with the seat tube) to the top surface of the saddle.
Unlike the LeMond method, the Hamley & Thomas reference point originates at the pedal spindle rather than the bottom bracket axle. Consequently, this figure incorporates crank arm length into the equation.
Fine-tuning with the knee-angle window: 25-35°
Setting fore-aft position (setback)
Saddle height and fore-aft position directly influence each other. Once saddle height is roughly established, configure setback:
-
Mount the bike on a level surface with crank arms horizontal (3 o'clock and 9 o'clock positions).
-
Clip in with standard footwear and position the forward foot naturally over the pedal axis.
-
Drop a weighted plumb line from the tibial tuberosity (the bony prominence directly below the kneecap).
-
Adjust the saddle along its rails until the plumb line aligns with the center of the pedal spindle.
Note: Sliding the saddle forward or backward along angled rails changes effective saddle height. Always re-check height from the bottom bracket after adjusting setback.
Method comparison
|
Method
|
Input
|
Formula
|
Measured from
|
|
LeMond
|
Inseam (cm)
|
× 0.883
|
Centre of bottom bracket to top surface of saddle along seat tube axis
|
|
Hamley/Thomas
|
Inseam (cm)
|
× 1.09
|
Top surface of pedal axle at bottom dead centre to top surface of saddle
|
|
Knee-angle check
|
Knee flexion at BDC
|
25-35° target
|
Biomechanical check using hip, knee, and ankle reference markers
|

Worked example: 83 cm inseam, cross-checking both formulas
Consider a rider with a measured inseam of 83 cm running 172.5 mm (17.25 cm) cranks:
1. LeMond Calculation
Measured from bottom bracket centre to saddle top along seat tube.
2. Hamley & Thomas Calculation
Measured from top of pedal spindle at bottom dead centre to saddle top.
3. Cross-Verification
To reconcile Hamley & Thomas to the bottom bracket reference point, subtract crank arm length (17.25cm):
The two independent formulas converge within 1 mm (73.29cm vs 73.22cm), providing a precise baseline for initial saddle installation.
Adjusting safely
Frequently Asked Questions
What is the LeMond formula for saddle height?
How do I know if my saddle is too high or too low?
Do the LeMond and Hamley methods give the same answer?
How much should I move my saddle at a time when adjusting?
Share:
Climbing Technique: Cadence, Gearing, Seated vs Standing
Cleat Setup and Knee Pain: A Step-by-Step Method