

News

Race Morning: The Night-Before Checklist That Prevents DNFs
-
DNFs Are Preventable: Most Did Not Finish (DNF) outcomes stem from logistical, equipment, or nutritional errors made before hitting the start line—not lack of fitness.
-
T-24 Hour Execution: Conduct all mechanical inspections, bolt torque checks, wheel swaps, component battery charging, and kit layouts the evening prior to eliminate race-morning cognitive load.
-
Backward-Planned Timeline: Build your race morning schedule backward from the start gun (T-0). Eat a high-carbohydrate, low-fiber breakfast at T-3h30min to ensure full gastric emptying.
-
Equipment Verification: Swapping to deep-section racing wheels requires verifying brake pad/rotor clearance and re-torquing axles at T-24h, not in the staging pen.
-
Pacing the Emergency: If running behind schedule, prioritize sign-on and grid position over a long warm-up. A compressed 10-minute warm-up with 2 short openers is sufficient to race safely.
Leer mássobre Race Morning: The Night-Before Checklist That Prevents DNFs
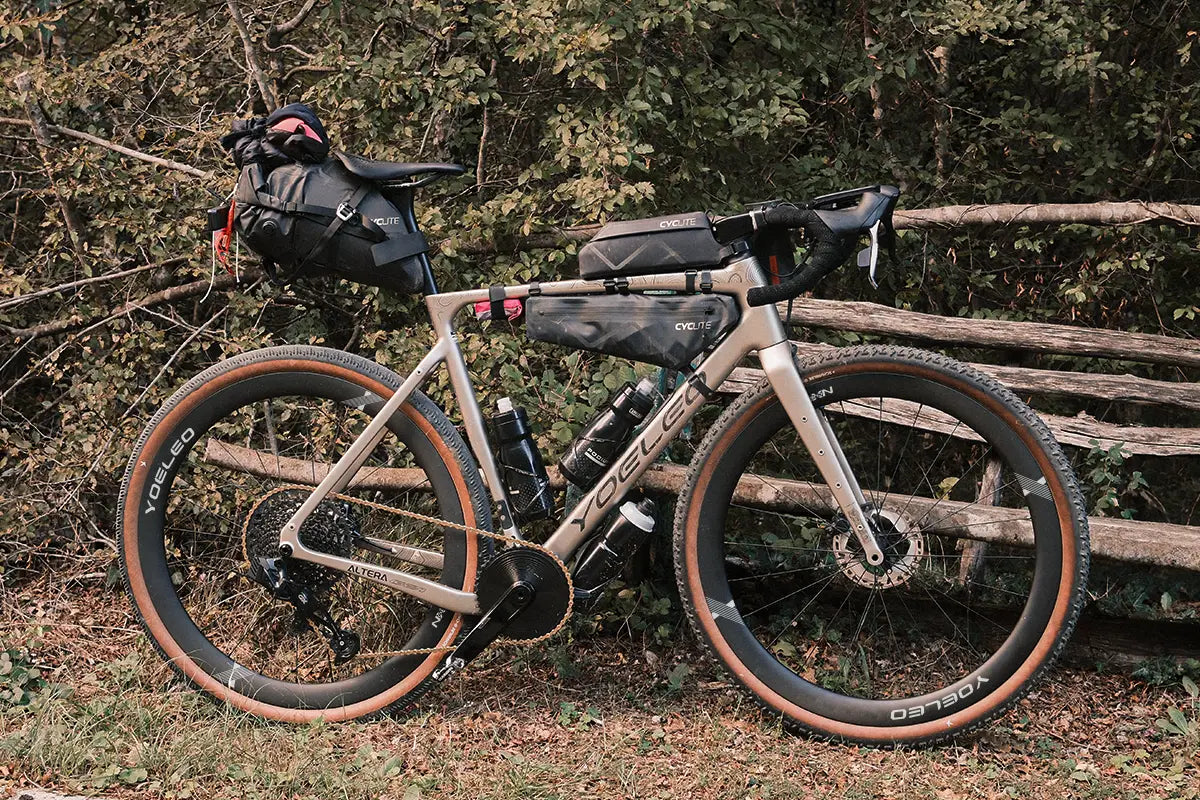
Wide vs Fast: Tire Clearance for Mixed Terrain (2026)
Leer mássobre Wide vs Fast: Tire Clearance for Mixed Terrain (2026)

Ya está disponible el pago a plazos con Klarna
Leer mássobre Ya está disponible el pago a plazos con Klarna

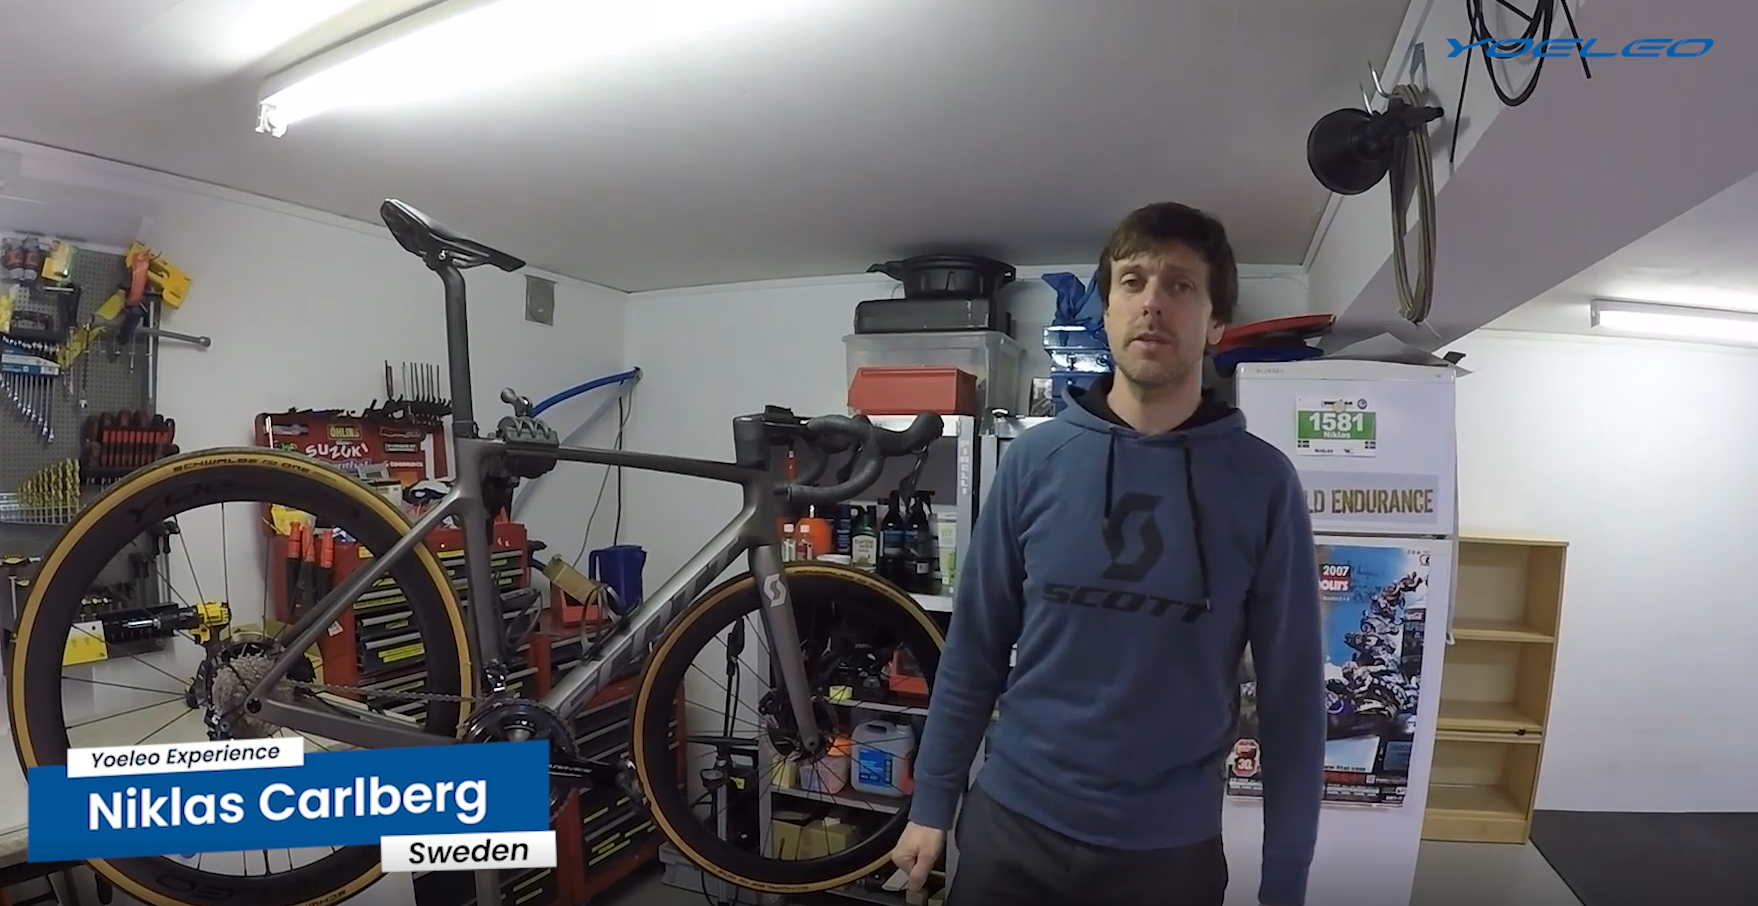
Historia con Yoeleo | Nicklas Calberg | 10 Aniversario | VIDEO CHALLENGE | Mejores ruedas chinas
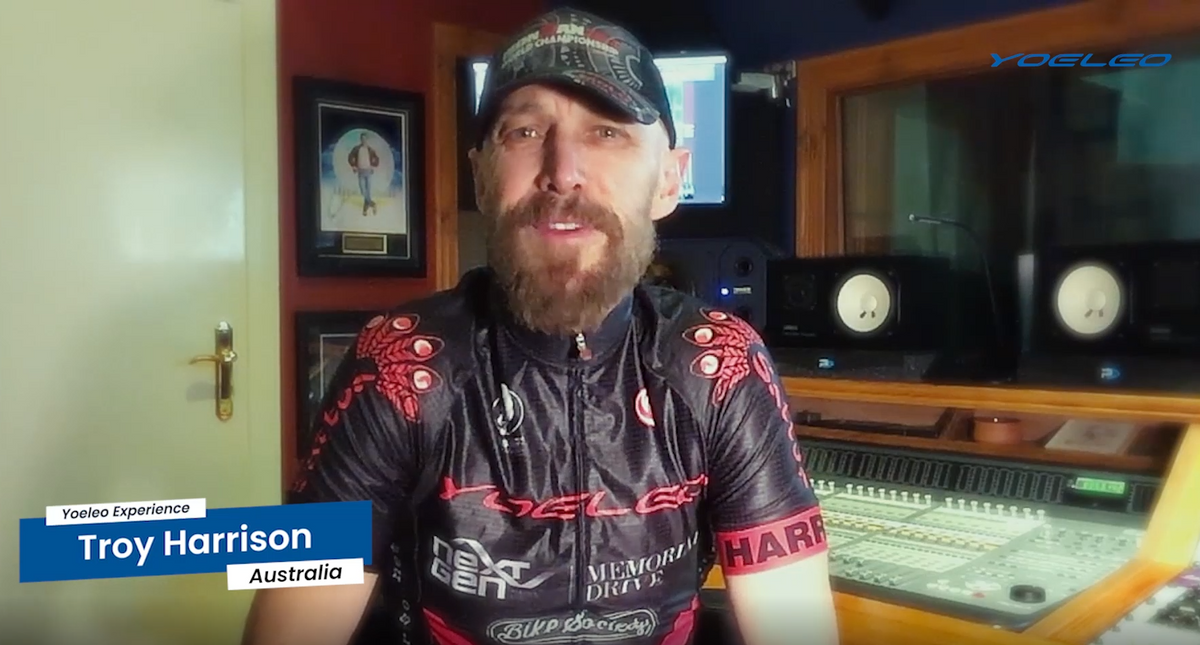
Historia con Yoeleo | Troy Harrison | 10 Aniversario | VIDEO CHALLENGE | Las mejores ruedas chinas
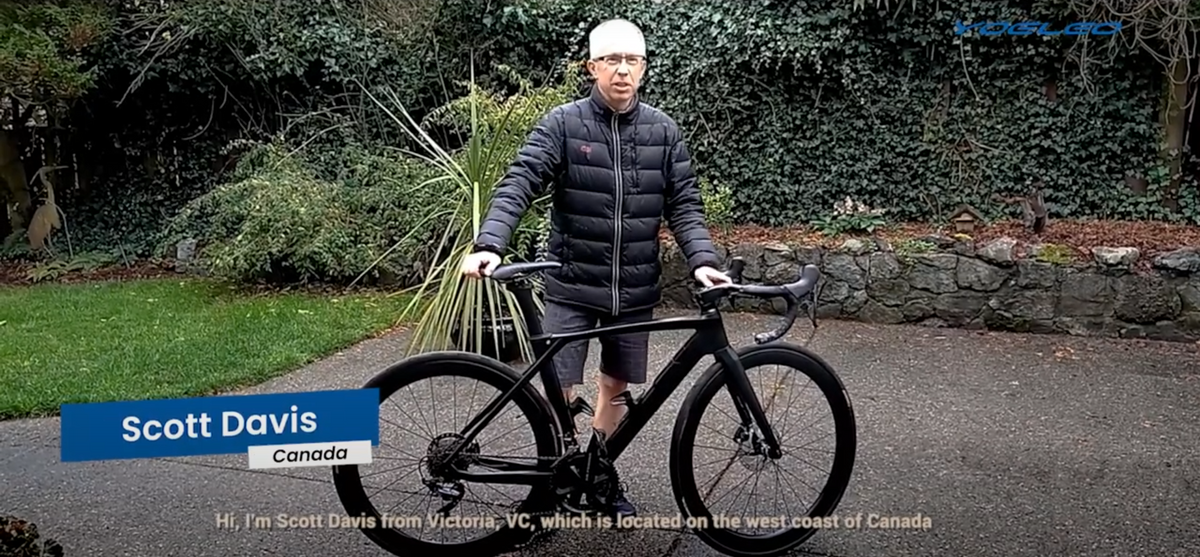
Historia con Yoeleo | Scott Davis | 10 Aniversario | VIDEO RETO
Leer mássobre Historia con Yoeleo | Scott Davis | 10 Aniversario | VIDEO RETO
Guide
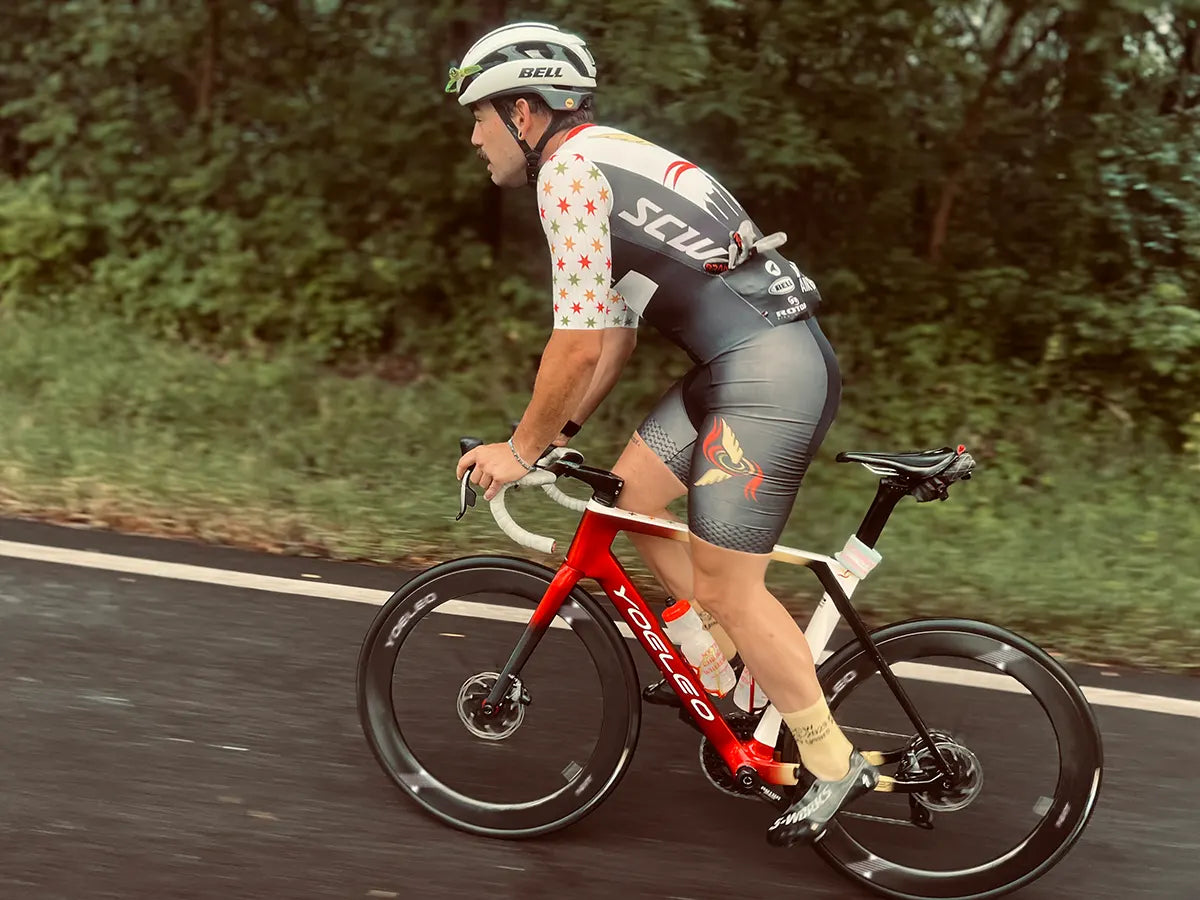
Gearing for Your Terrain: Choosing Chainrings and Cassette
-
Gear Ratio Defines Effort: Gear ratio equals front chainring teeth divided by rear cog teeth (Teeth front\Teeth rear). A 1.00 ratio (34 x 34) means one pedal revolution yields exactly one rear wheel revolution.
-
Calculate Gradient Capacity: Lower gears allow higher cadence at lower speeds. For a 78 kg system outputting 210 W at 70 RPM, a 1.00 ratio allows sustaining an ~10.4% gradient without dropping cadence into muscle-fatiguing grind territory (<60RPM).
-
Check Derailleur Specs First: Before buying a larger cassette, verify two derailleur parameters: Max Cog Size (e.g., 34T) and Total Capacity (Chainring Diff + Cassette Diff). Exceeding these causes shift failure or derailleur destruction.
-
Chainring vs. Cassette: Reducing front chainring size preserves tight gear steps on the flat while shifting the entire range lower. Enlarging the rear cassette adds low-end bail-out gears but increases gear jumps.
Leer mássobre Gearing for Your Terrain: Choosing Chainrings and Cassette
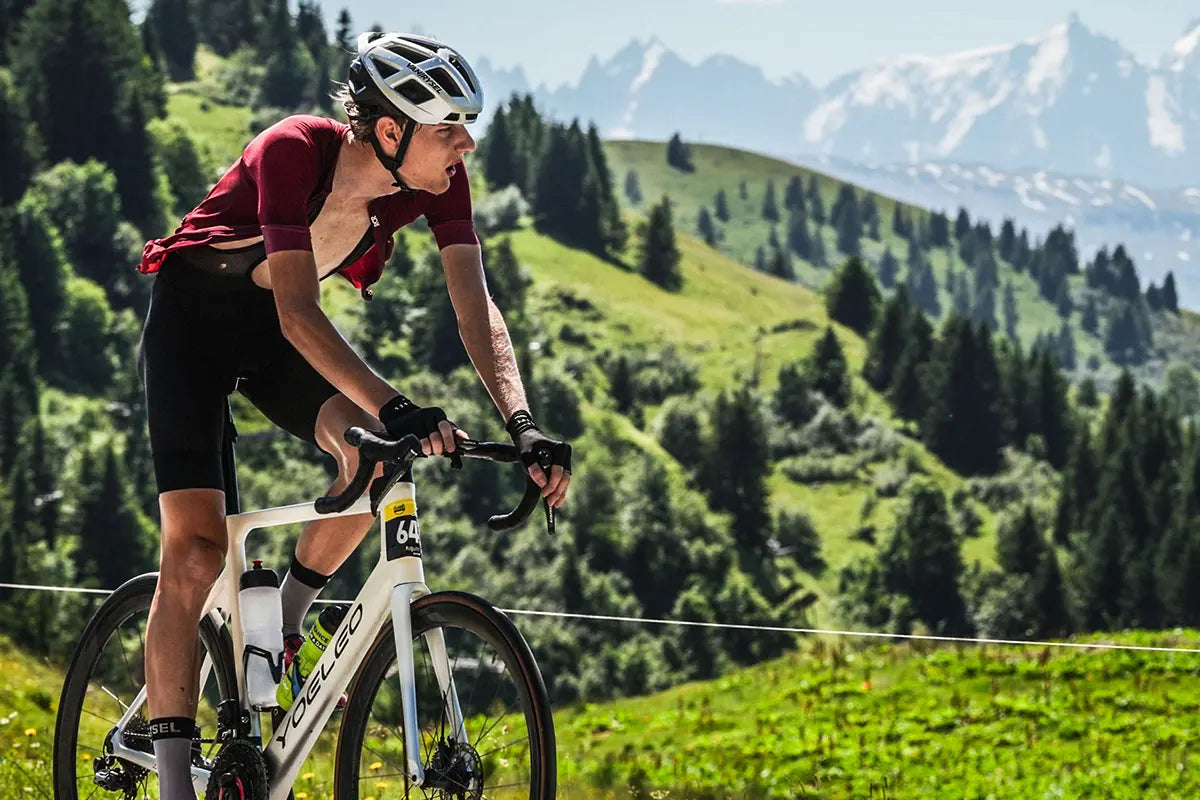
Riding in Heat: Hydration Maths, Pacing, and Kit
-
Expect Cardiac Drift: As temperatures cross 25°C, blood redirects to the skin to cool off, raising your heart rate at the same power output. Scale power back by 5–10% and pace using RPE and heart rate.
-
Calculate Sweat Loss: Weigh yourself before and after a 60-minute hot ride. Subtract post-ride mass from pre-ride mass, add the fluid consumed, and divide by ride hours (1kg loss ~ 1L sweat).
-
Target 70–90% Replacement: Do not attempt to replace 100% of fluid losses on the bike. Aim for 70–90% to avoid gastrointestinal distress and prevent Exercise-Associated Hyponatremia (EAH).
-
Replenish Electrolytes: If you leave white salt streaks on your jersey or helmet straps, choose an electrolyte drink providing 500–1,000 mg of sodium per liter.
-
Know Emergency Red Flags: Heat exhaustion requires immediate shade and cooling. Heat stroke (confusion, lack of sweating, hot dry skin) is a direct medical emergency—stop and seek immediate help.
Leer mássobre Riding in Heat: Hydration Maths, Pacing, and Kit
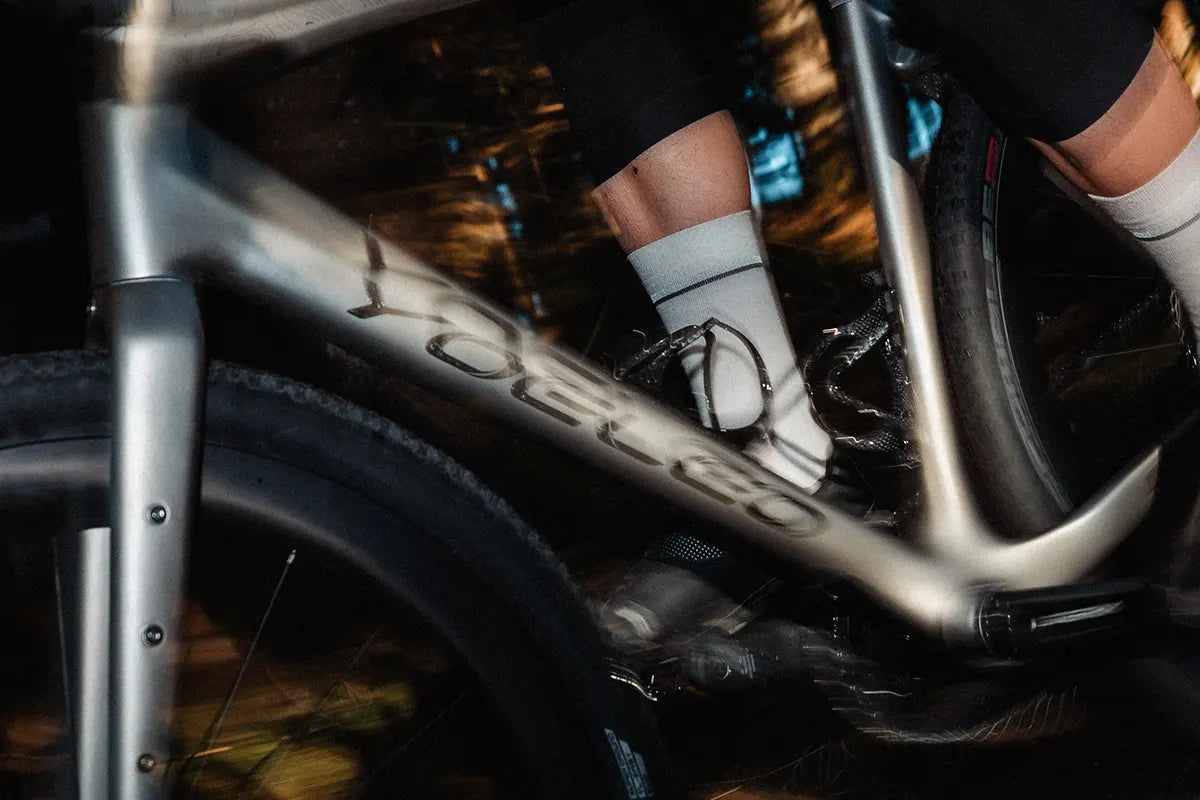
Threaded Insert Care: Stop Stripping Bottle Cage and Bolt Holes
-
Carbon Is Safe, Inserts Fail: Bottle cage bolts thread into aluminum or stainless steel inserts bonded into the carbon frameset, not into the carbon fiber itself.
-
Use the Right Lube: Apply a dab of anti-seize or waterproof grease to bottle cage bolts. This prevents galvanic corrosion, which seizes the steel bolt inside the aluminum insert and causes it to spin.
-
Chase Threads First: If an M5 bolt strips but the insert remains securely bonded, running an M5x0.8 tap through the hole can often reform the damaged threads without replacing parts.
-
Replace, Don't Upsize: If threads are completely destroyed, do not drill the hole out to an M6 size. A specialist can extract the damaged M5 insert and compress a new M5 rivnut into the existing carbon bore.
-
Respect Torque Limits: Small M5 accessory bolts require only 3–4 Nm of torque. Always use a calibrated micro-torque wrench.
Leer mássobre Threaded Insert Care: Stop Stripping Bottle Cage and Bolt Holes
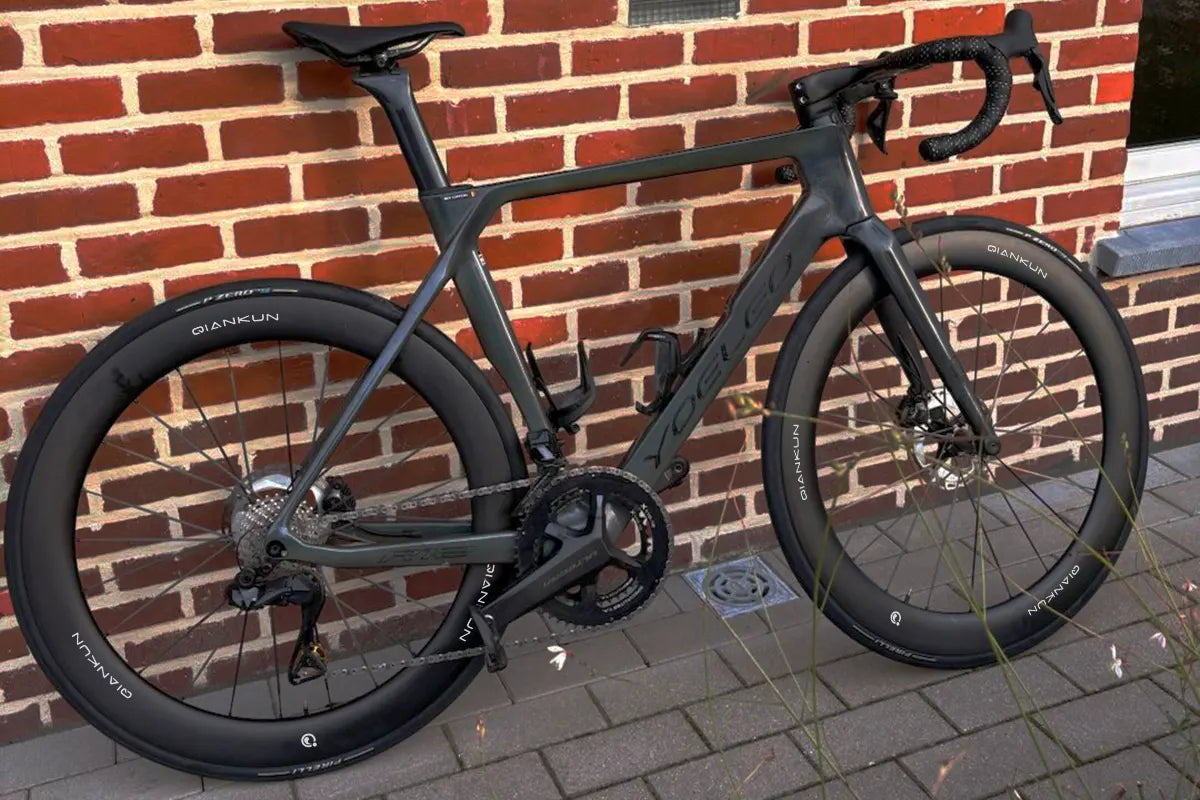
Is It Safe to Put a Carbon Frame on a Smart Trainer?
-
Load Path Shift, Not Load Increase: Direct-drive trainers alter how forces travel through a carbon frameset, removing tire flex while directing lateral motion through fixed rear dropouts.
-
Fatigue-Tested Strength: Quality carbon framesets undergo rigorous fatigue testing (e.g., ISO 4210 standards) that far exceeds the pedaling and lateral forces generated during indoor training.
-
Axle Alignment Is Critical: Forced or misaligned thru-axles introduce static pre-load stress; always thread axles by hand to ensure zero binding before applying final torque.
-
Sweat Is the Primary Threat: Salt and moisture cause severe galvanic corrosion on metal hardware and bearings; protect the frameset with a sweat guard and wipe down all dropouts immediately post-ride.
-
Rocker Plates Offer Feel, Not Survival: Rocker platforms add natural sway and improve comfort, but a correctly installed direct-drive trainer is completely safe on a rigid floor.
Leer mássobre Is It Safe to Put a Carbon Frame on a Smart Trainer?
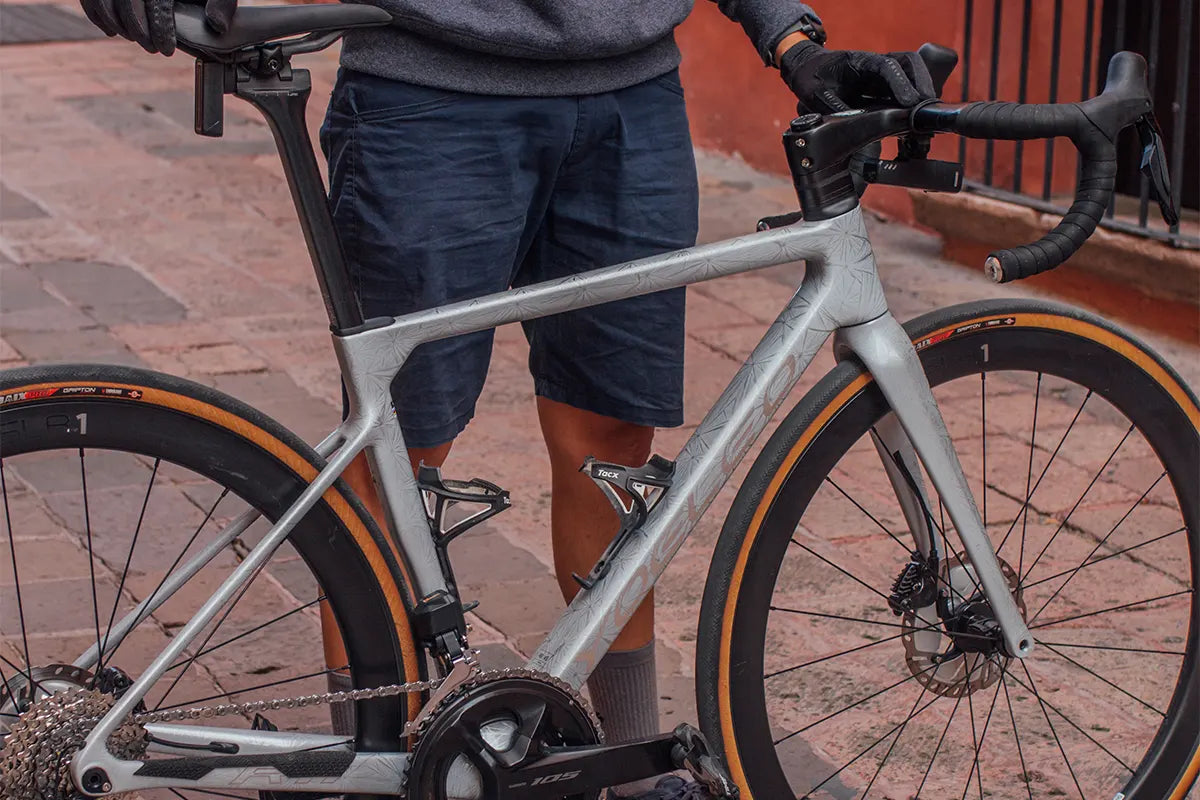
Roadside Tubeless Repair: What to Carry, In What Order
-
Follow the Escalation Order: Address punctures in strict sequence—let liquid sealant work first, insert a tubeless plug for medium holes, use an internal boot for sidewall gashes, and install an inner tube only as a final resort.
-
Leverage Gravity for Small Holes: When a puncture occurs, stop and rotate the wheel so the hole sits at the 6 o'clock position; this allows liquid sealant to pool directly over the breach.
-
Plug Without Unmounting: For 2–6 mm tread punctures, push a sticky tire plug directly into the hole using an insertion fork without removing the tire from the rim.
-
Respect Hookless Pressure Limits: Installing an inner tube into a hookless rim system does not eliminate ETRTO structural pressure caps; never exceed 72.5 psi (5 bar) regardless of whether a tube or sealant is inside.
-
Remove the Complete Tubeless Valve: When converting to a tube on the roadside, unbolt and remove the entire tubeless valve stem assembly from the rim bed before inserting the tube.
Leer mássobre Roadside Tubeless Repair: What to Carry, In What Order
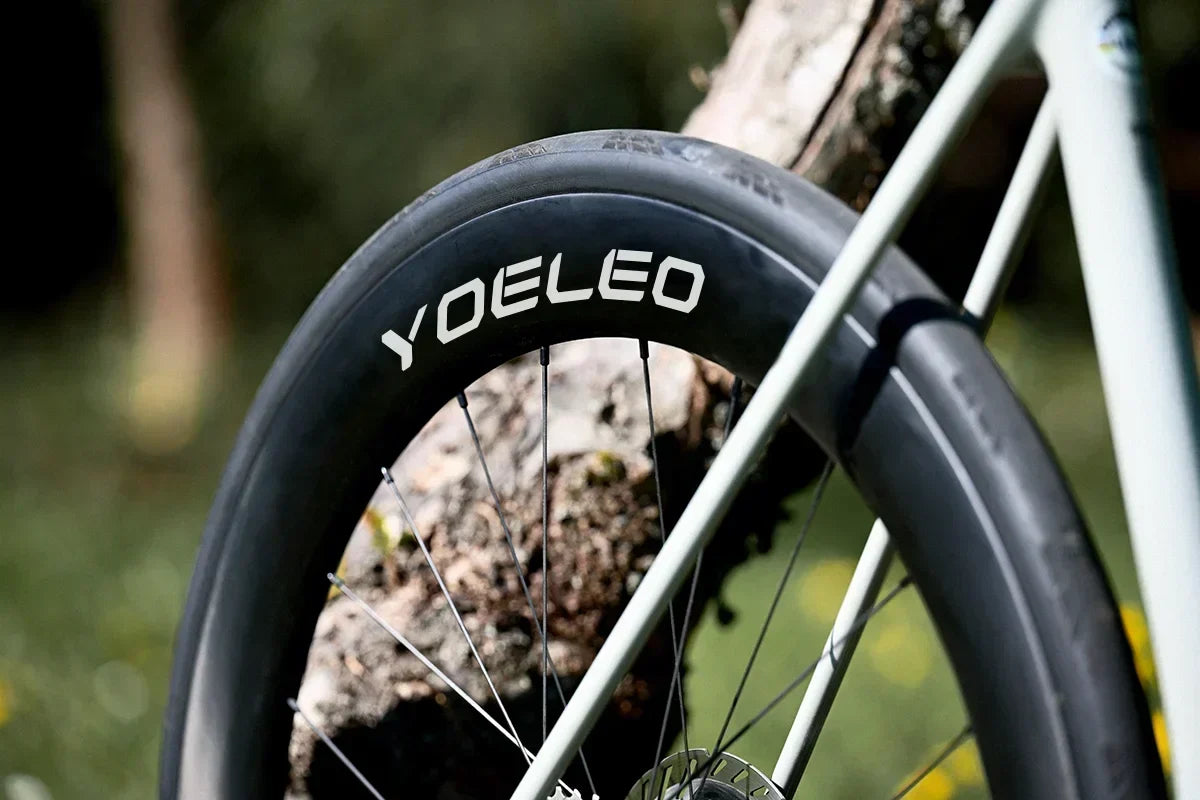
Reading Tyre Wear: When to Replace, Rotate, or Bin It
-
Never Put Worn Rubber on the Front: Always keep your freshest tire with the most grip on the front wheel to maintain control and prevent front-end slides.
-
Front vs. Rear Wear Dynamics: Rear tires wear 2 to 3 times faster than front tires due to drivetrain torque and static weight bias, though front tires handle the vast majority of dynamic braking load.
-
Rim Width Matters: Modern wide rims, such as 23 mm internal width wheelsets, optimize the tire contact patch for more even wear and improved puncture resistance compared to narrow rims.
Leer mássobre Reading Tyre Wear: When to Replace, Rotate, or Bin It
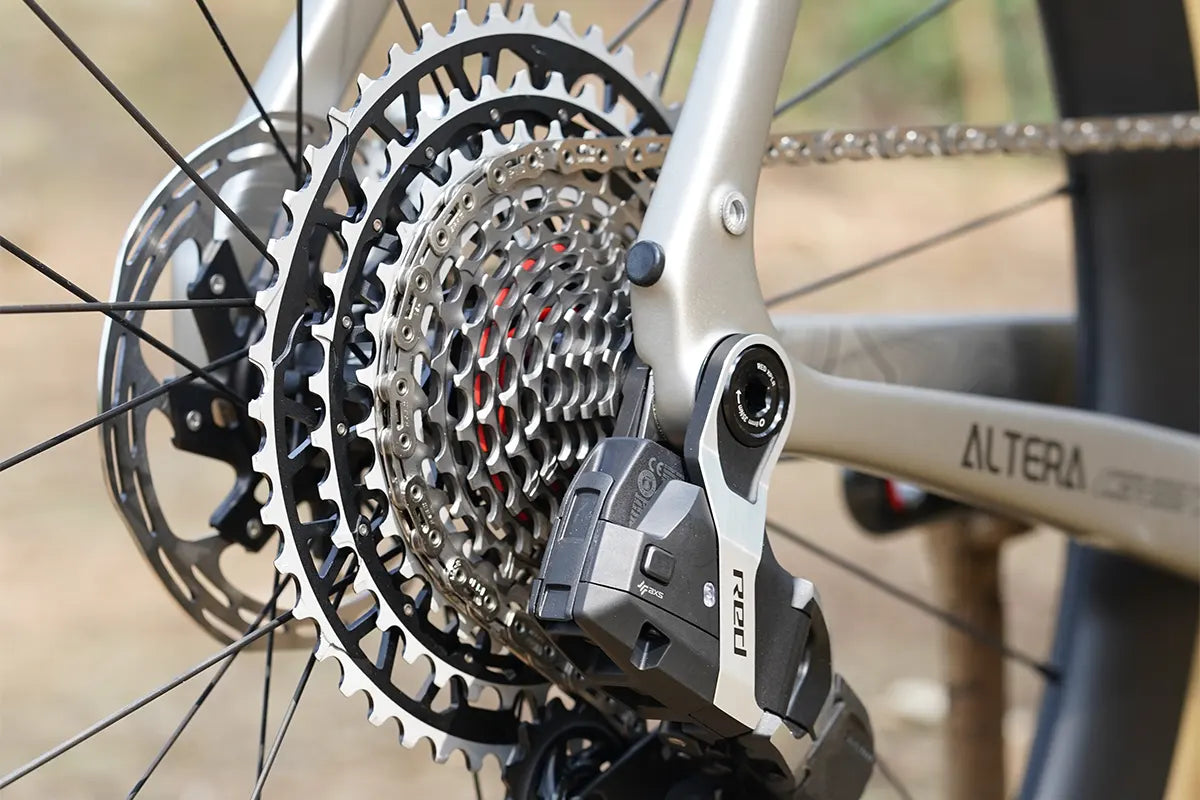
Chain Wear: How to Measure It and Why It Saves Your Cassette
-
Catch Wear Early: Replacing a chain at 0.5% elongation on 11- and 12-speed systems prevents the chain from reshaping cassette teeth, saving hundreds in drivetrain costs.
-
Ruler Measurement Accuracy: Measure 12 full links (pin 1 to pin 13) using a steel ruler. Standard nominal length is exactly 304.8 mm (12 in).
-
Understand Gauge Errors: Traditional drop-in chain checkers push rollers in opposite directions, adding roller wear to pin wear and falsely reporting a chain as stretched before it actually is.
-
The Main Wear Factor: Pin-and-bushing friction driven by grit is the primary cause of elongation—regularly wiping down the drivetrain extends chain and cassette longevity far more than mileage alone predicts.
Leer mássobre Chain Wear: How to Measure It and Why It Saves Your Cassette
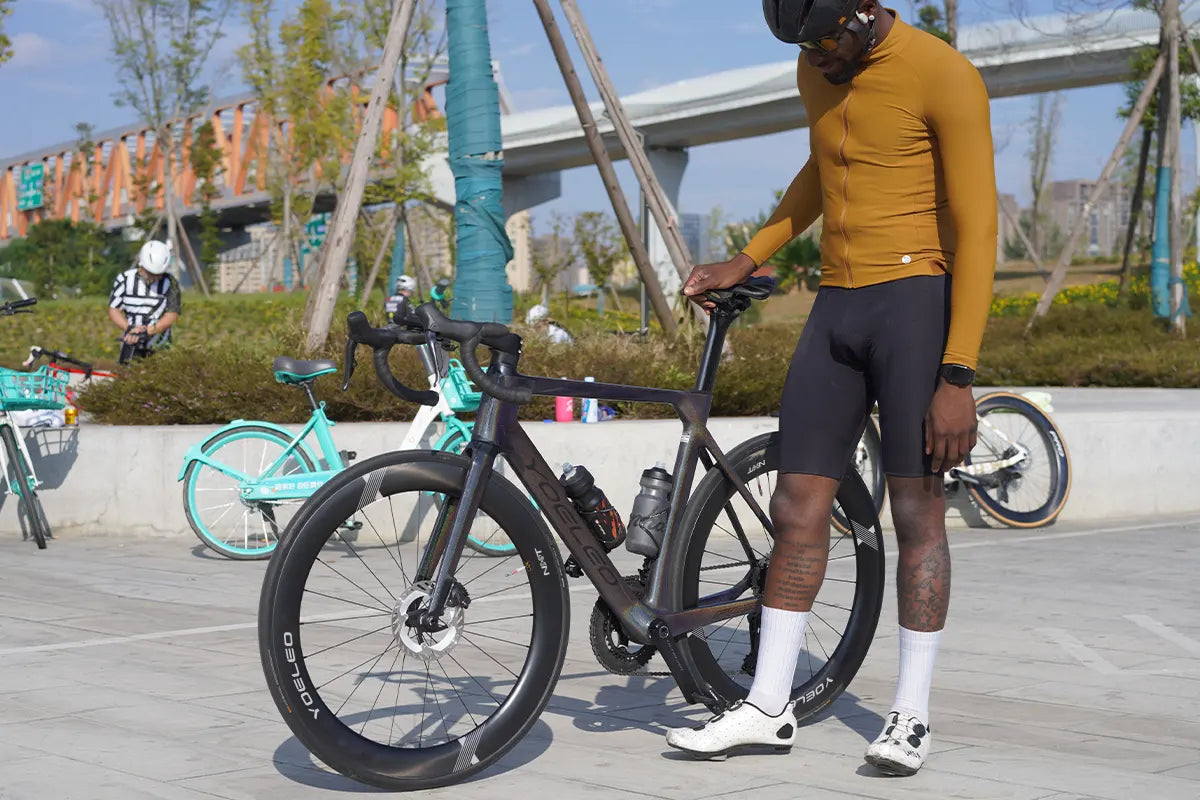
Diagnosing Creaks: A Systematic Elimination Method
-
Isolate One Variable: Test and modify only one interface at a time; fixing multiple parts in a single session hides the true origin of the creak.
-
Out-of-Saddle Physics: Standing on the pedals unweights the saddle and seatpost entirely while dramatically increasing lateral leverage on the cockpit, pedals, and bottom bracket.
-
Use Proper Assembly Media: Apply grease strictly to metal-on-metal interfaces, and use micro-particle carbon assembly paste for any carbon-to-carbon or carbon-to-metal connection.
-
Fast-First Test Order: Start with quick visual and mechanical checks at the pedal, cleat, and seatpost interfaces before attempting labor-intensive bottom bracket or headset teardowns.
Leer mássobre Diagnosing Creaks: A Systematic Elimination Method
Wheels
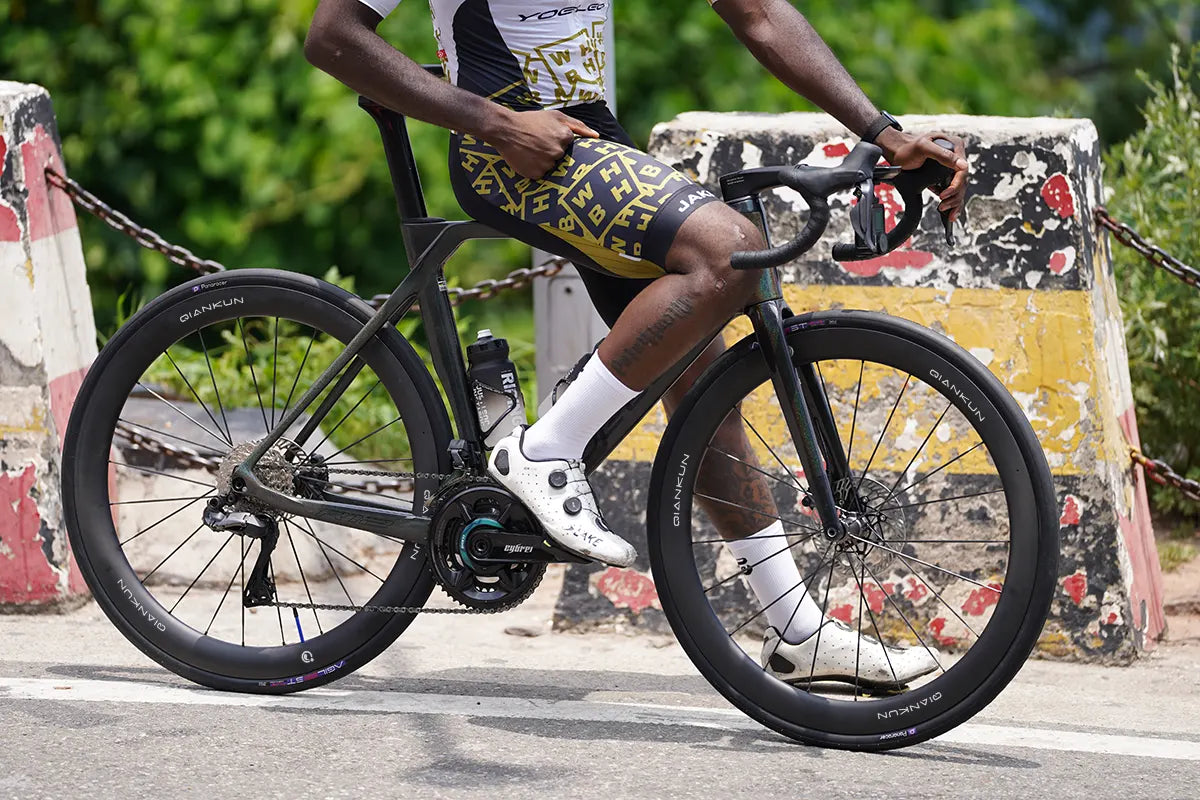
Wheel Spokes & Ride Feel: What Spoke Choice Really Does
Leer mássobre Wheel Spokes & Ride Feel: What Spoke Choice Really Does
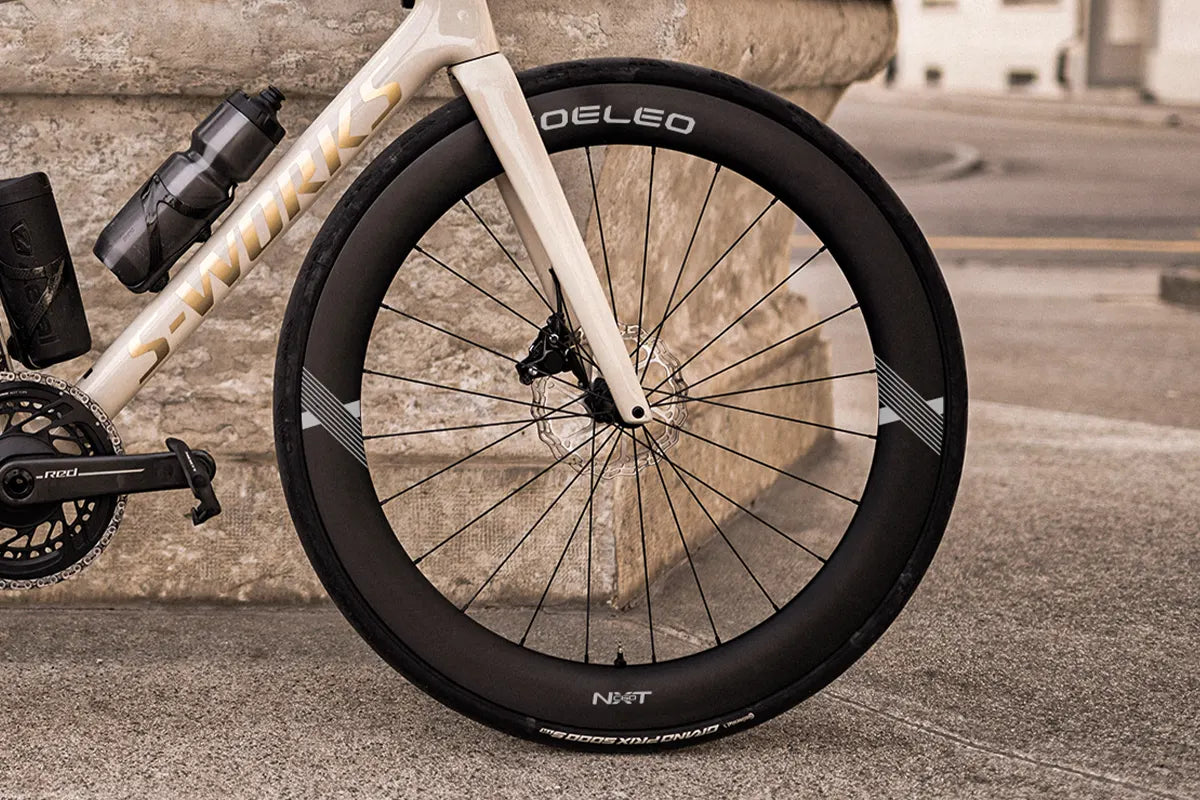
Wheel Fatigue Testing Explained: What the Numbers Mean
-
ISO 4210 is the international safety standard for commercial bicycle wheels. Passing its baseline protocols is a legal minimum for market entry, not a badge of performance excellence.
-
Fatigue testing (cycles and force) simulates thousands of pedal strokes to ensure a wheel's spoke bed, rim layup, and hub flanges can handle repeated riding loads without cracking over time.
-
Impact testing (joules) measures a rim’s structural response to sudden, severe strikes like hitting potholes or square-edged curbs. Both the ISO 4210 protocol and the UCI vertical impact standard (required for mass-start racing) utilize a baseline threshold of 40 Joules.
-
The critical question for any premium wheel data: What exact load threshold was used, how many production samples were tested, and were the figures independently verified?
Leer mássobre Wheel Fatigue Testing Explained: What the Numbers Mean
How to Read Wheel Reviews Without Getting Fooled
Leer mássobre How to Read Wheel Reviews Without Getting Fooled
Internal Rim Width & Real Tire Size: The Full Guide
Leer mássobre Internal Rim Width & Real Tire Size: The Full Guide
Your First Carbon Wheelset: How to Pick the Right Depth
Leer mássobre Your First Carbon Wheelset: How to Pick the Right Depth
C35 vs C50 vs C60: How to Choose Carbon Wheel Depth
Leer mássobre C35 vs C50 vs C60: How to Choose Carbon Wheel Depth
Tire Pressure by Rider Weight Chart: Road & Gravel
Leer mássobre Tire Pressure by Rider Weight Chart: Road & Gravel
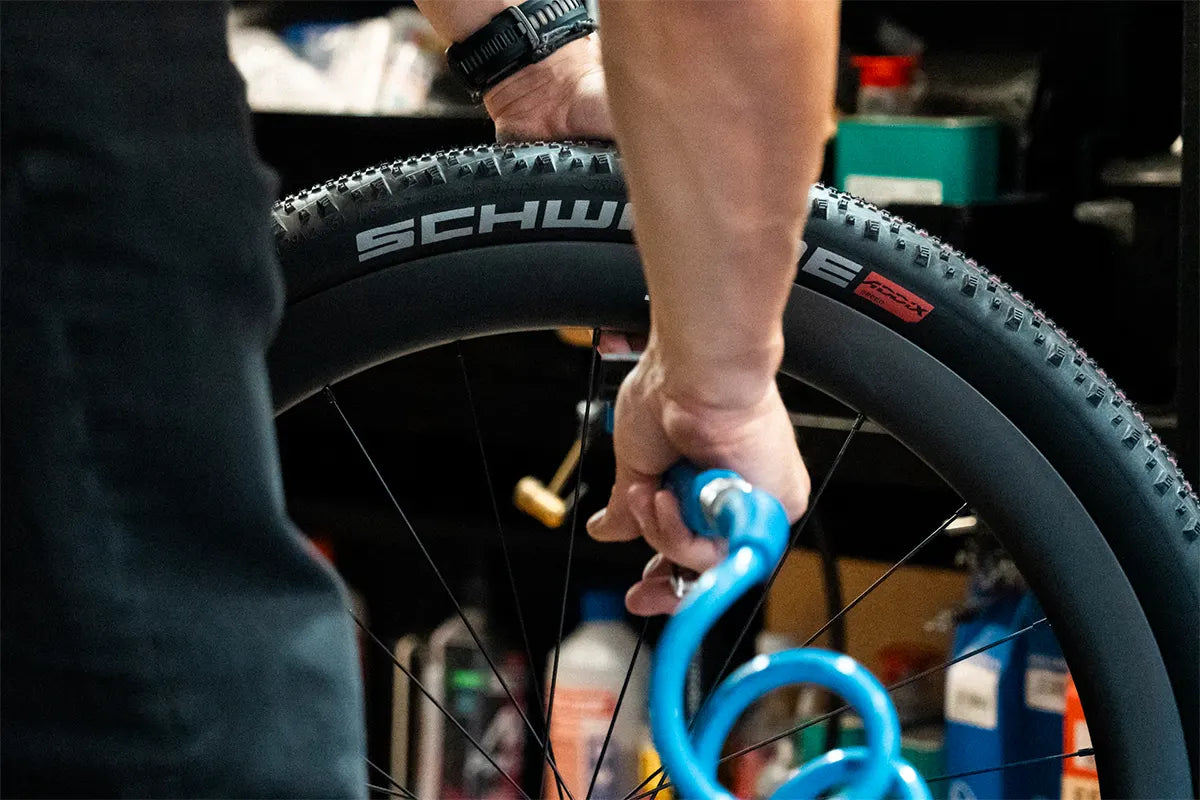
Tubeless Burping Fix: Solve Seating & Sealant Problems
Leer mássobre Tubeless Burping Fix: Solve Seating & Sealant Problems
Wheels
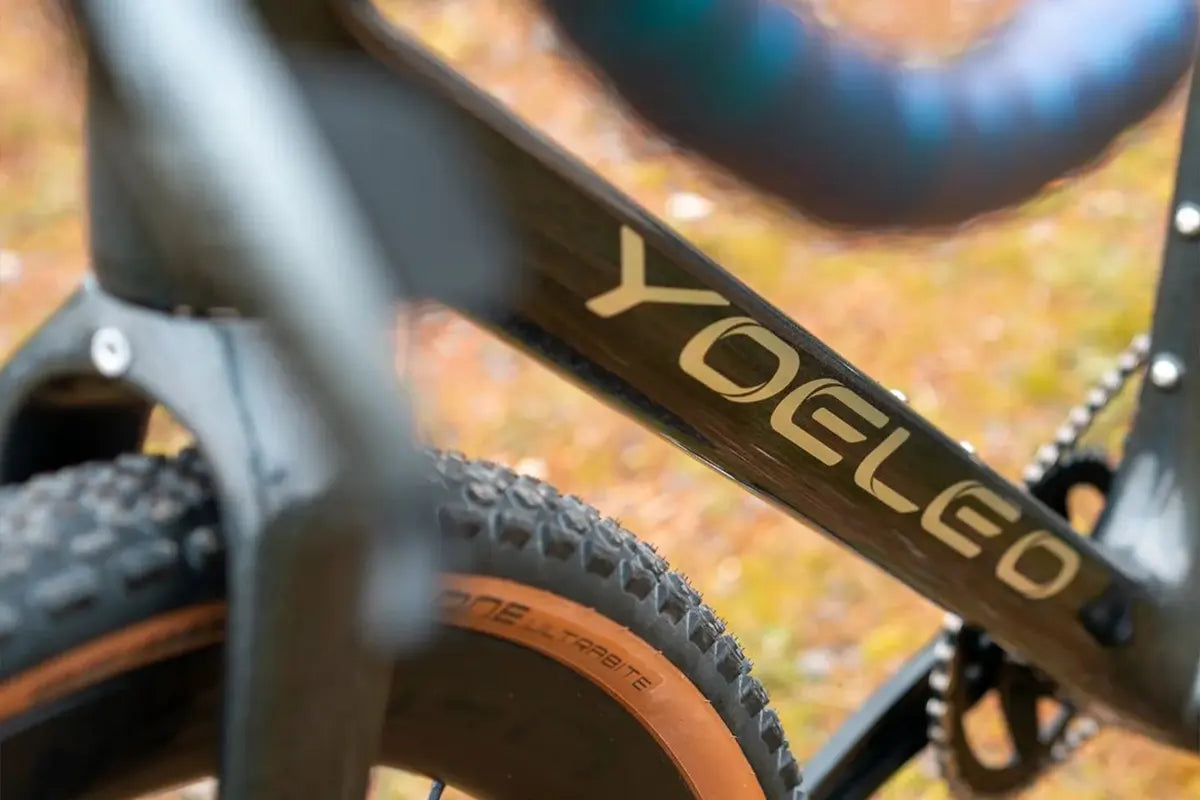
Post-Crash Carbon Inspection: Frame and Wheel Checks
-
Invisible Structural Damage: Unlike metal frames that bend or dent, carbon fiber composites absorb impacts through internal ply separation (delamination) that may leave the outer surface visually unscathed.
-
Master the Tap Test: Gently tap suspect areas with a coin; a sharp, high-pitched ping indicates solid laminate, whereas a dull, hollow thud signals internal voiding or delamination.
-
Mandatory Fork Replacement: Front-end or head-on impacts require automatic replacement of the carbon fork; steerer tube stress inside the headset cannot be evaluated visually or via tap testing.
-
Inspect Carbon Wheelsets: Always spin wheelsets after a crash to check for rim lateral runout, radial flat spots, spoke tension drop, and delamination along the brake track or sidewall.
-
Respect Testing Boundaries: High internal manufacturing standards (such as 120J impact testing, an internal standard at 3× the UCI minimum) prove initial strength, but offer no guarantee after real-world impact damage.
Leer mássobre Post-Crash Carbon Inspection: Frame and Wheel Checks
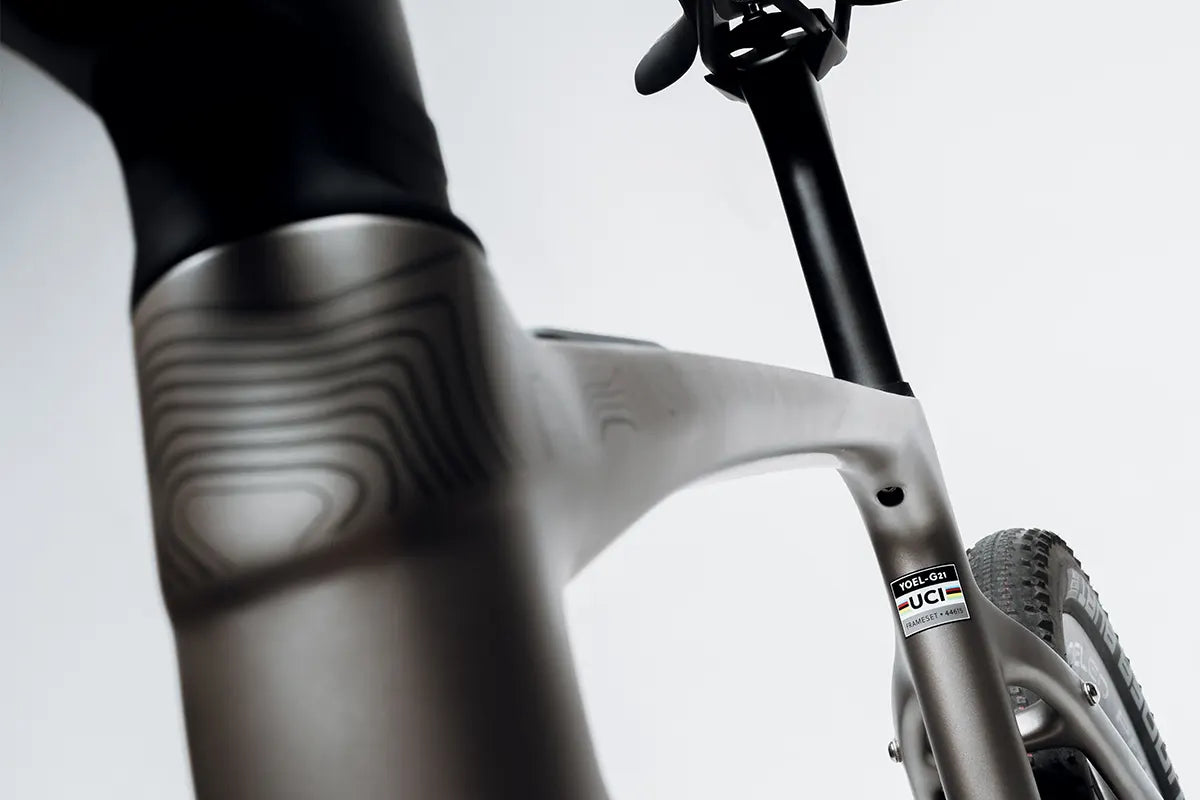
Gravel Bike for Road Riding: Fast All-Road Setup Guide
Leer mássobre Gravel Bike for Road Riding: Fast All-Road Setup Guide
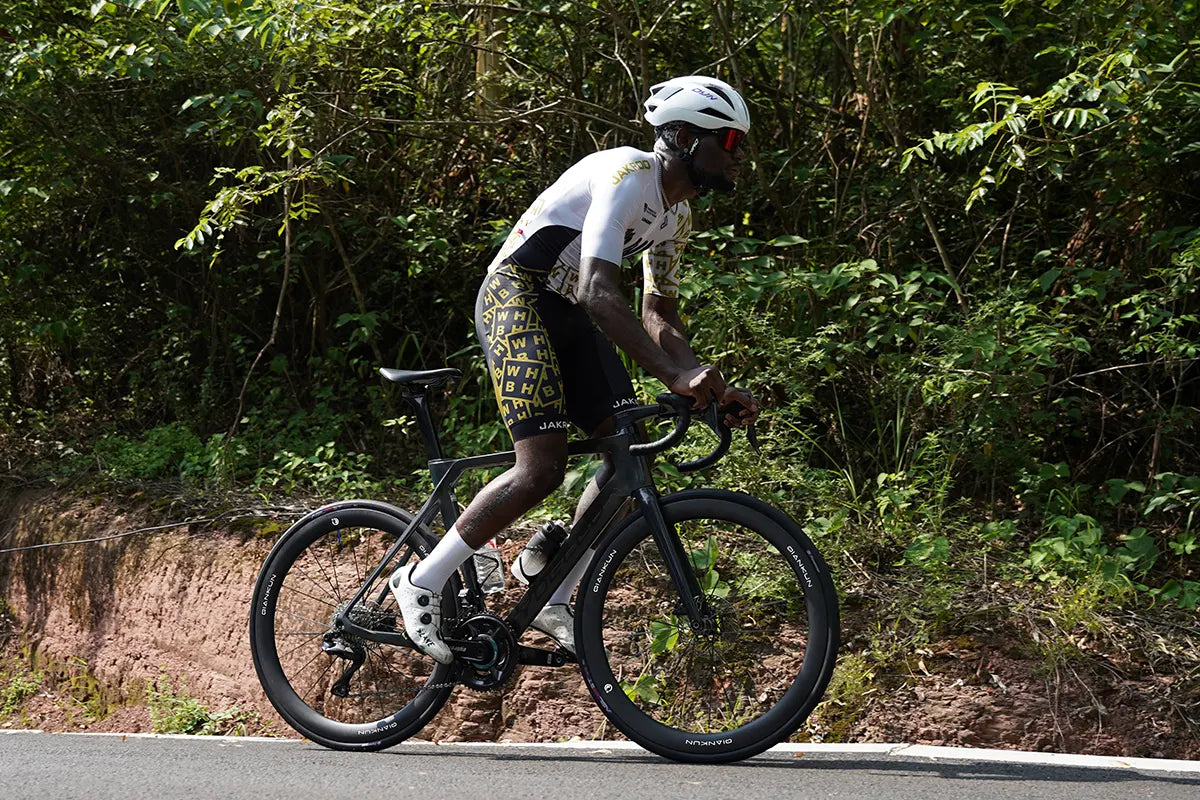
Endurance vs Race Geometry: Which Frame Fits You?
Leer mássobre Endurance vs Race Geometry: Which Frame Fits You?
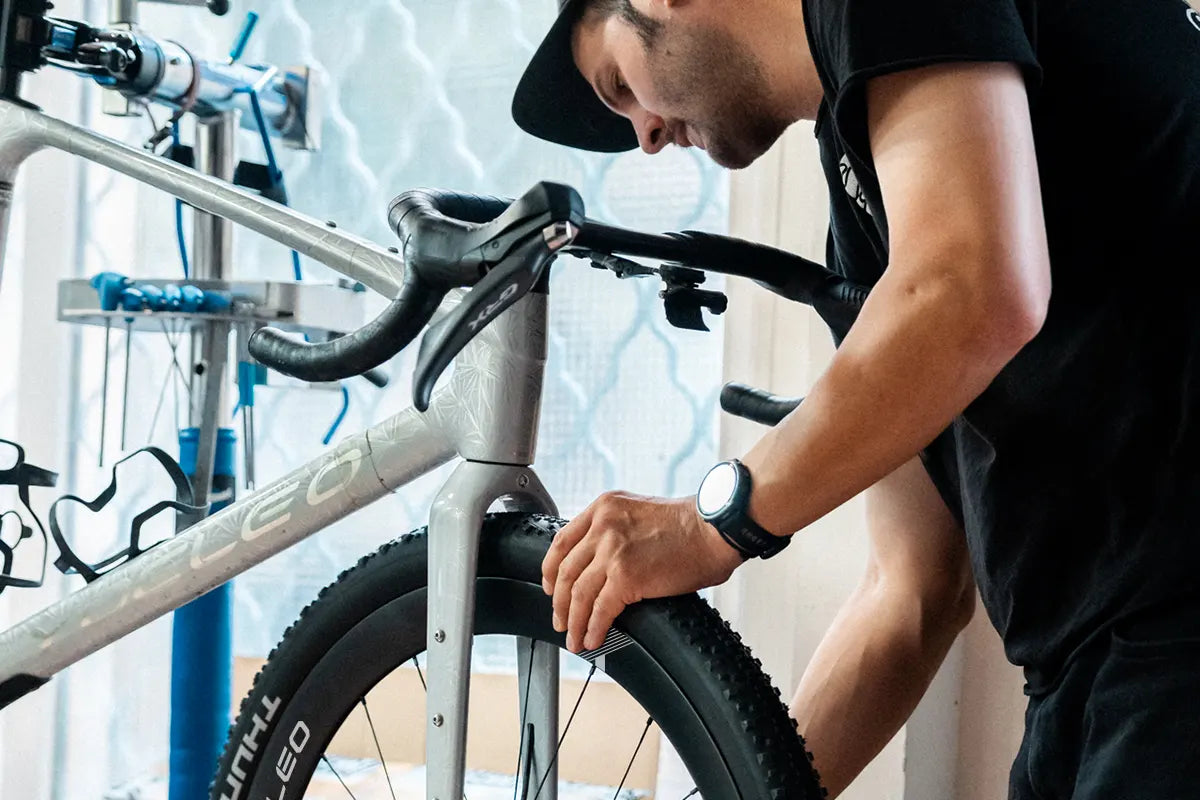
Build Bike From Frameset at Home: Step-by-Step Guide
Leer mássobre Build Bike From Frameset at Home: Step-by-Step Guide
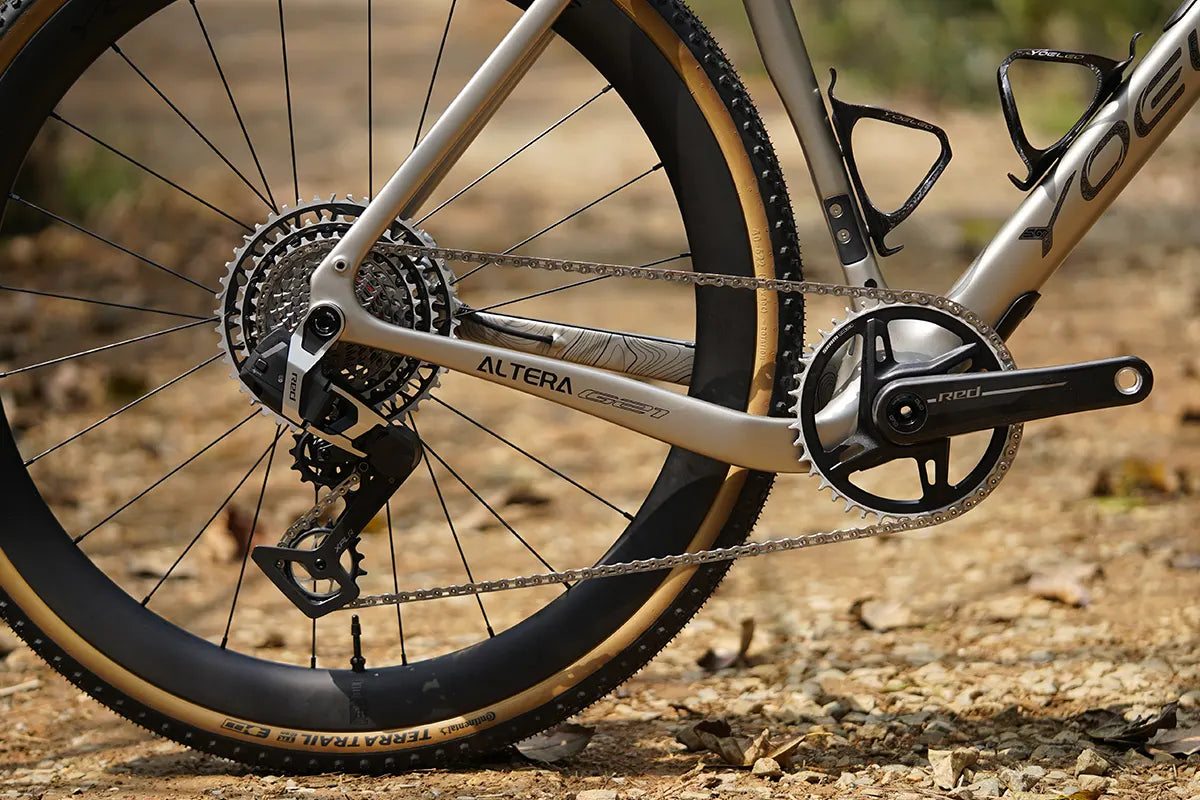
Frameset Groupset Compatibility Guide for Road & Gravel
Leer mássobre Frameset Groupset Compatibility Guide for Road & Gravel
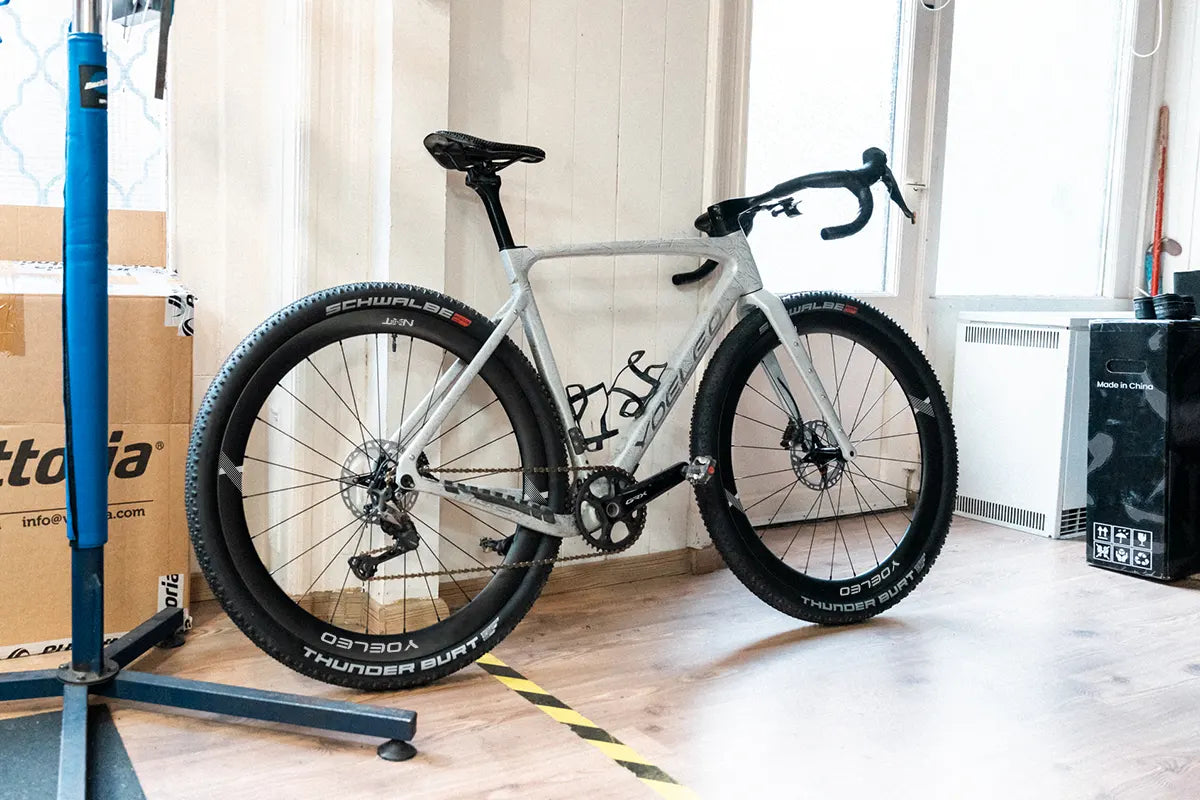
Between Two Bike Sizes? How to Choose Buying Online
Leer mássobre Between Two Bike Sizes? How to Choose Buying Online
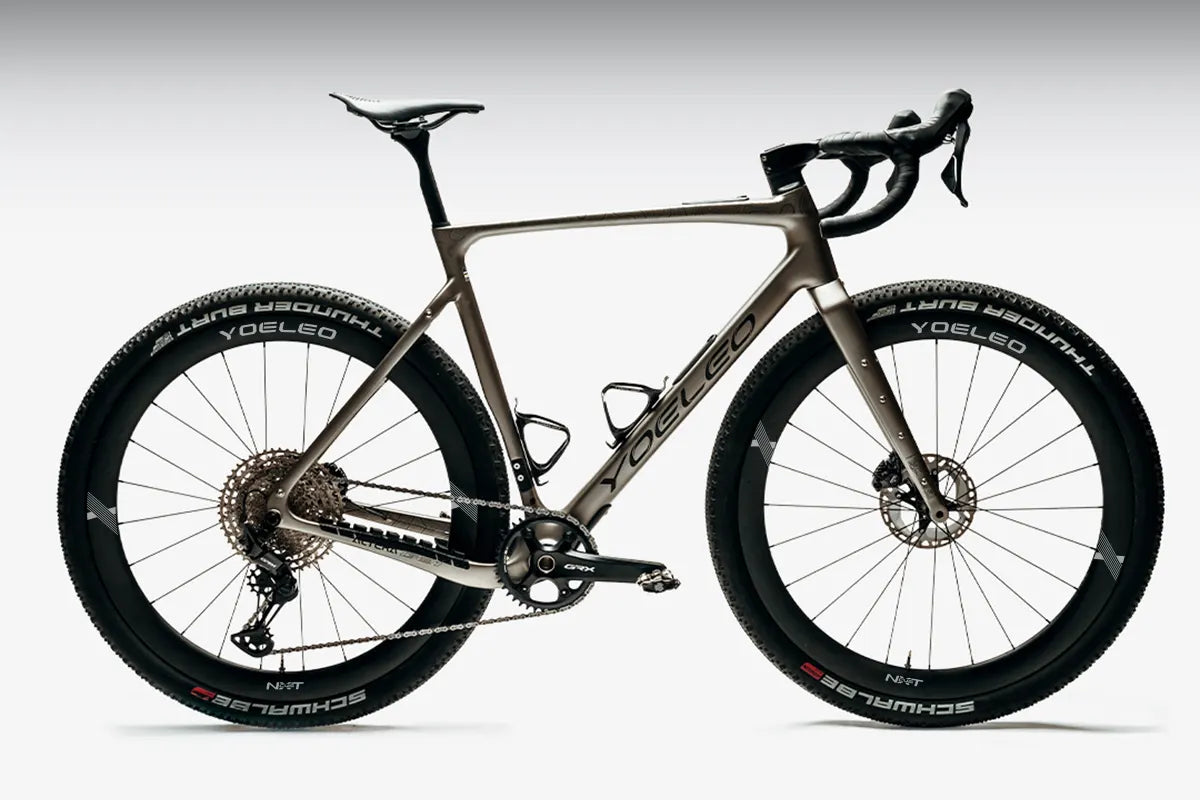
Stack & Reach Bike Fit: Match Any New Frame

Custom Bike Paint: Does Color Cost You Speed?