
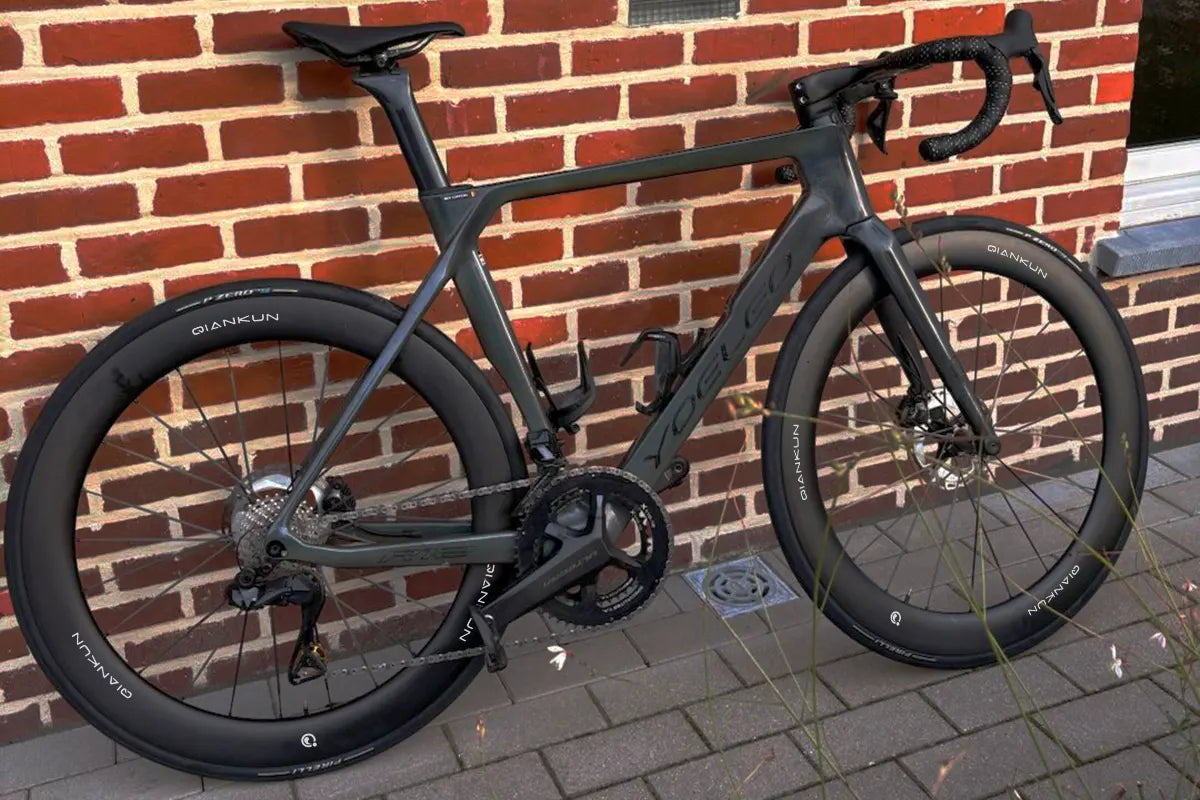
Is It Safe to Put a Carbon Frame on a Smart Trainer?
You've just bolted a carbon road frame onto a direct-drive trainer for the first time, and something feels different from riding outside. The rear end doesn't move. There's no wheel spinning, no tyre absorbing the small bumps you didn't realise were there, and every hard pedal stroke seems to transmit straight into the frame instead of into forward motion. It's a fair thing to notice, and a fair question to ask before you commit a winter of structured training to it.
The short version is that a carbon frame handling repeated pedalling loads isn't the concern most riders think it is. What actually changes on a direct-drive trainer is the load path, not the load itself, and the two real risks worth planning around are a mismatched or forced axle fit and the slow, boring one nobody thinks about until it's a problem: sweat.
Is it safe to put a carbon frame on a smart trainer?
Yes, provided the thru-axle standard matches exactly and the frame is treated to the same post-ride care an outdoor bike gets. The pedalling forces involved in a hard trainer session sit well within what a well-engineered frame is built to handle repeatedly. The setup details, correct axle fit and clean, dry hardware, matter more than the trainer itself.
That answer depends on getting the fit right, though, which is why it's worth understanding what actually changes mechanically once the rear wheel comes off.
Direct-drive, wheel-on, and rocker plates: the load path difference
A wheel-on trainer keeps the rear wheel in place and drives resistance through a roller pressed against the tyre. The tyre still flexes, the wheel still spins, and the bike sits roughly as it would leaning on a trainer stand outdoors. It's the closest mechanical analogue to normal riding.
A direct-drive trainer removes the rear wheel entirely. The frame's dropouts clamp onto a fixed axle that's rigidly bolted into a stationary trainer body, which itself usually sits flat on the floor. That's a meaningfully different structure: there's no tyre to absorb vibration, and more importantly, the whole rear triangle is now fixed in space rather than free to lean the way a bike naturally does under a rider's hips during a hard effort.
A rocker plate changes that last part. It's a pivoting platform the trainer sits on, letting the whole bike lean and rock under load instead of resisting that motion at a fixed point. It doesn't change the pedalling force going through the drivetrain. It changes where the lateral sway gets absorbed, by the platform rather than by the frame's rear end.
Read the three setups side by side and the pattern is clear. What changes between them is not how much force you make, but where that force has somewhere to go.
|
Setup
|
Rear wheel
|
Lateral sway absorbed by
|
Vibration path
|
Main thing to get right
|
|
Wheel-on
|
Fitted, spinning
|
Tyre, wheel, frame together
|
Tyre contact patch damps it
|
Roller pressure and tyre wear
|
|
Direct-drive, flat floor
|
Removed
|
Frame rear end and BB area
|
No tyre, straight into the frame
|
Axle diameter, length and thread match
|
|
Direct-drive, rocker plate
|
Removed
|
The pivoting platform
|
Platform movement absorbs most of it
|
Same axle match, plus a stable, level plate
|
|
Direct-drive, misfitted axle
|
Removed
|
Nothing. It becomes static preload
|
Straight into a pre-stressed dropout
|
Stop and source the correct axle
|
The bottom row is the only one that introduces a load the frame was not designed around, and it has nothing to do with how hard you pedal.
Diagram comparing load path on a carbon frame across direct-drive, wheel-on, and rocker plate smart trainers
What the frame fatigue data actually covers
Carbon framesets go through fatigue testing that applies repeated loads well beyond normal riding forces. A typical protocol includes 100,000 pedalling fatigue cycles at 1,100 N through the bottom bracket, plus horizontal loading at 600 N over 100,000 cycles and vertical loading at 1,200 N over 50,000 cycles.
That horizontal test is the relevant one here. It simulates the lateral loads a frame sees from out-of-saddle efforts, which is exactly what gets concentrated at a fixed rear end on a direct-drive trainer without a rocker plate. A frame that passes it repeatedly is built for more lateral stress than a single indoor session puts through it.
What that testing doesn't simulate is a frame clamped at a rigidly fixed axle rather than supported on a spinning wheel. The fatigue numbers tell you the frame handles the force. They don't tell you what happens if the axle itself is the wrong length or diameter, because that's a setup problem, not a load problem.
The real risk: a fixed axle that doesn't quite fit
Thru-axle standards vary by diameter and length, commonly 12x142 mm or 12x148 mm on the rear, and a direct-drive trainer needs an axle or adapter that matches the frame's spec exactly. If the axle threads in smoothly by hand until the final few turns, it's seated correctly. If it's tight, gritty, or needs real force partway through, something doesn't line up, and forcing it can pre-load the dropout area with a static bending stress that has nothing to do with pedalling force at all.

This is the detail that matters more than trainer brand or type. A correctly matched, properly seated axle puts the frame under load conditions similar to normal riding. A forced or adapter-mismatched axle introduces stress the frame was never tested against, quietly, before you've turned a pedal.
The other real risk: sweat
Indoor sessions concentrate sweat onto the bike in a way outdoor riding never does, no airflow, no rain to dilute it, often an hour or more of steady dripping onto the top tube, stem, headset area, and critically, onto the thru-axle and dropout hardware itself. Sweat is salty and mildly acidic, and it's a far more consistent corrosion source for aluminium inserts, steel bolts and bearing seals than anything a frame will encounter outdoors in the same timeframe.

This is the boring risk, not frame failure, but it's the one that actually causes problems after months of regular indoor training: a thru-axle that seizes, a headset bearing that starts to feel gritty, or hardware that shows white oxidation nobody noticed building up. A towel over the top tube and a wipe-down within a few minutes of finishing, rather than leaving a sweat-soaked bike to sit overnight, removes most of this risk for close to zero effort.
Setting up a trainer without adding frame stress
Confirm your frame's rear axle spacing and diameter before buying a trainer or adapter, rather than assuming a "universal" kit covers it. That spec is usually printed on the frame itself near the dropout or listed on the geometry page for your model.
Thread the axle in by hand first, all the way, before reaching for a tool. Light, even resistance the whole way through means the frame and axle are aligned. Any binding partway through means stop and recheck fit rather than forcing it home with a wrench.
Recheck axle torque after the first week of riding, since a new setup can settle slightly as surfaces bed in. After that, a listen for new creaks around the dropout area once a month is enough to catch a developing issue early, using the same elimination approach you'd use for any bike creak.
Worked example: setting up a road frame for a direct-drive trainer
A rider mounts a road frameset onto a direct-drive trainer for a structured winter block. Before the first ride, they confirm the frame's rear spacing, 12x142 mm, matches the trainer's included axle rather than assuming it's universal. The axle threads in by hand with light, even resistance the whole way, confirming correct alignment, and gets torqued to the trainer manufacturer's spec, typically 12-15 Nm.
A towel goes across the top tube and stem before every session. Within five minutes of finishing each 60- to 90-minute ride, the frame gets wiped down, with particular attention to the dropout and axle area. Once a month, that same area gets a closer look for early corrosion signs, dulling or white oxidation on aluminium hardware, discolouration on steel bolts. After three months of four sessions a week, roughly fifty rides, there's no play at the axle and no corrosion, because the routine caught what the load never threatened in the first place.
Frequently Asked Questions
Do I need a special thru-axle for a direct-drive trainer?
Yes, it needs to match your frame's exact rear spacing and diameter, commonly 12x142 mm or 12x148 mm. Most trainers ship with adapters covering the common standards, but you need to fit the one that matches your frame precisely rather than forcing a close-but-wrong size into place.
Is a wheel-on trainer safer for a carbon frame than a direct-drive one?
Not inherently. A wheel-on trainer keeps the tyre and wheel in the load path, which feels different and adds some vibration absorption, but a correctly fitted direct-drive setup doesn't put the frame outside its engineered load range. Correct axle fit and post-ride care matter more than which type you use.
Do I need a rocker plate to protect my carbon frame?
No, a rocker plate isn't required to keep a frame safe on a trainer. It reduces the lateral stress concentrated at the frame's rear end during hard efforts and improves ride feel over long structured sessions, but it's a comfort and training upgrade rather than a safety requirement.
How do I stop sweat from damaging my bike on the trainer?
Use a towel or sweat guard over the top tube and stem during every session, and wipe the whole bike down, including the dropout and thru-axle area, within a few minutes of finishing. Check hardware monthly for early oxidation, since sweat corrosion builds slowly and is easy to miss until it's advanced.
Share:
Roadside Tubeless Repair: What to Carry, In What Order
Threaded Insert Care: Stop Stripping Bottle Cage and Bolt Holes